


W.R.T. this post: https://bitcointalksearch.org/topic/m.11156572
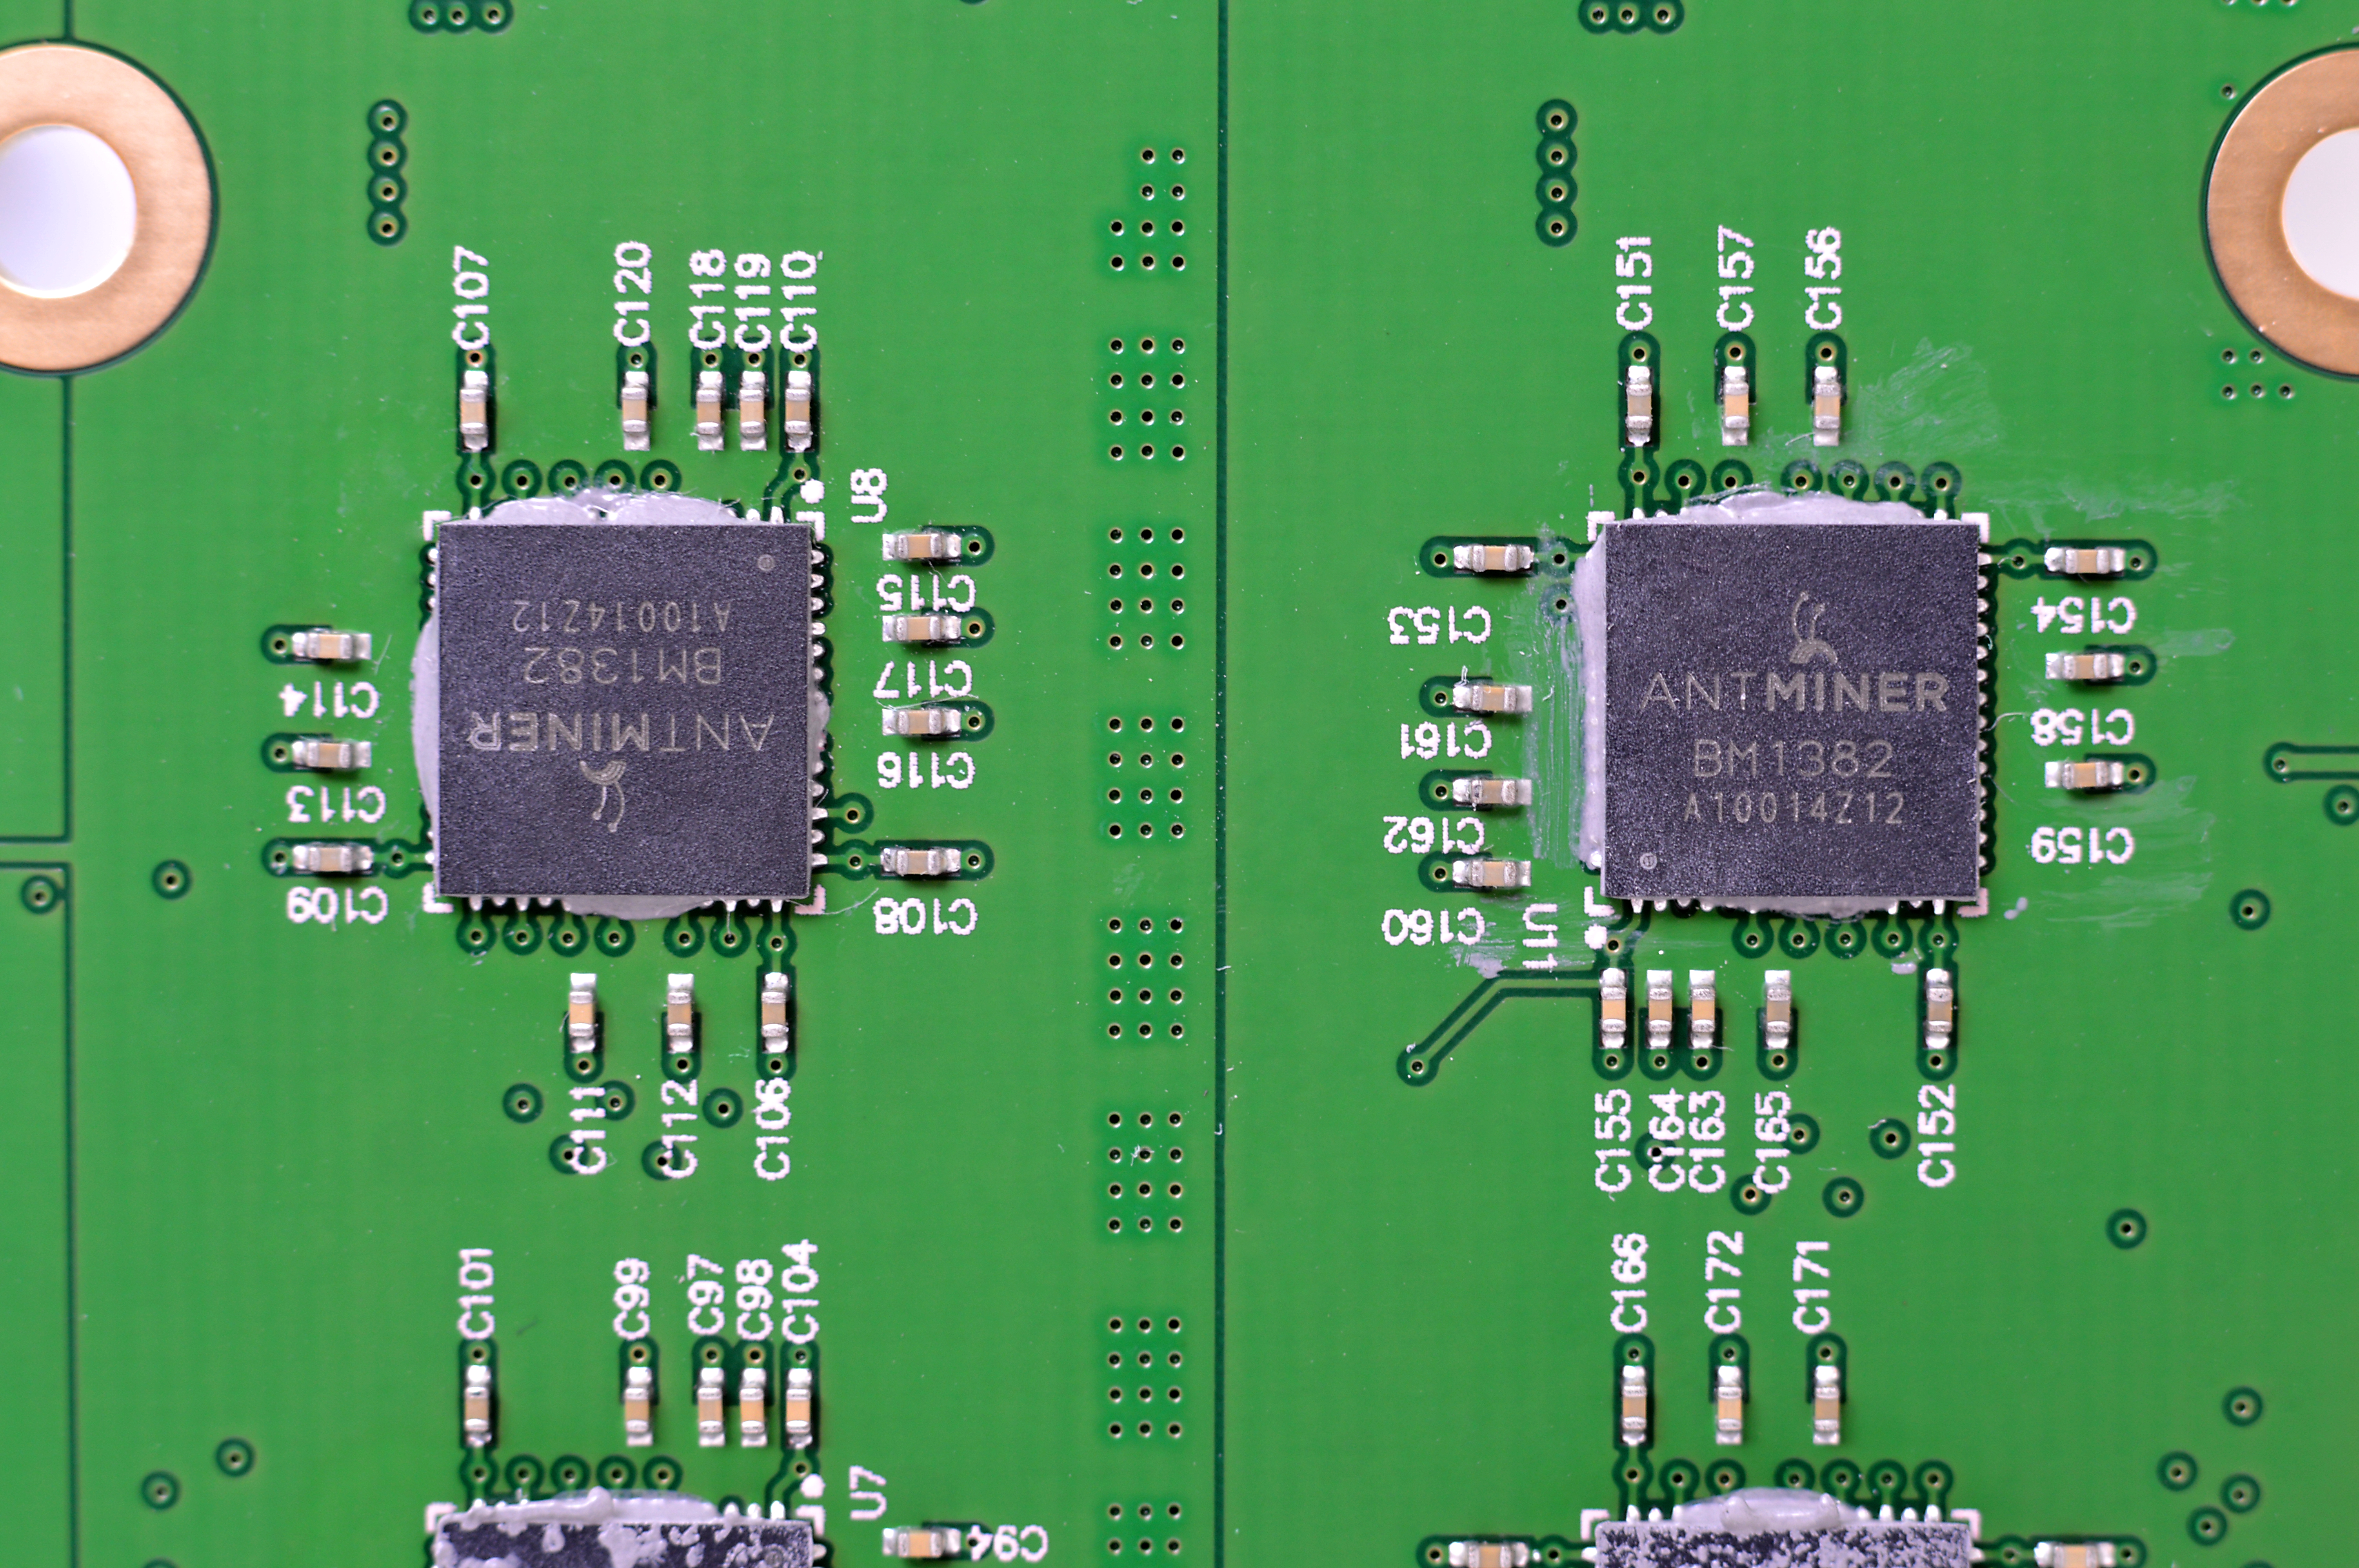
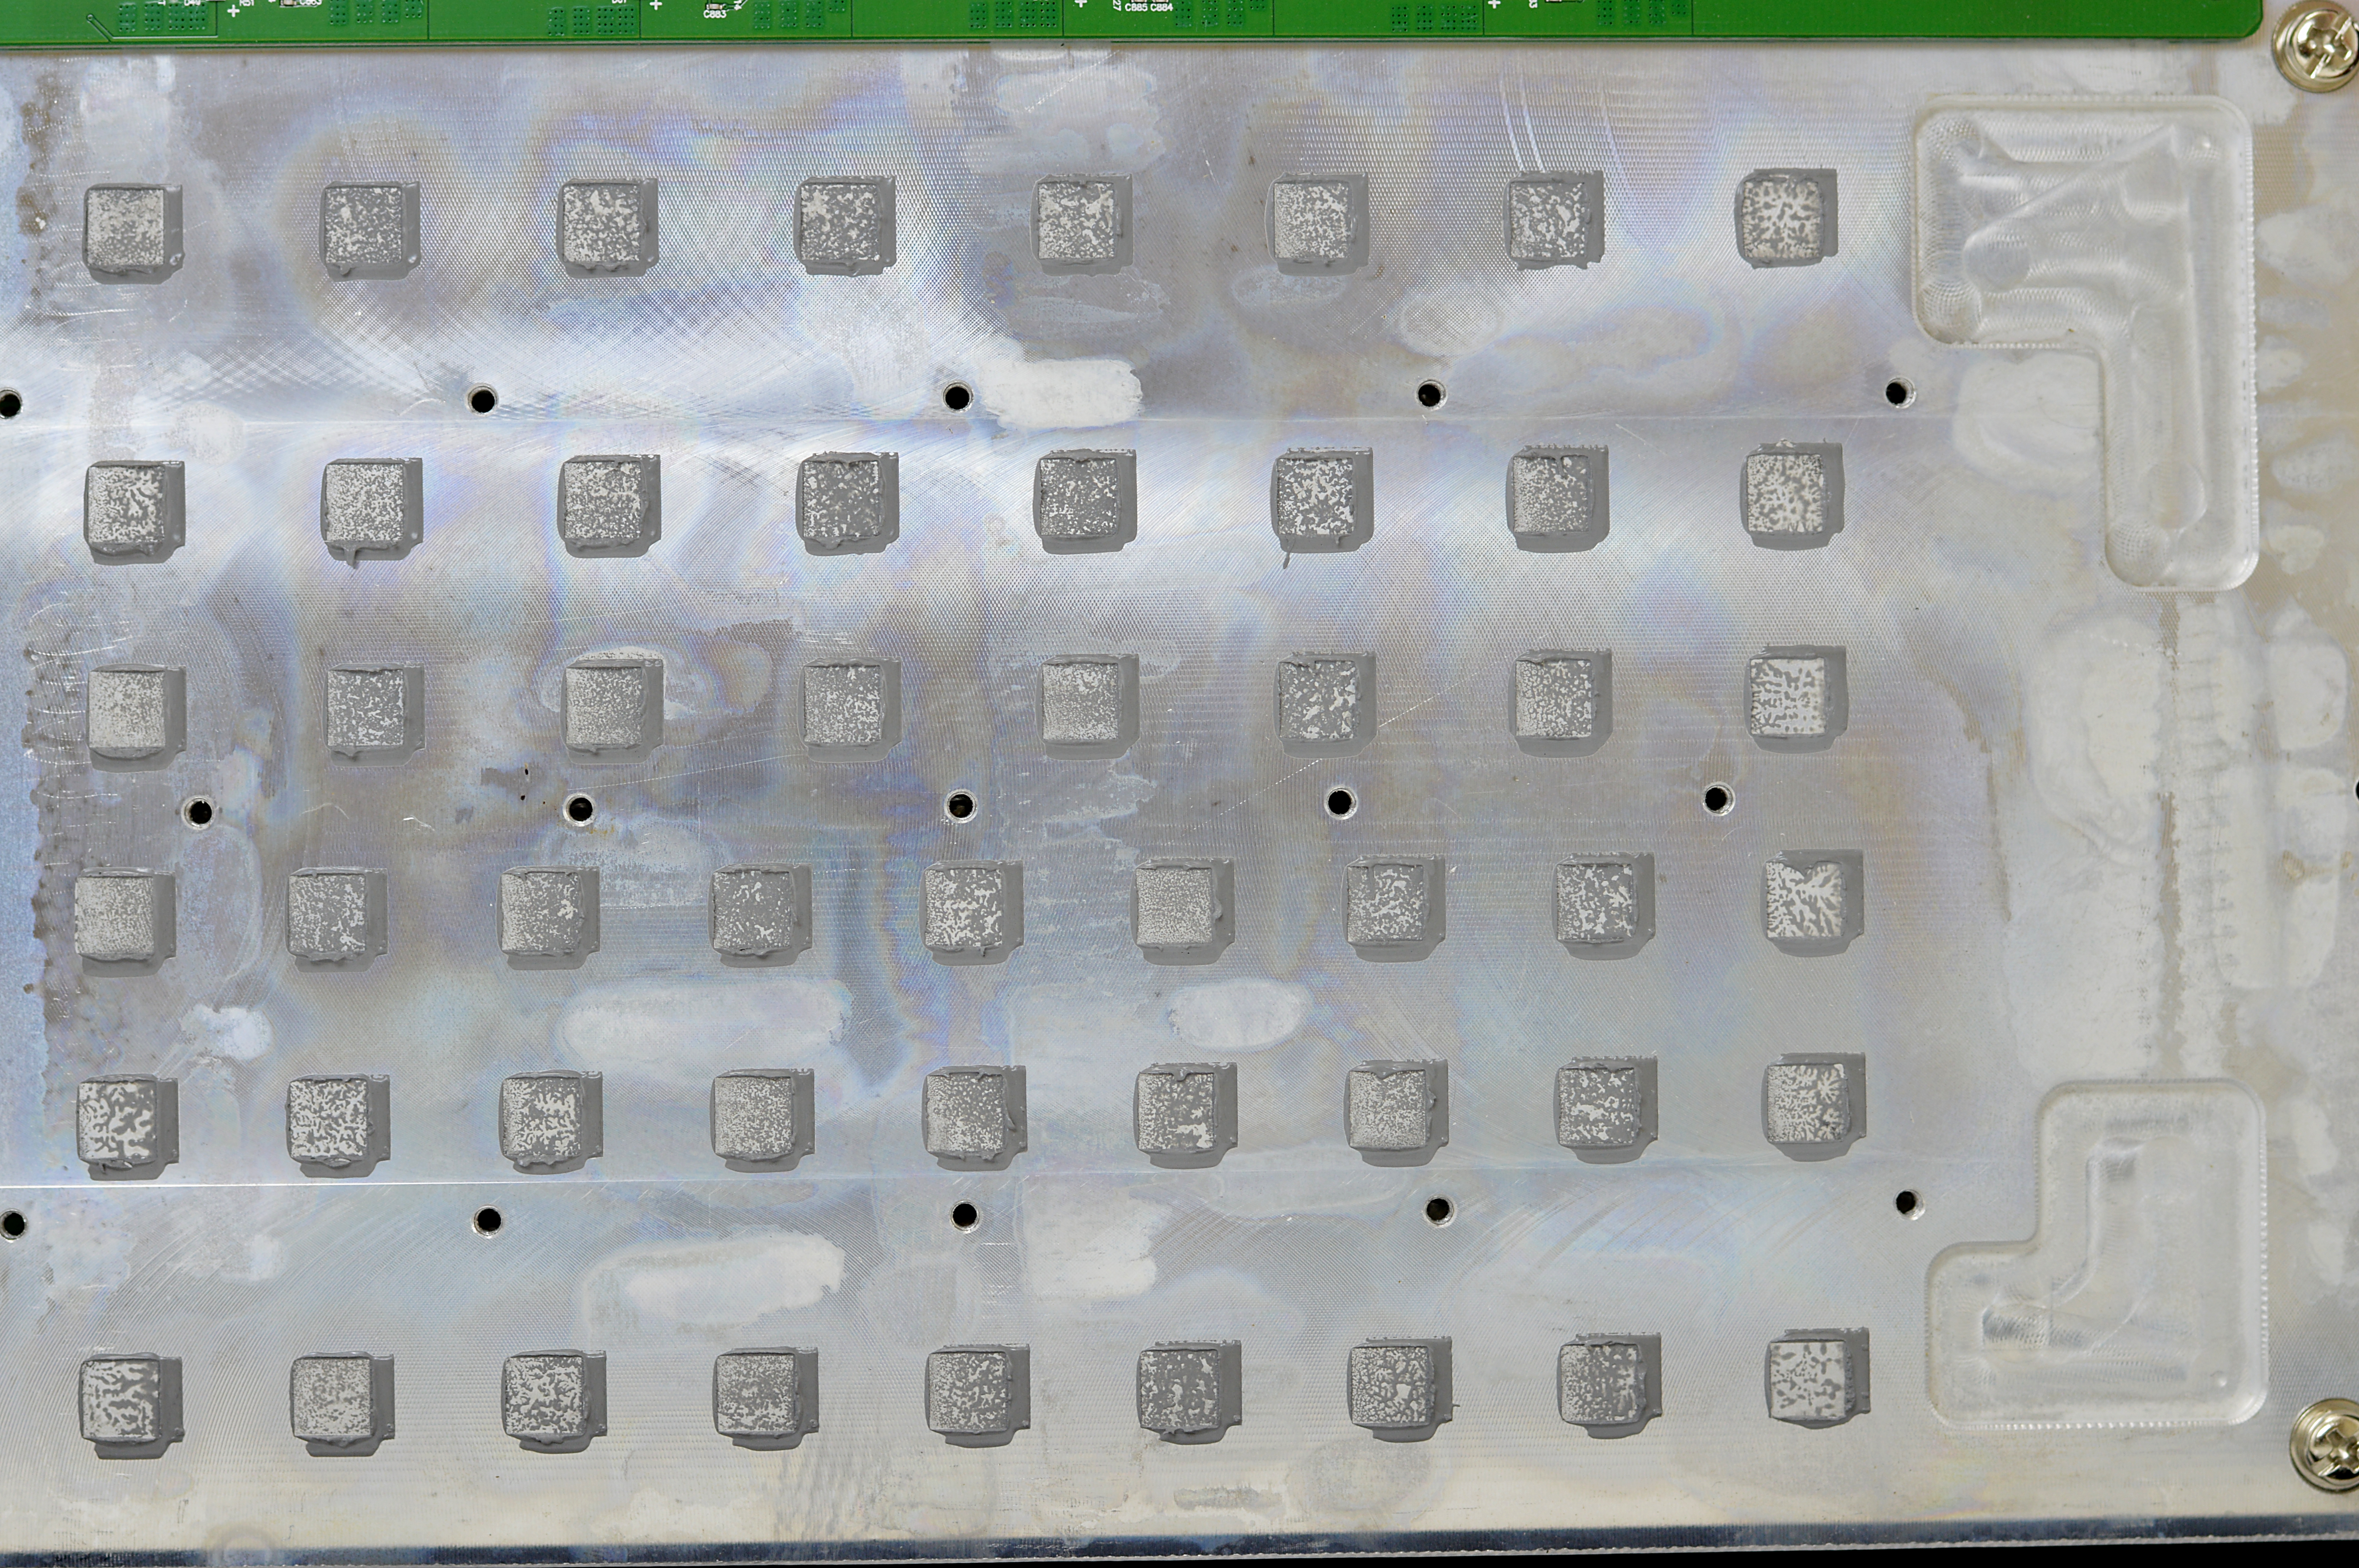
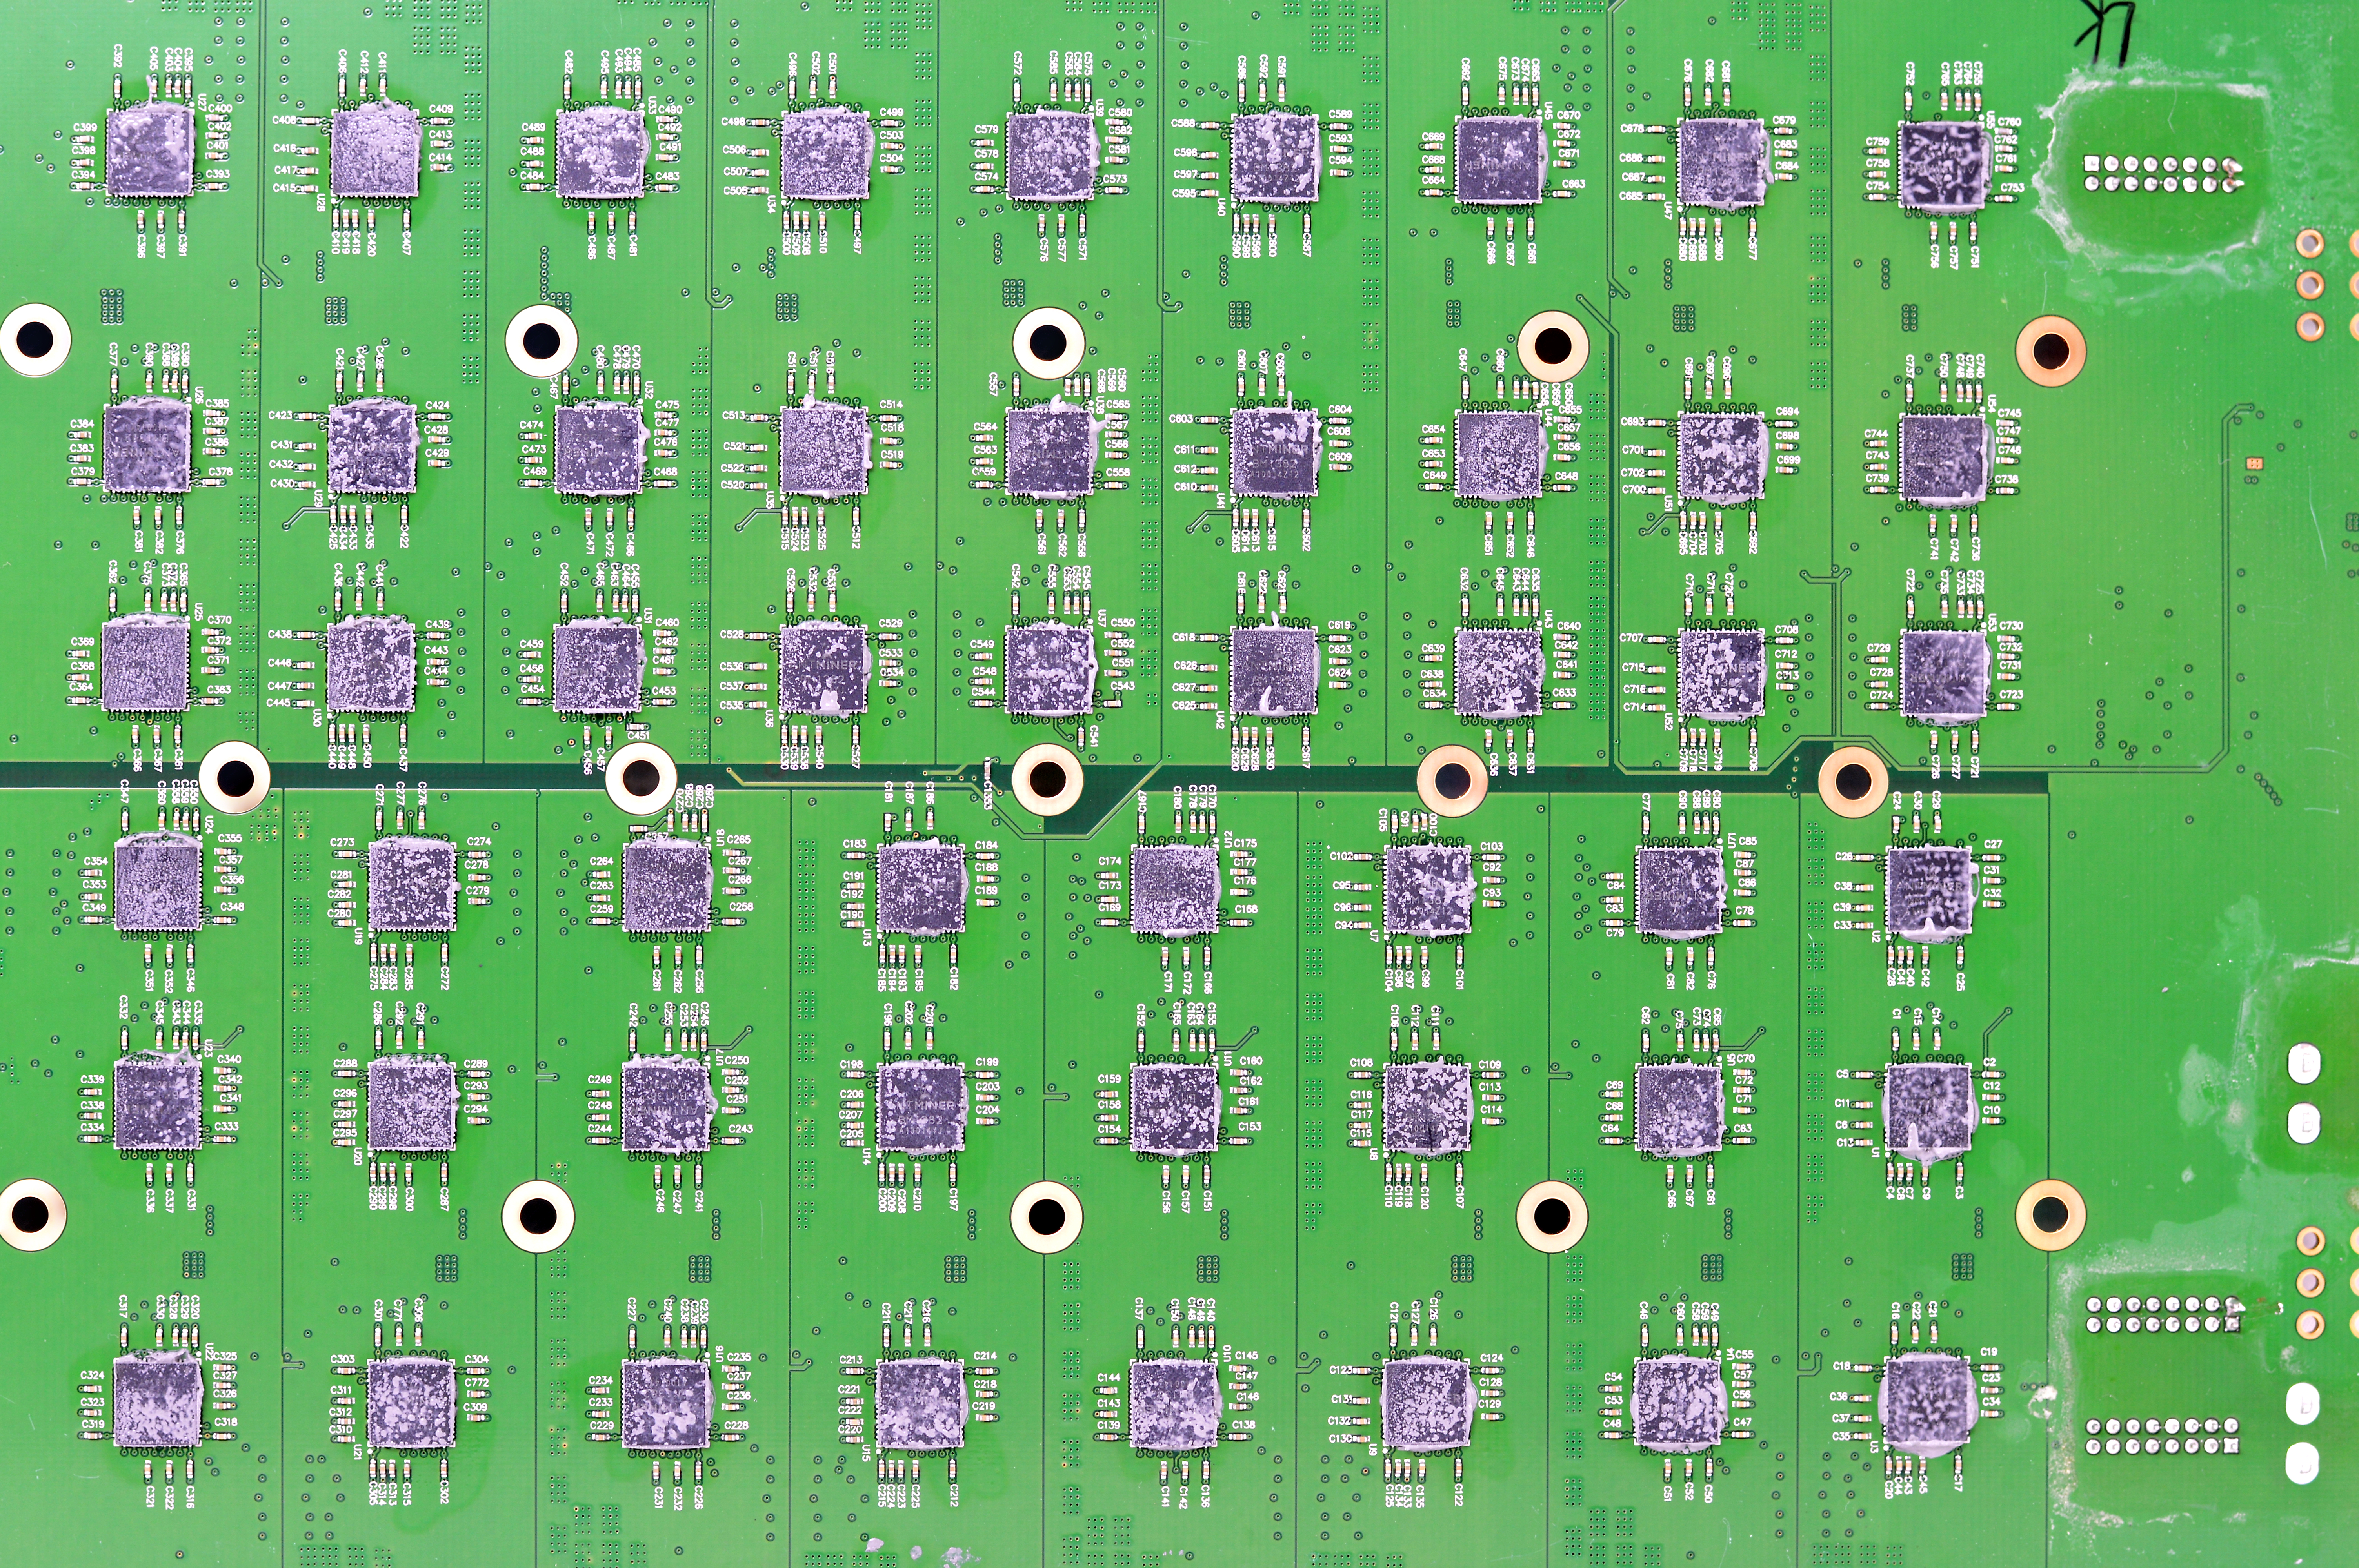
Why are you advising people inquiring about the existence of capacitors that there are none when your high-res picture clearly shows them all over the place?
BitcointalkSearch
Search easily and fast between all the Bitcointalk topics content.
What's this?

Bitcointalksearch.org - what's this site?
It was the Bitcointalk forum that inspired us to create Bitcointalksearch.org - Bitcointalk is an excellent site that should be the default page for anybody dealing in cryptocurrency, since it is a virtual gold-mine of data. However, our experience and user feedback led us create our site; Bitcointalk's search is slow, and difficult to get the results you need, because you need to log in first to find anything useful - furthermore, there are rate limiters for their search functionality.
The aim of our project is to create a faster website that yields more results and faster without having to create an account and eliminate the need to log in - your personal data, therefore, will never be in jeopardy since we are not asking for any of your data and you don't need to provide them to use our site with all of its capabilities.
We created this website with the sole purpose of users being able to search quickly and efficiently in the field of cryptocurrency so they will have access to the latest and most accurate information and thereby assisting the crypto-community at large.

Author
Topic: [Guide] Dogie's Comprehensive Bitmain Antminer S4+ Setup [HD] - page 2. (Read 10207 times)
Nice guide once again.
Just one thing, I haven't received my +s yet so I don't know if it's actually aluminium, but the S4 definitely isn't. It's steel.. Might want to correct that.
I'm disappointed that bitmain locked voltage control down, but not surprised after they stripped the S4 of that functionality with a firmware update.
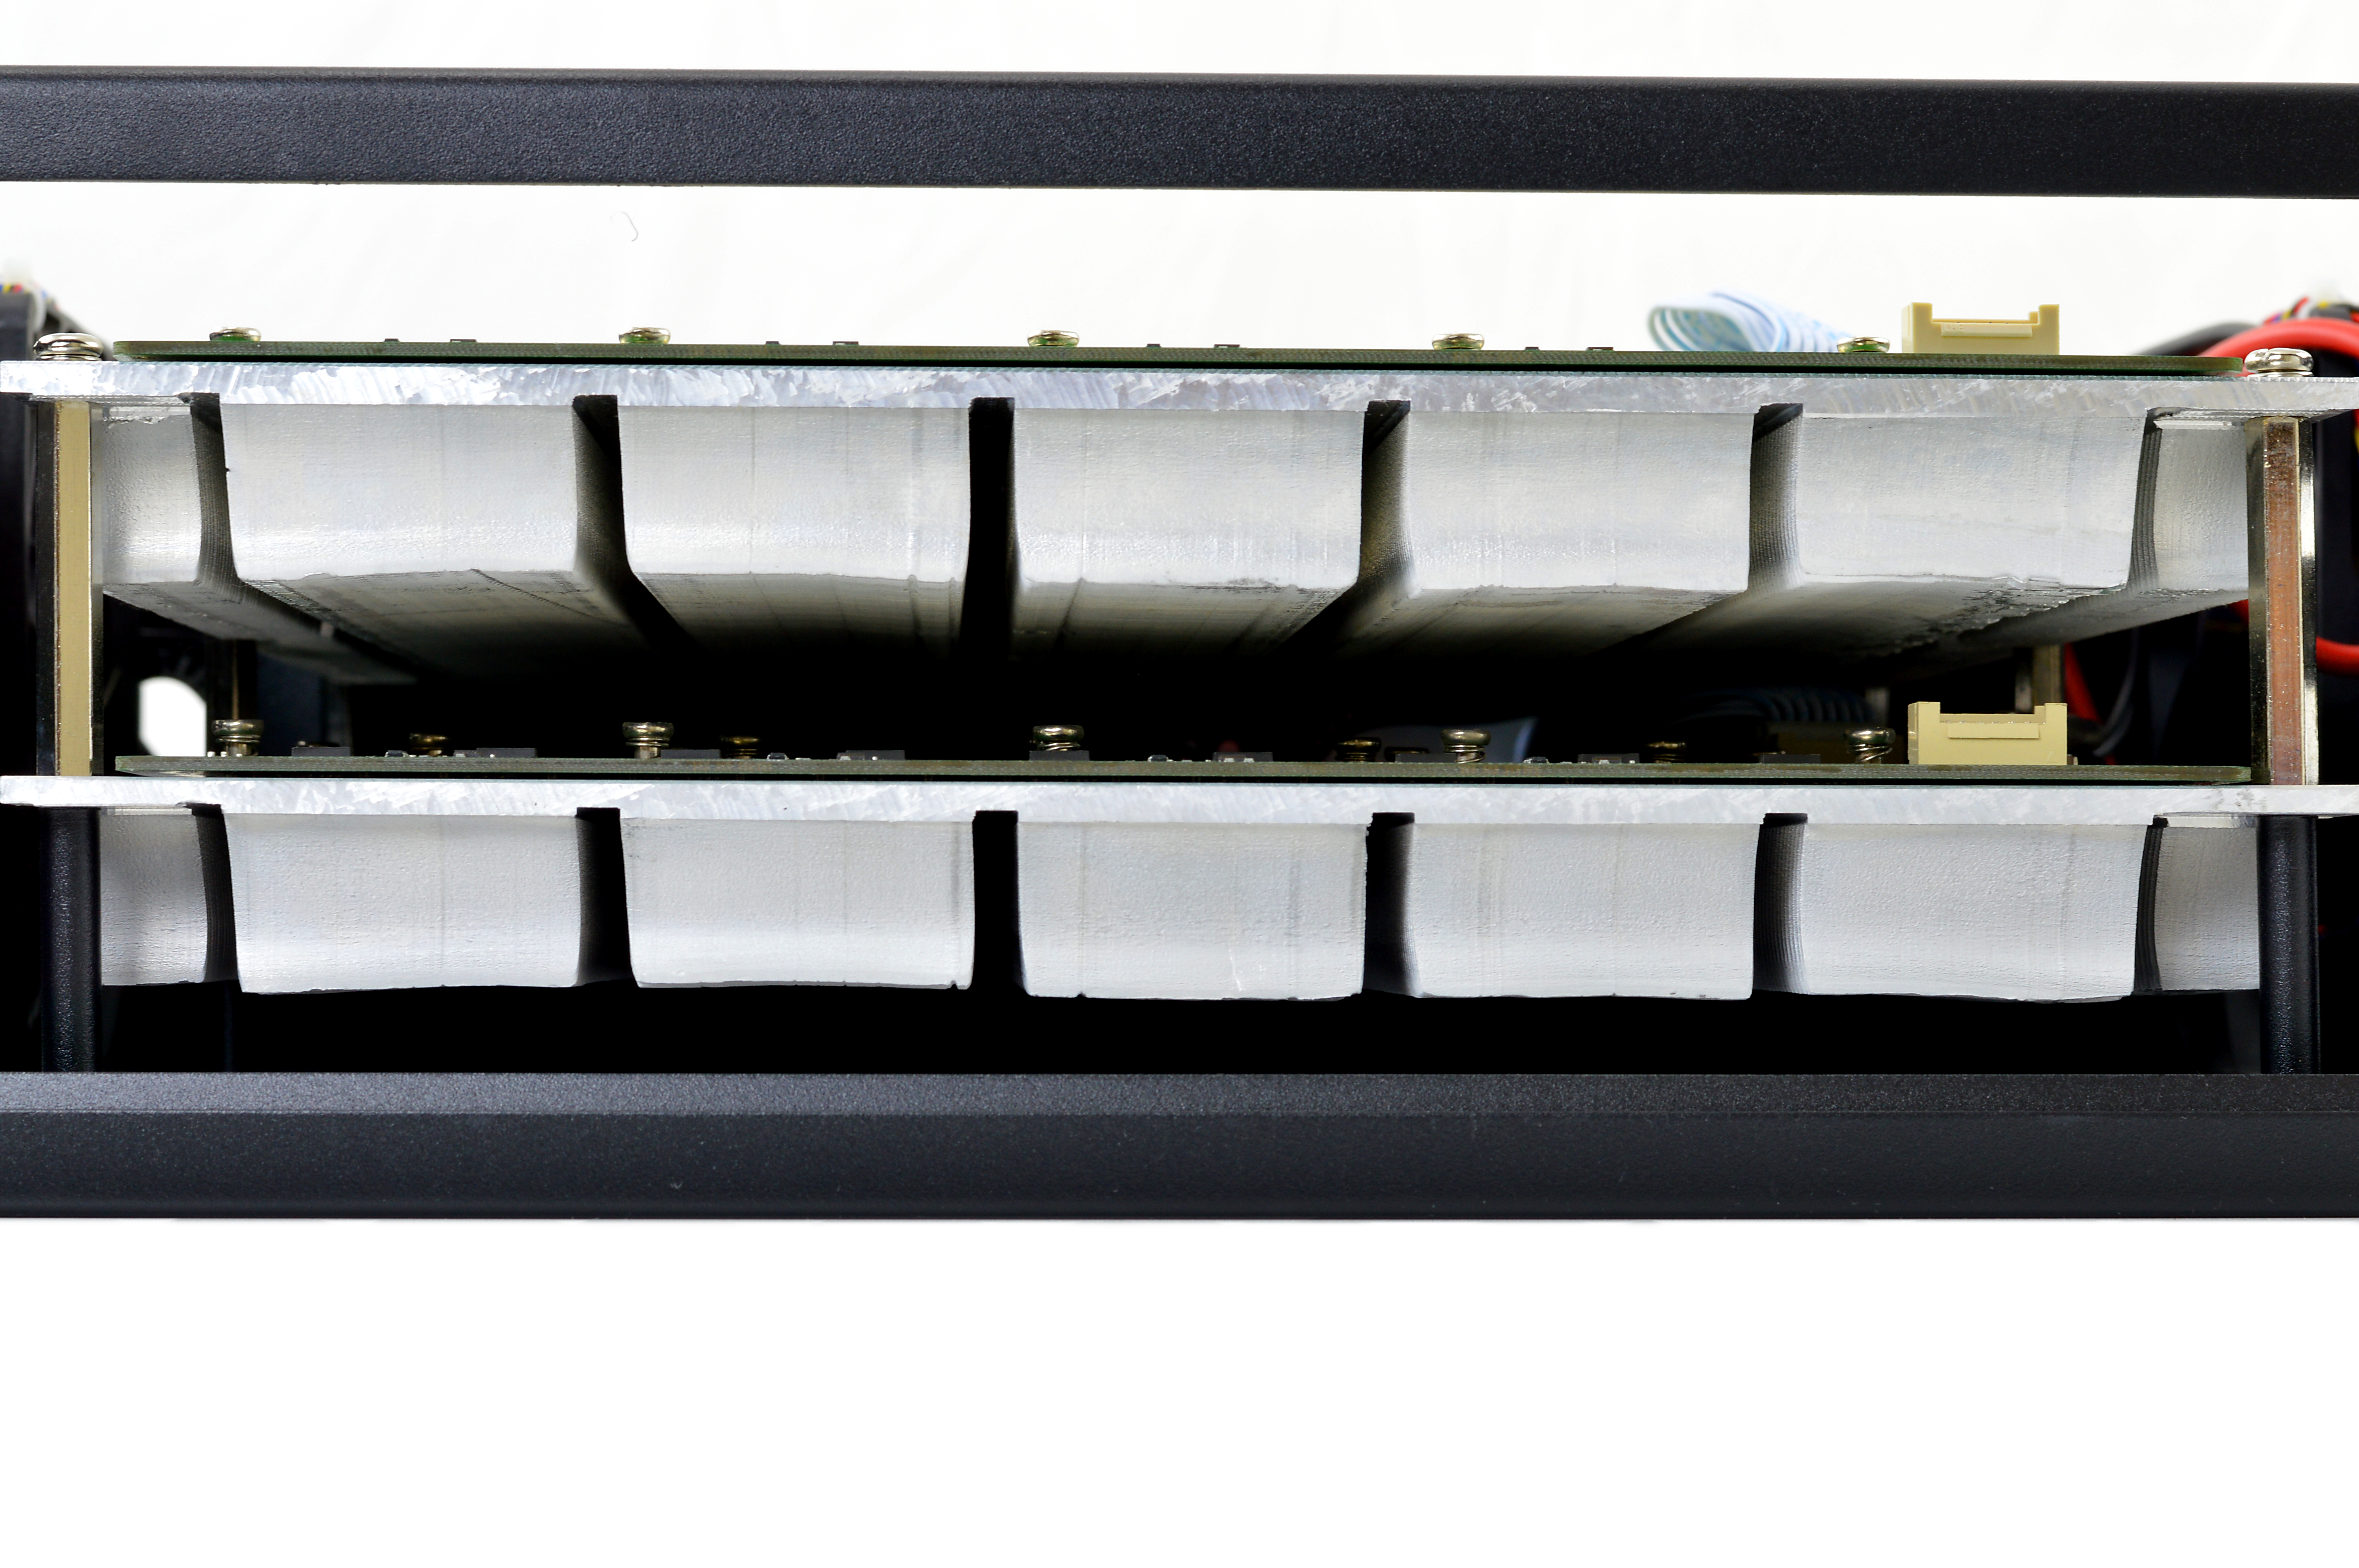
Yes its definitely steel, fixed. The voltage control isn't locked per said, it simply doesn't exist. With string design the variability of voltage is purely down to the output voltage of the PSU. Have a look how bare the 'top' side of the PCB is, there is no DC-DC.
Nice guide once again.
Just one thing, I haven't received my +s yet so I don't know if it's actually aluminium, but the S4 definitely isn't. It's steel.. Might want to correct that.
I'm disappointed that bitmain locked voltage control down, but not surprised after they stripped the S4 of that functionality with a firmware update.
Just one thing, I haven't received my +s yet so I don't know if it's actually aluminium, but the S4 definitely isn't. It's steel.. Might want to correct that.
I'm disappointed that bitmain locked voltage control down, but not surprised after they stripped the S4 of that functionality with a firmware update.
Another nice guide! Love your pictures as always.
How the S4 is pretty good on overclocking. Does the S4+ see to overclock well? If so what numbers have you got.
How the S4 is pretty good on overclocking. Does the S4+ see to overclock well? If so what numbers have you got.
S4+ will likely overclock well as its stock is just 200MHZ but I've not tested it enough yet.
We've got plenty of headroom on the PSU but our limiter will likely be temps for anyone with a warm ambient. If you look at the data graph there isn't much headroom left @ 40C before we end up at 90C which is the alarm temp, and 95C which is the cutoff temp.
Edit: As Janet pointed out, also have to factor in that we only have the stock voltage of 0.706V to play with.
Edt2: And overclocking will obviously void any warranty.
Edit3: Initial results at 225M were 2738GH @ 1675W, 87C @ 40C ambient. So +200W for +170GH.
Another nice guide! Love your pictures as always.
How the S4 is pretty good on overclocking. Does the S4+ see to overclock well? If so what numbers have you got.
How the S4 is pretty good on overclocking. Does the S4+ see to overclock well? If so what numbers have you got.

Dogie's Miner Setup Guides:
Nicely formatted version available at dogiecoin.com!


Contents:
0a) What to Expect
0b) What You Need
1) Powering
2) Cooling
3) Case
4) Configuration
5) Troubleshooting
6) Where to buy
0a) What to Expect (top)
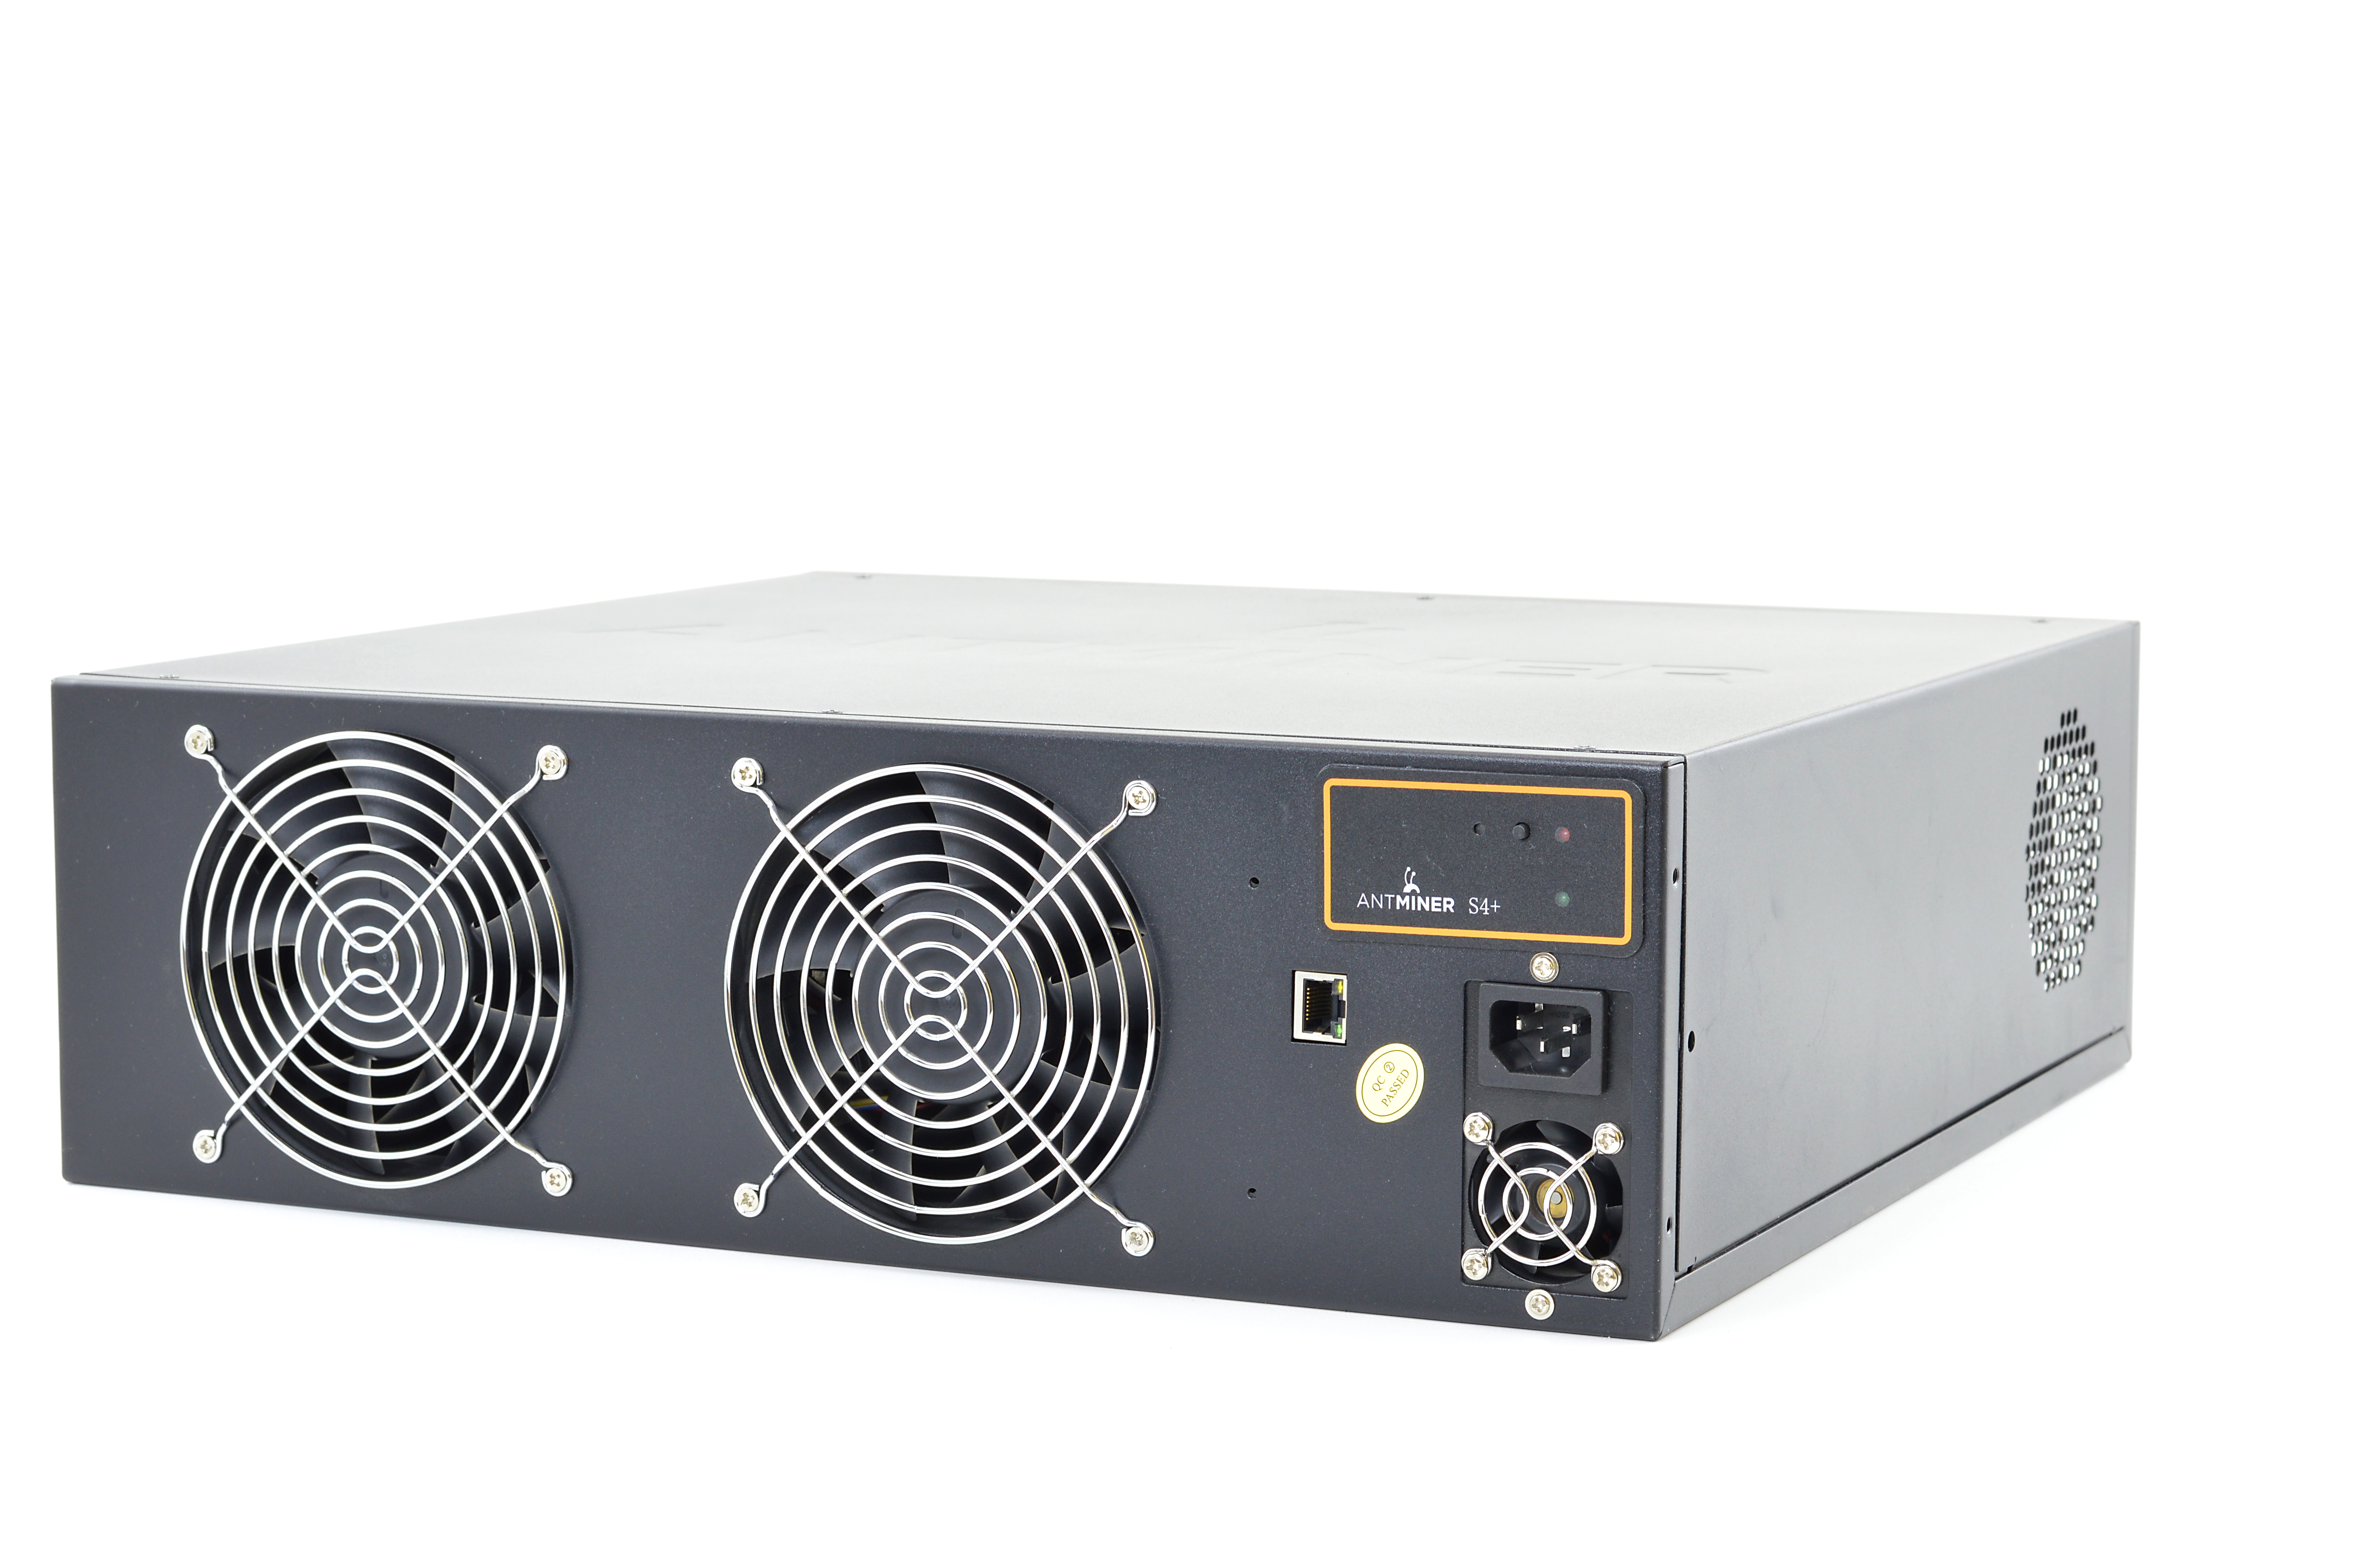
Bitmain's AntMiner S4+ upgrades the original by adding an additional 44 chips across the 4 mining boards which are cooled by 4 powerful 120mm fans. A
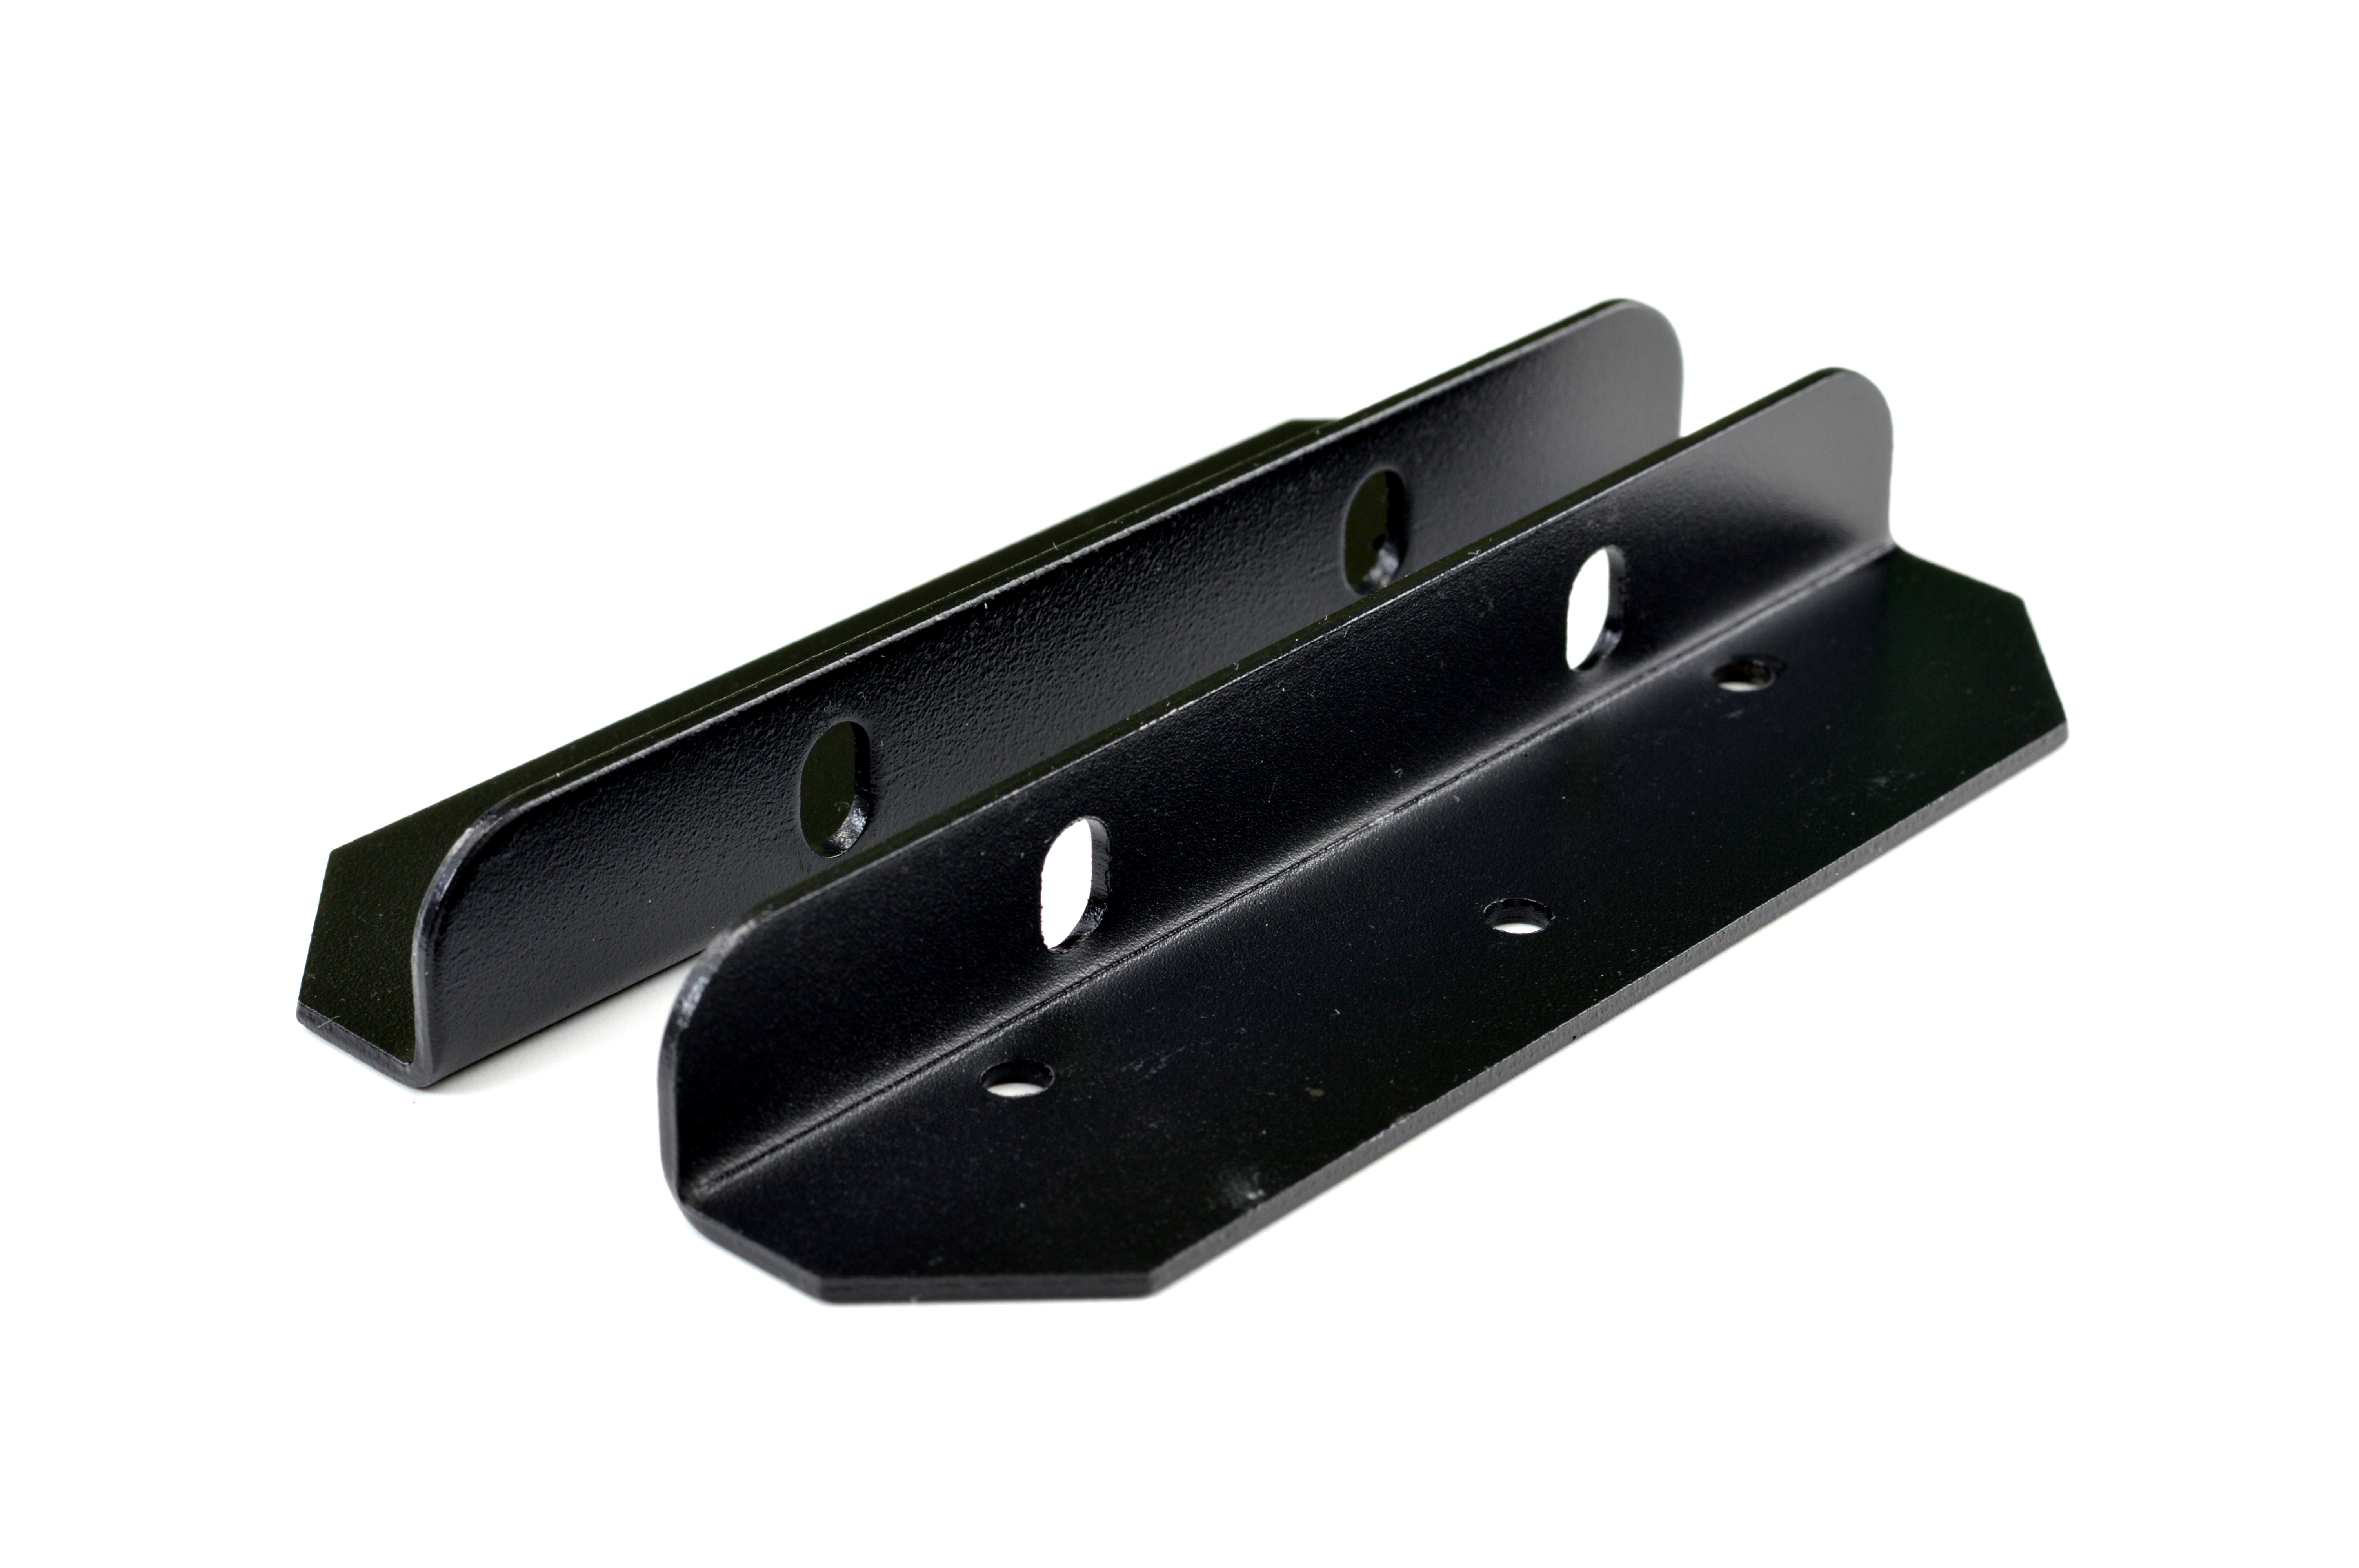
power efficient string design is utilised along with an internal 1600W PSU. The S4+ is standalone and does not require an external controller. Mounting ears
are included.


0b) What You Need (top)
You will need a few accessories to get started.
Click your flag to find everything you need to get started at Amazon!


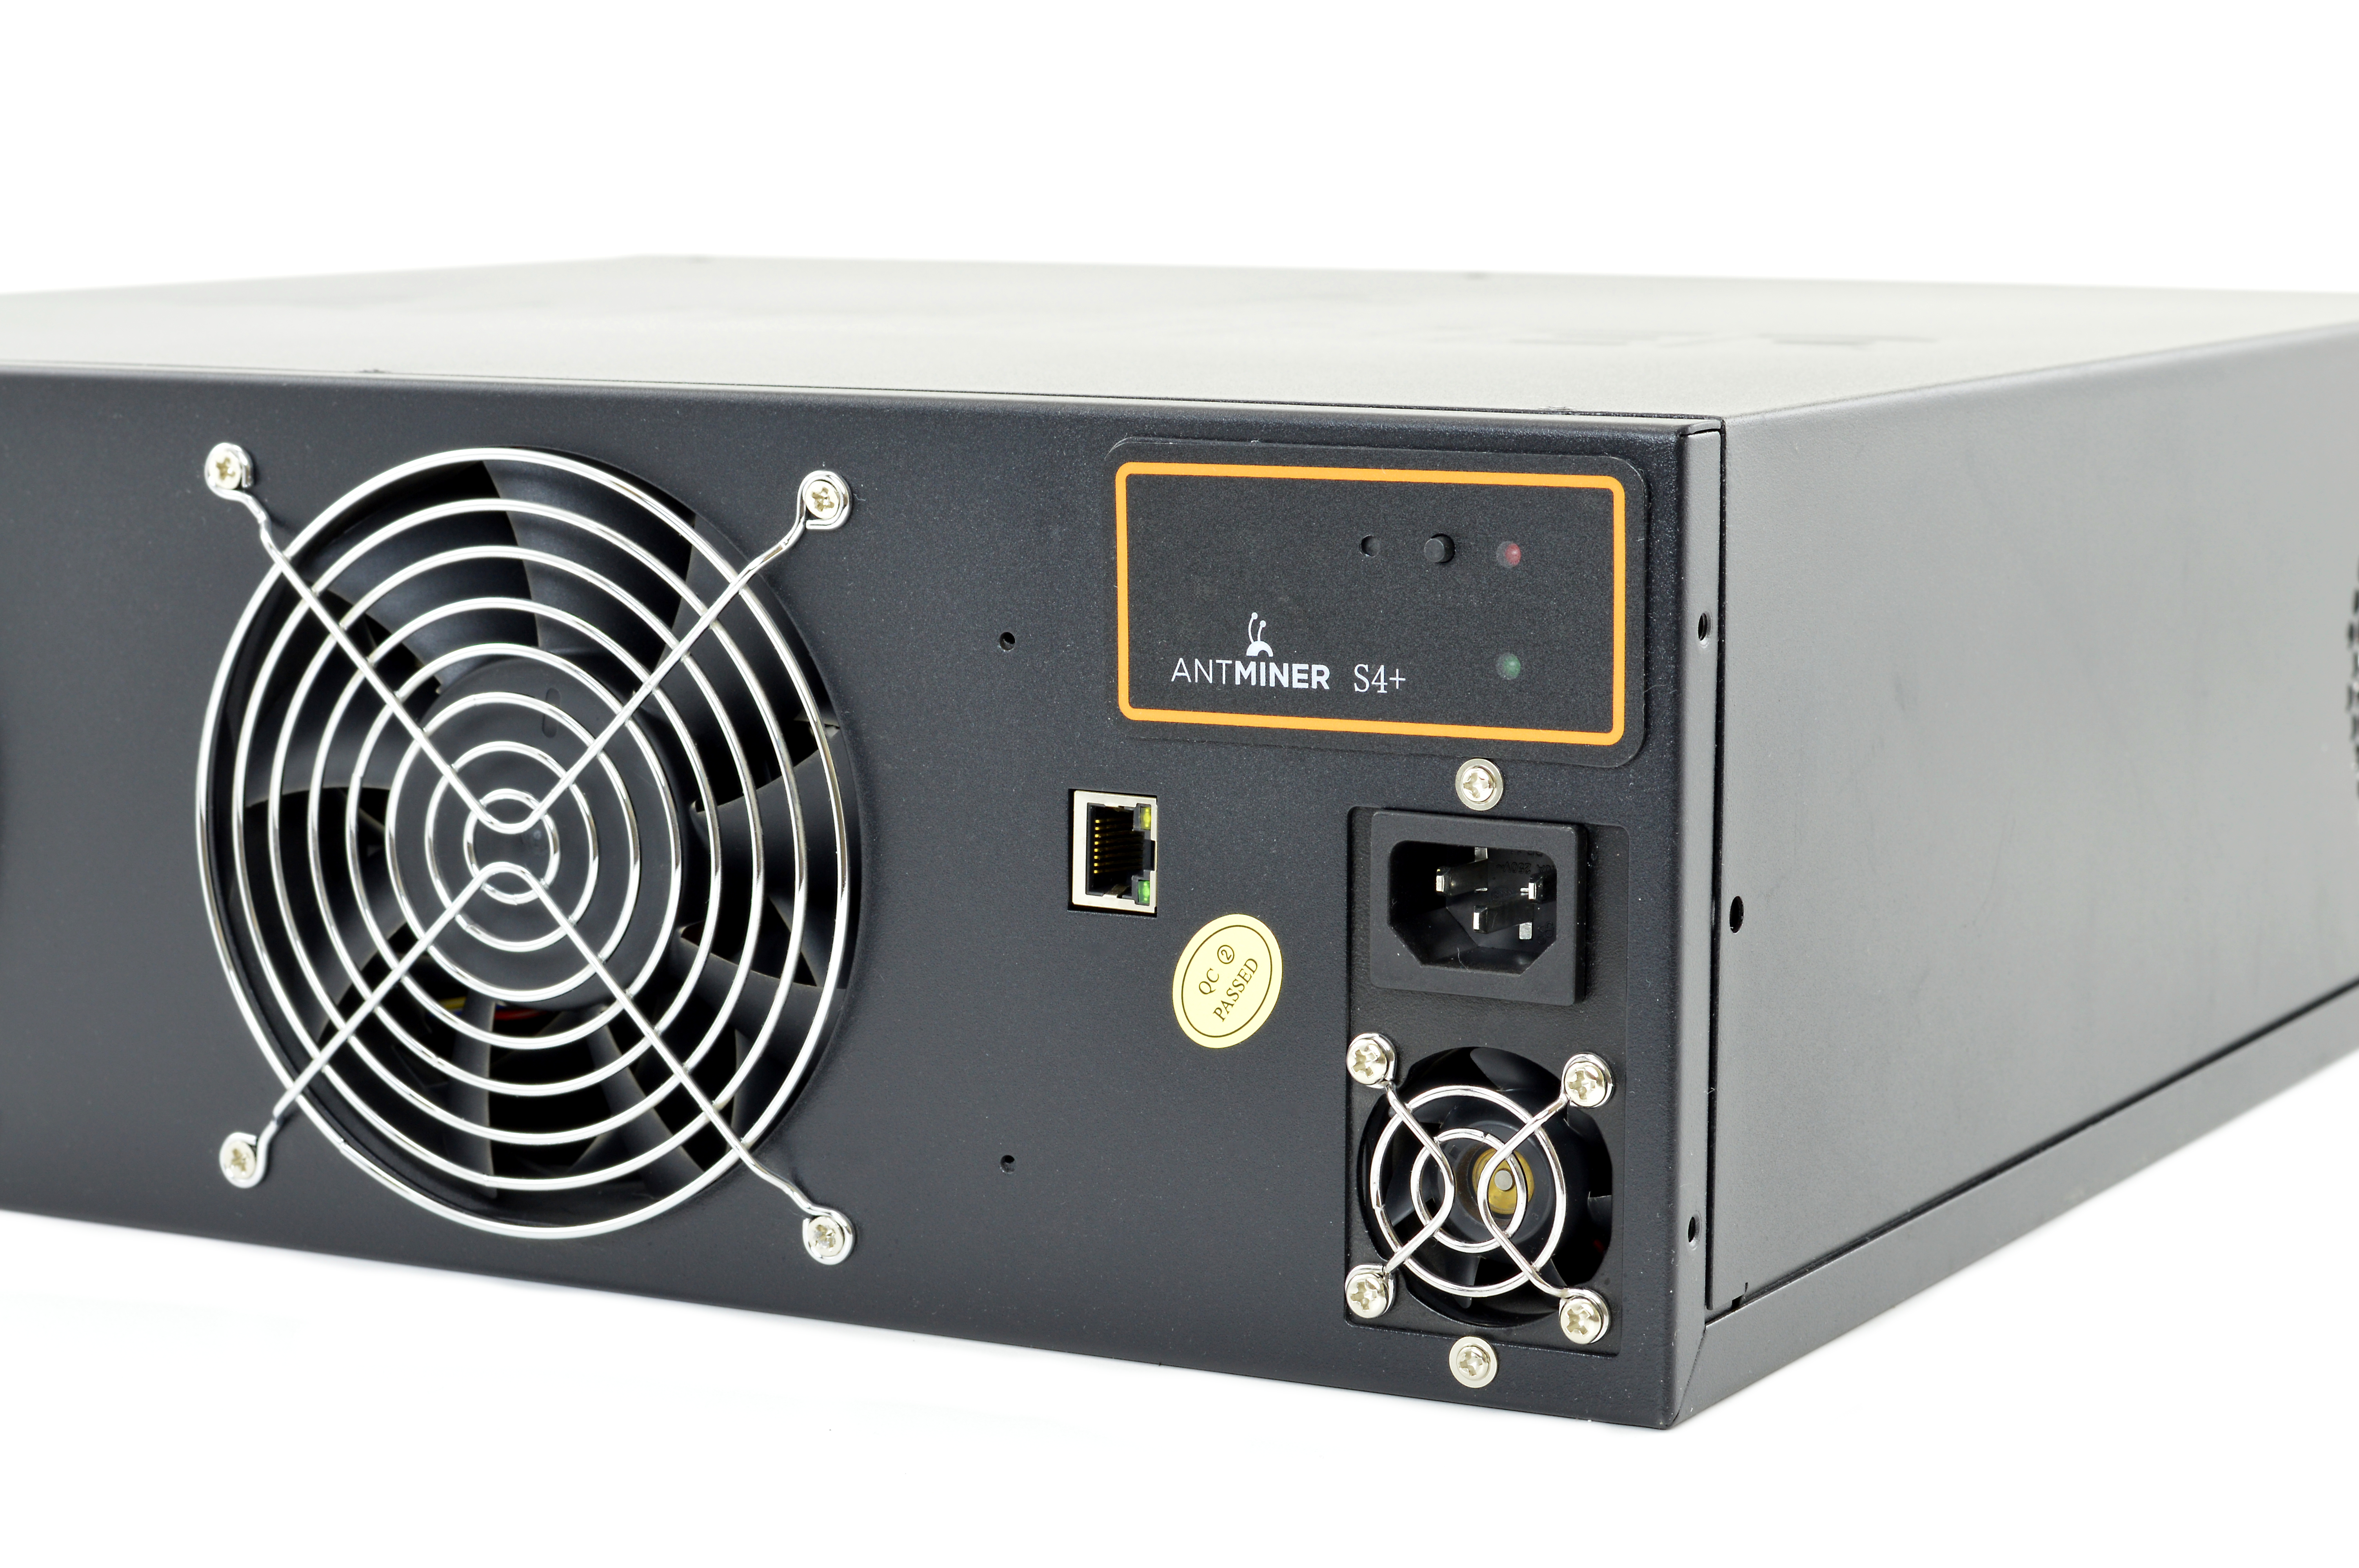
1) Powering (top)
S4+'s come with a internal 1600W APW3-12-1600-B1 / B2 power supply which will power on automatically once plugged in. Please note that this PSU is
ONLY compatible with high voltage mains, between 205V and 264V. The unit will not operate outside of this range. The B1 variant utilises 12 PCI-E
connectors while the B2 variant utilises 4 pairs of M4 10 AWG spade connectors to power the hashing boards and a single PCI-E connector to power the controller
and fans.


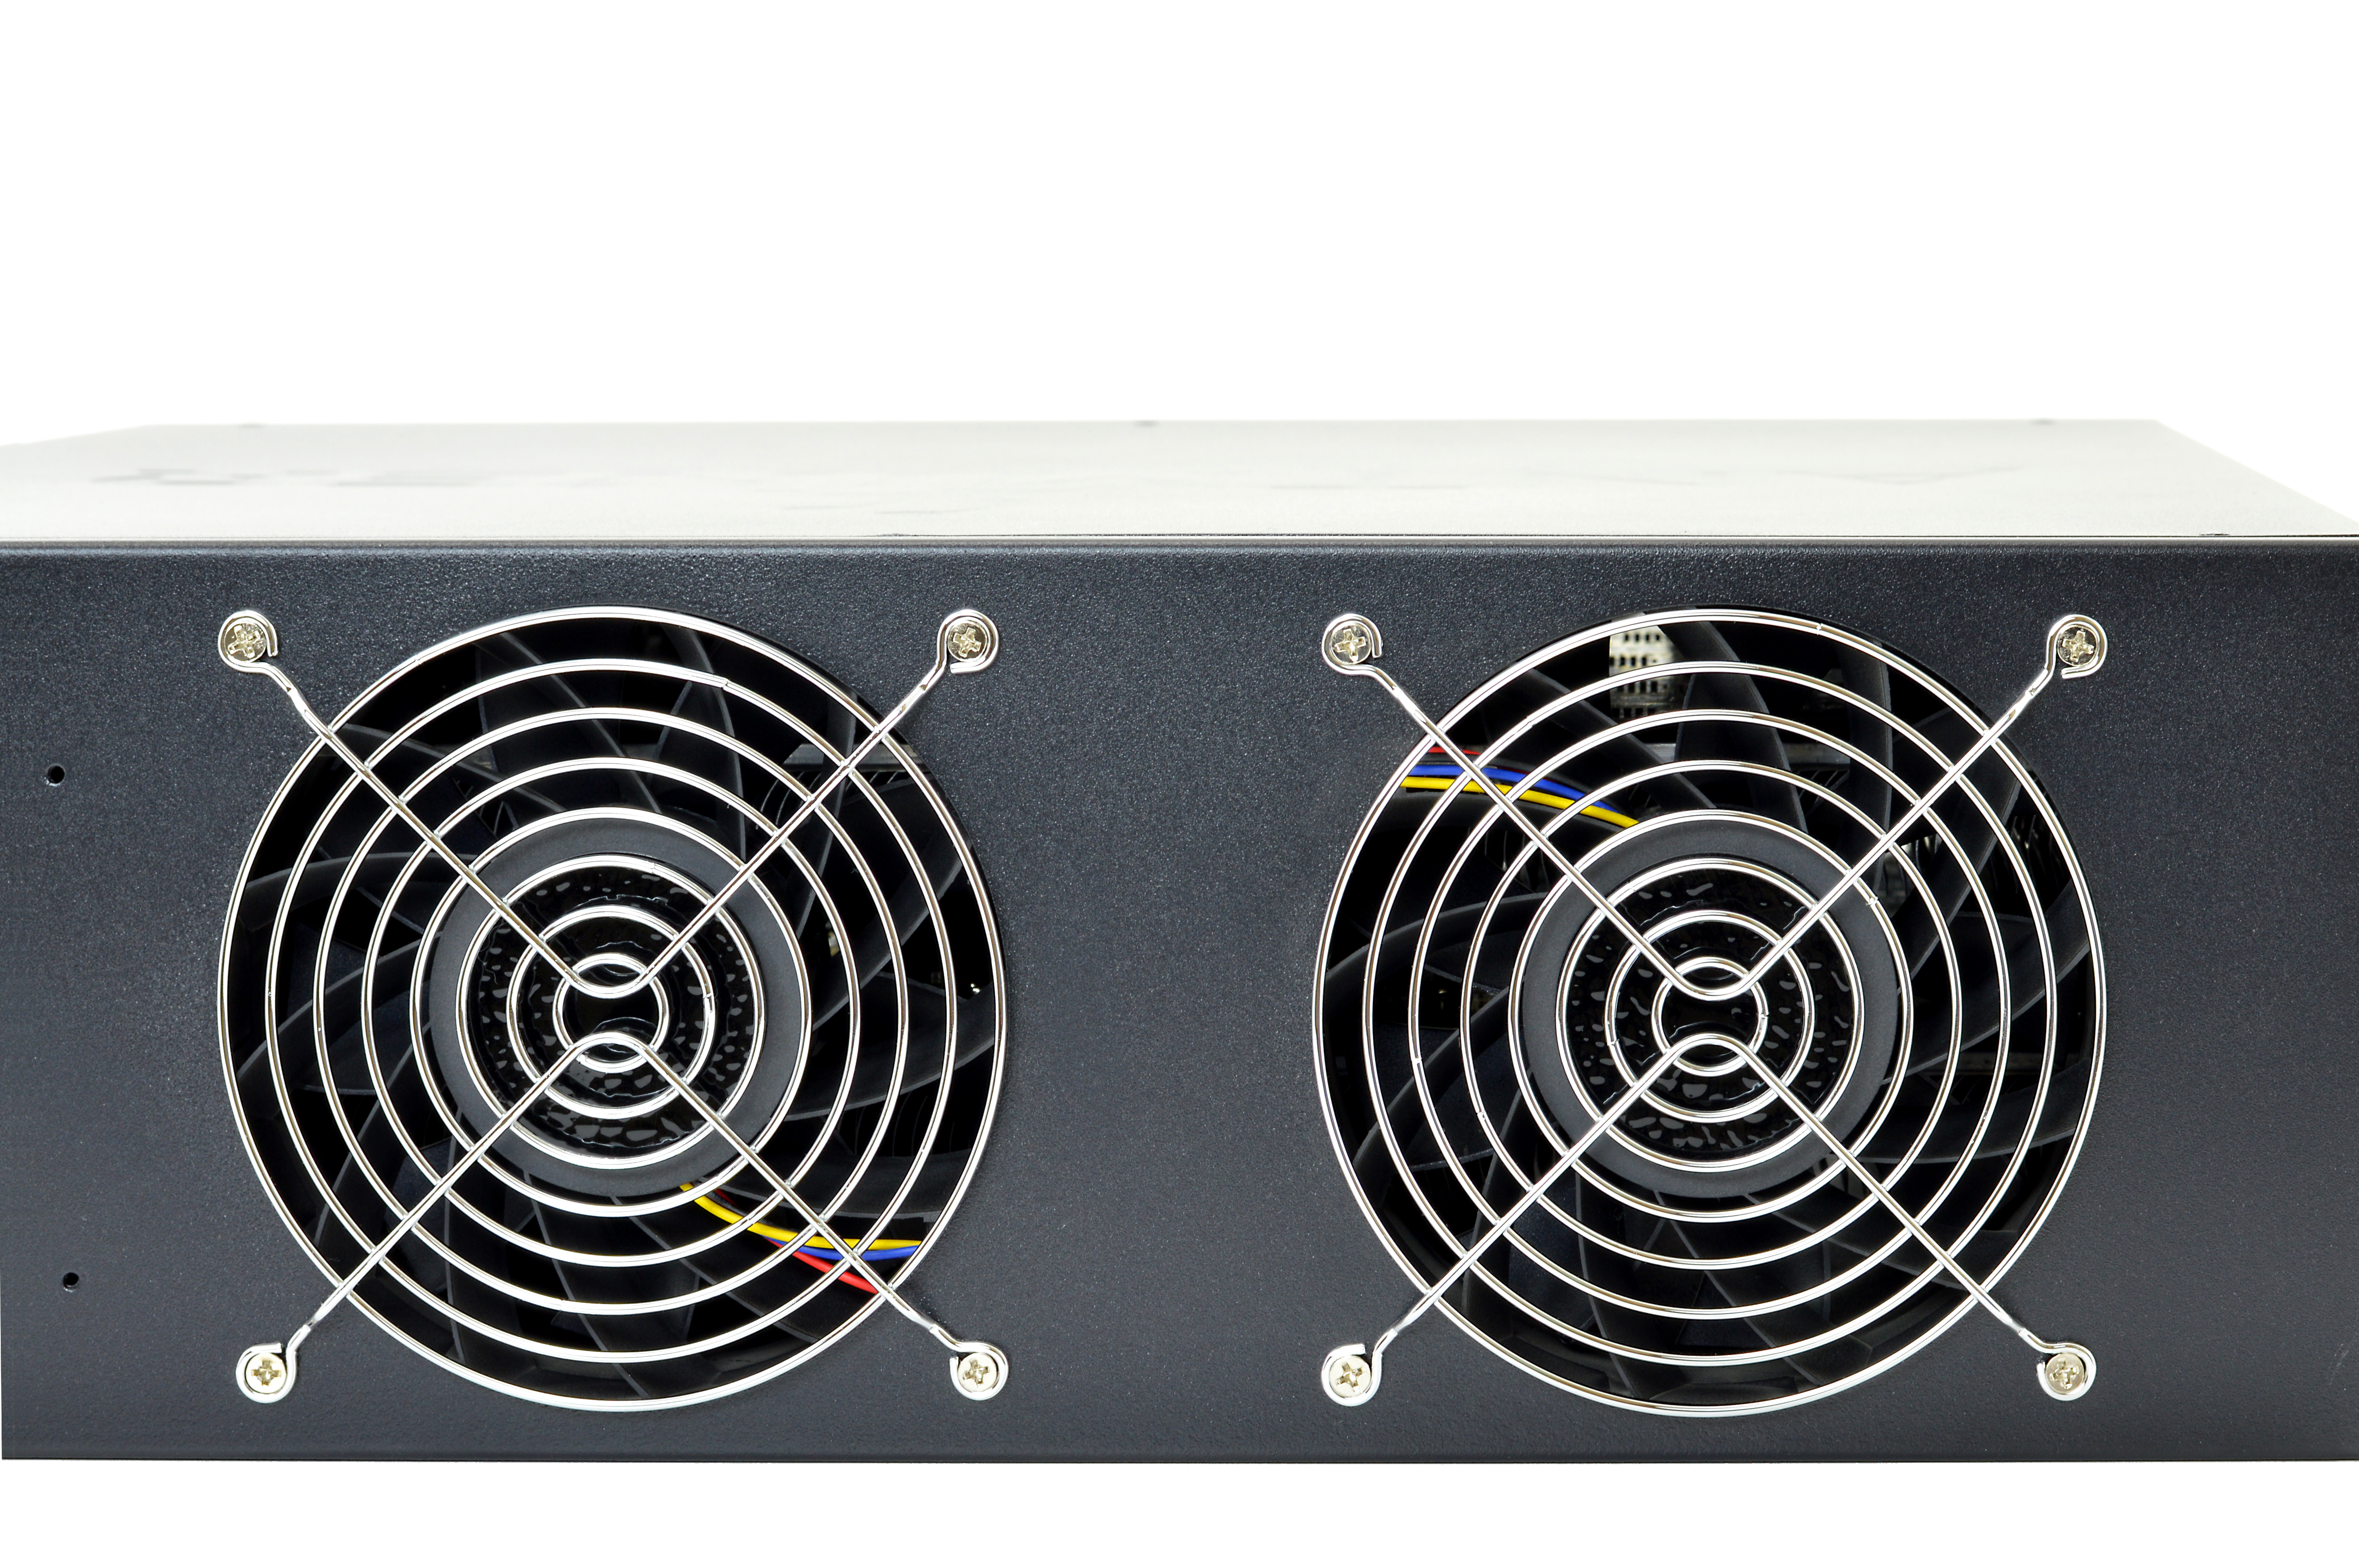
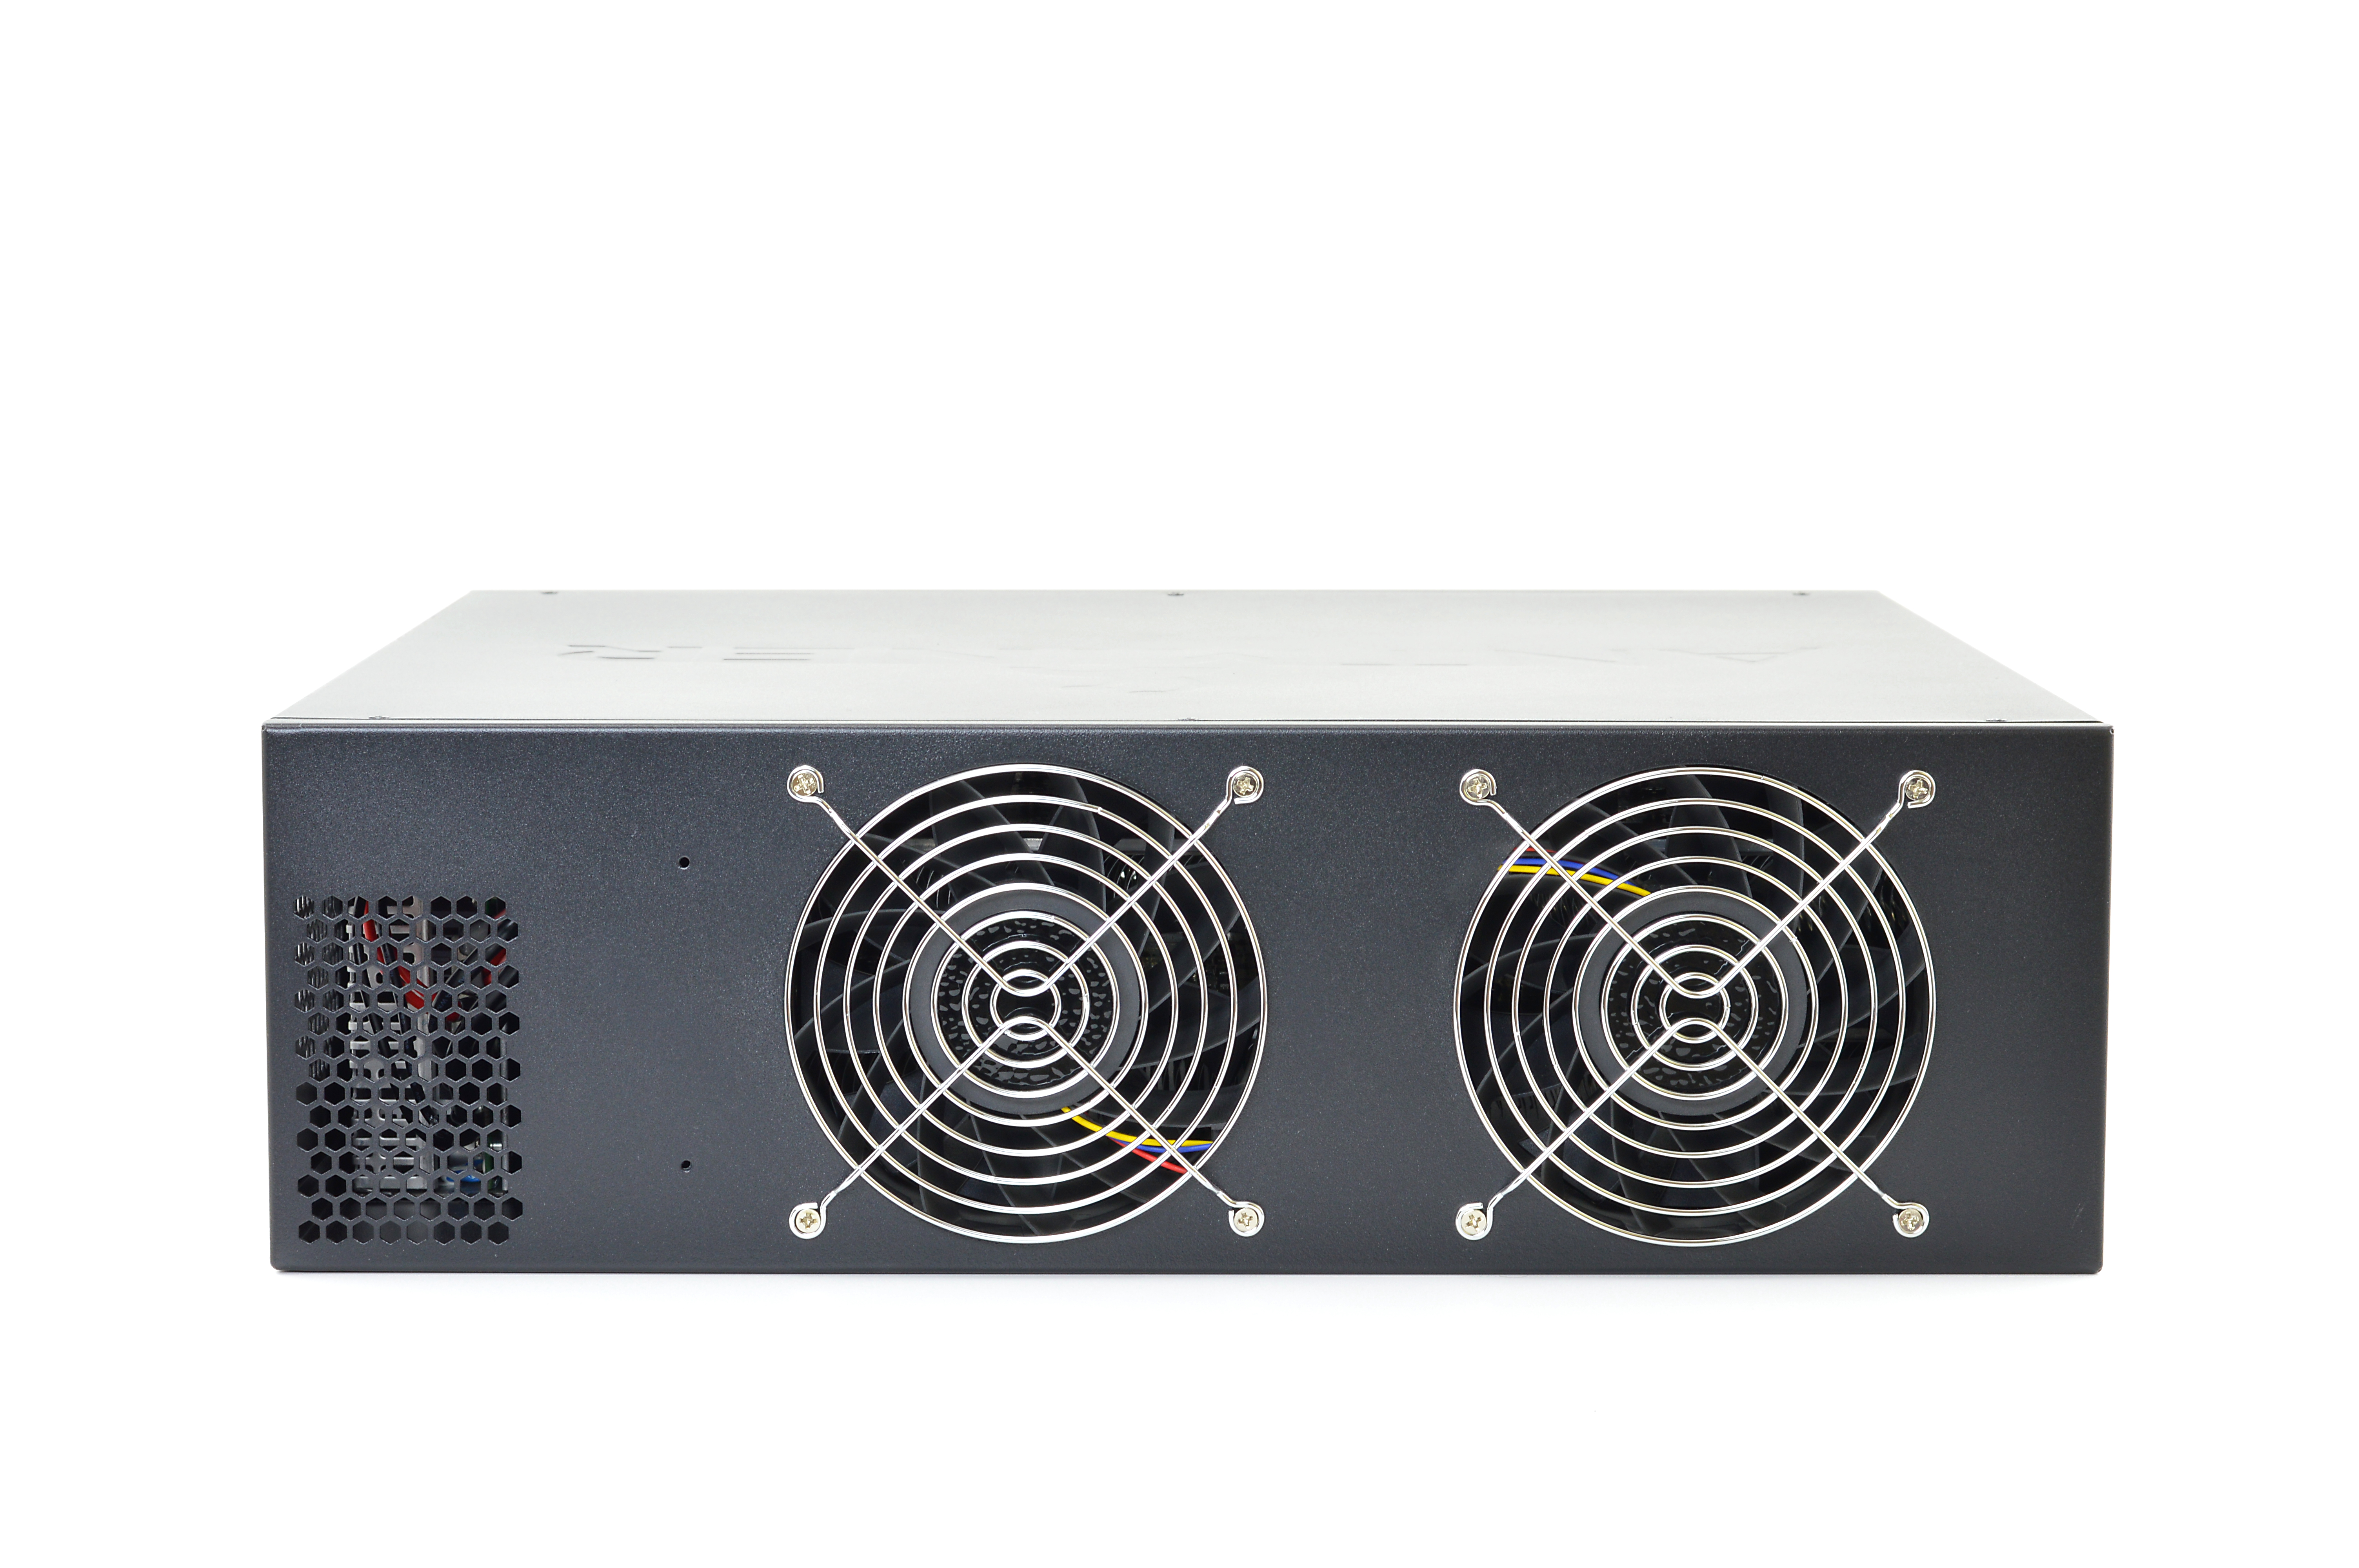
2) Cooling (top)
The S4+ is self sufficient in cooling terms and utilises four 120x38mm fans which operate between 3500 and 4200rpm. All four are PWM controlled and
automatically react to increased temperatures. Noise levels are very high but of reasonable tone, and identical to that of the original S4. The PSU is cooled
by its own 40mm fan which remains inaudible over the main fans at all temperatures.
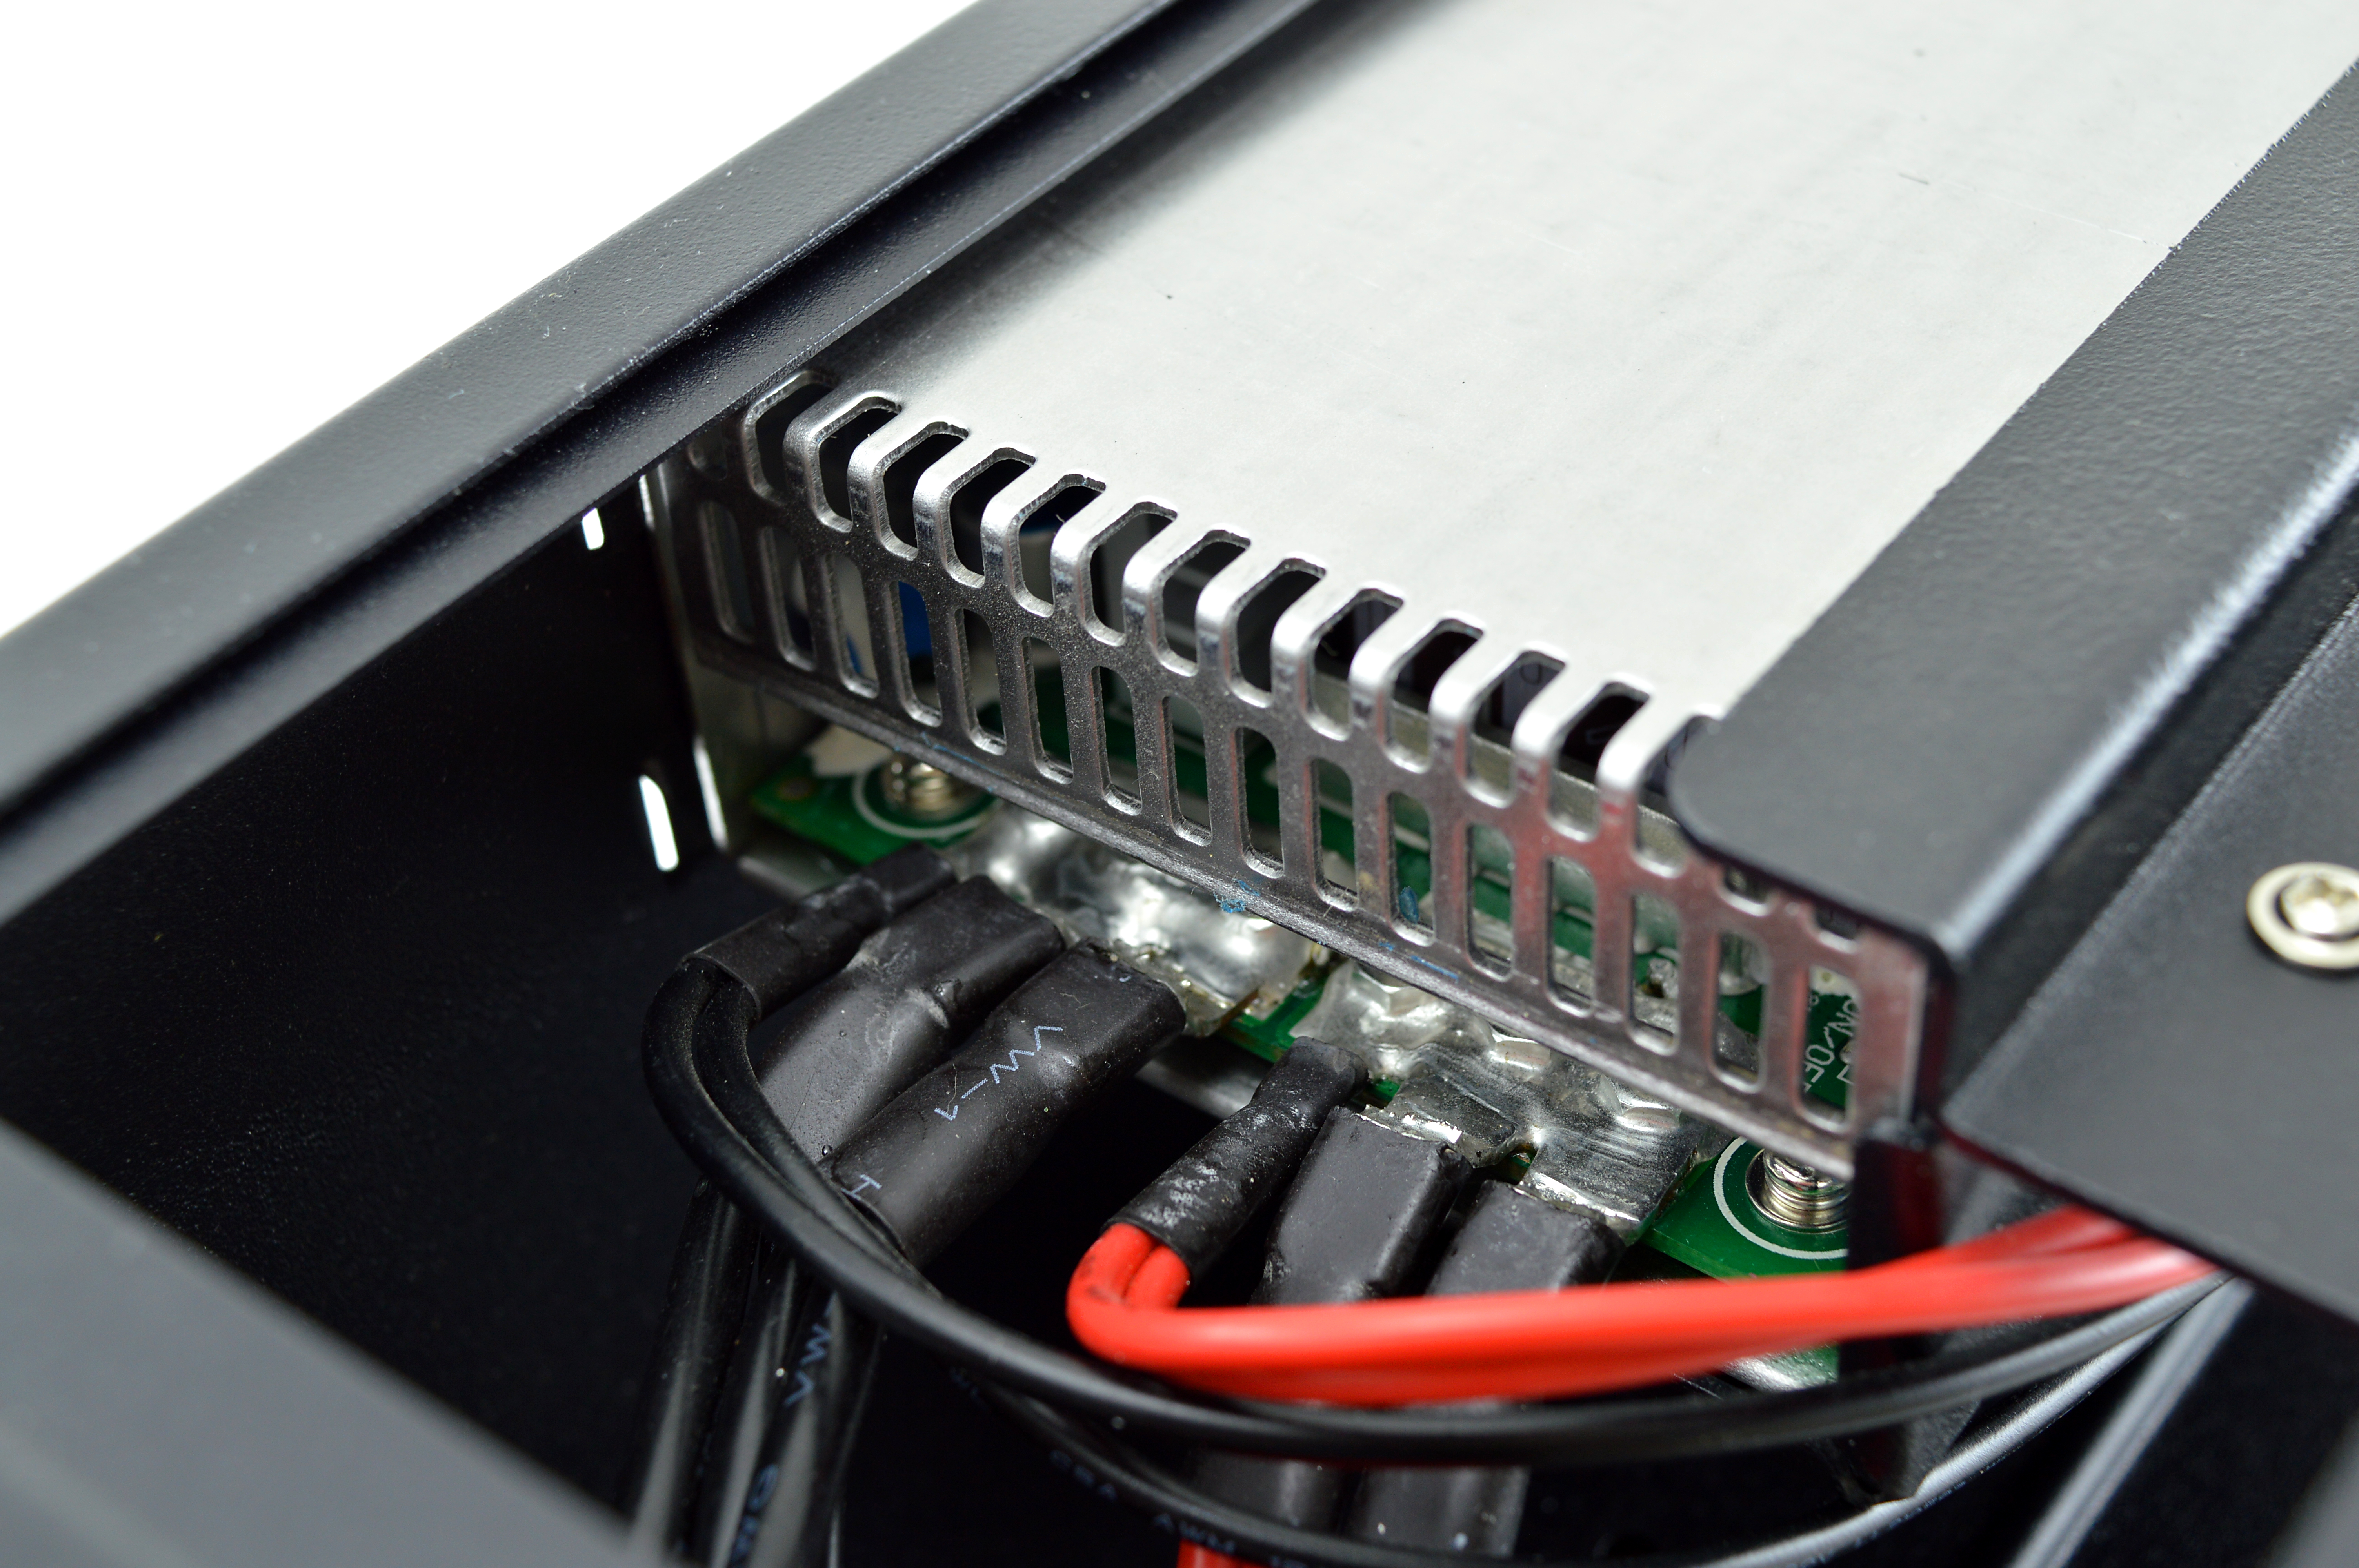
The rear of each hashing board is covered by a full cover aluminium heatsink with a reasonable polished finish. Each chip has individually applied thermal
paste to provide good contact. Please be careful when handling these heatsinks, they are extremely sharp.


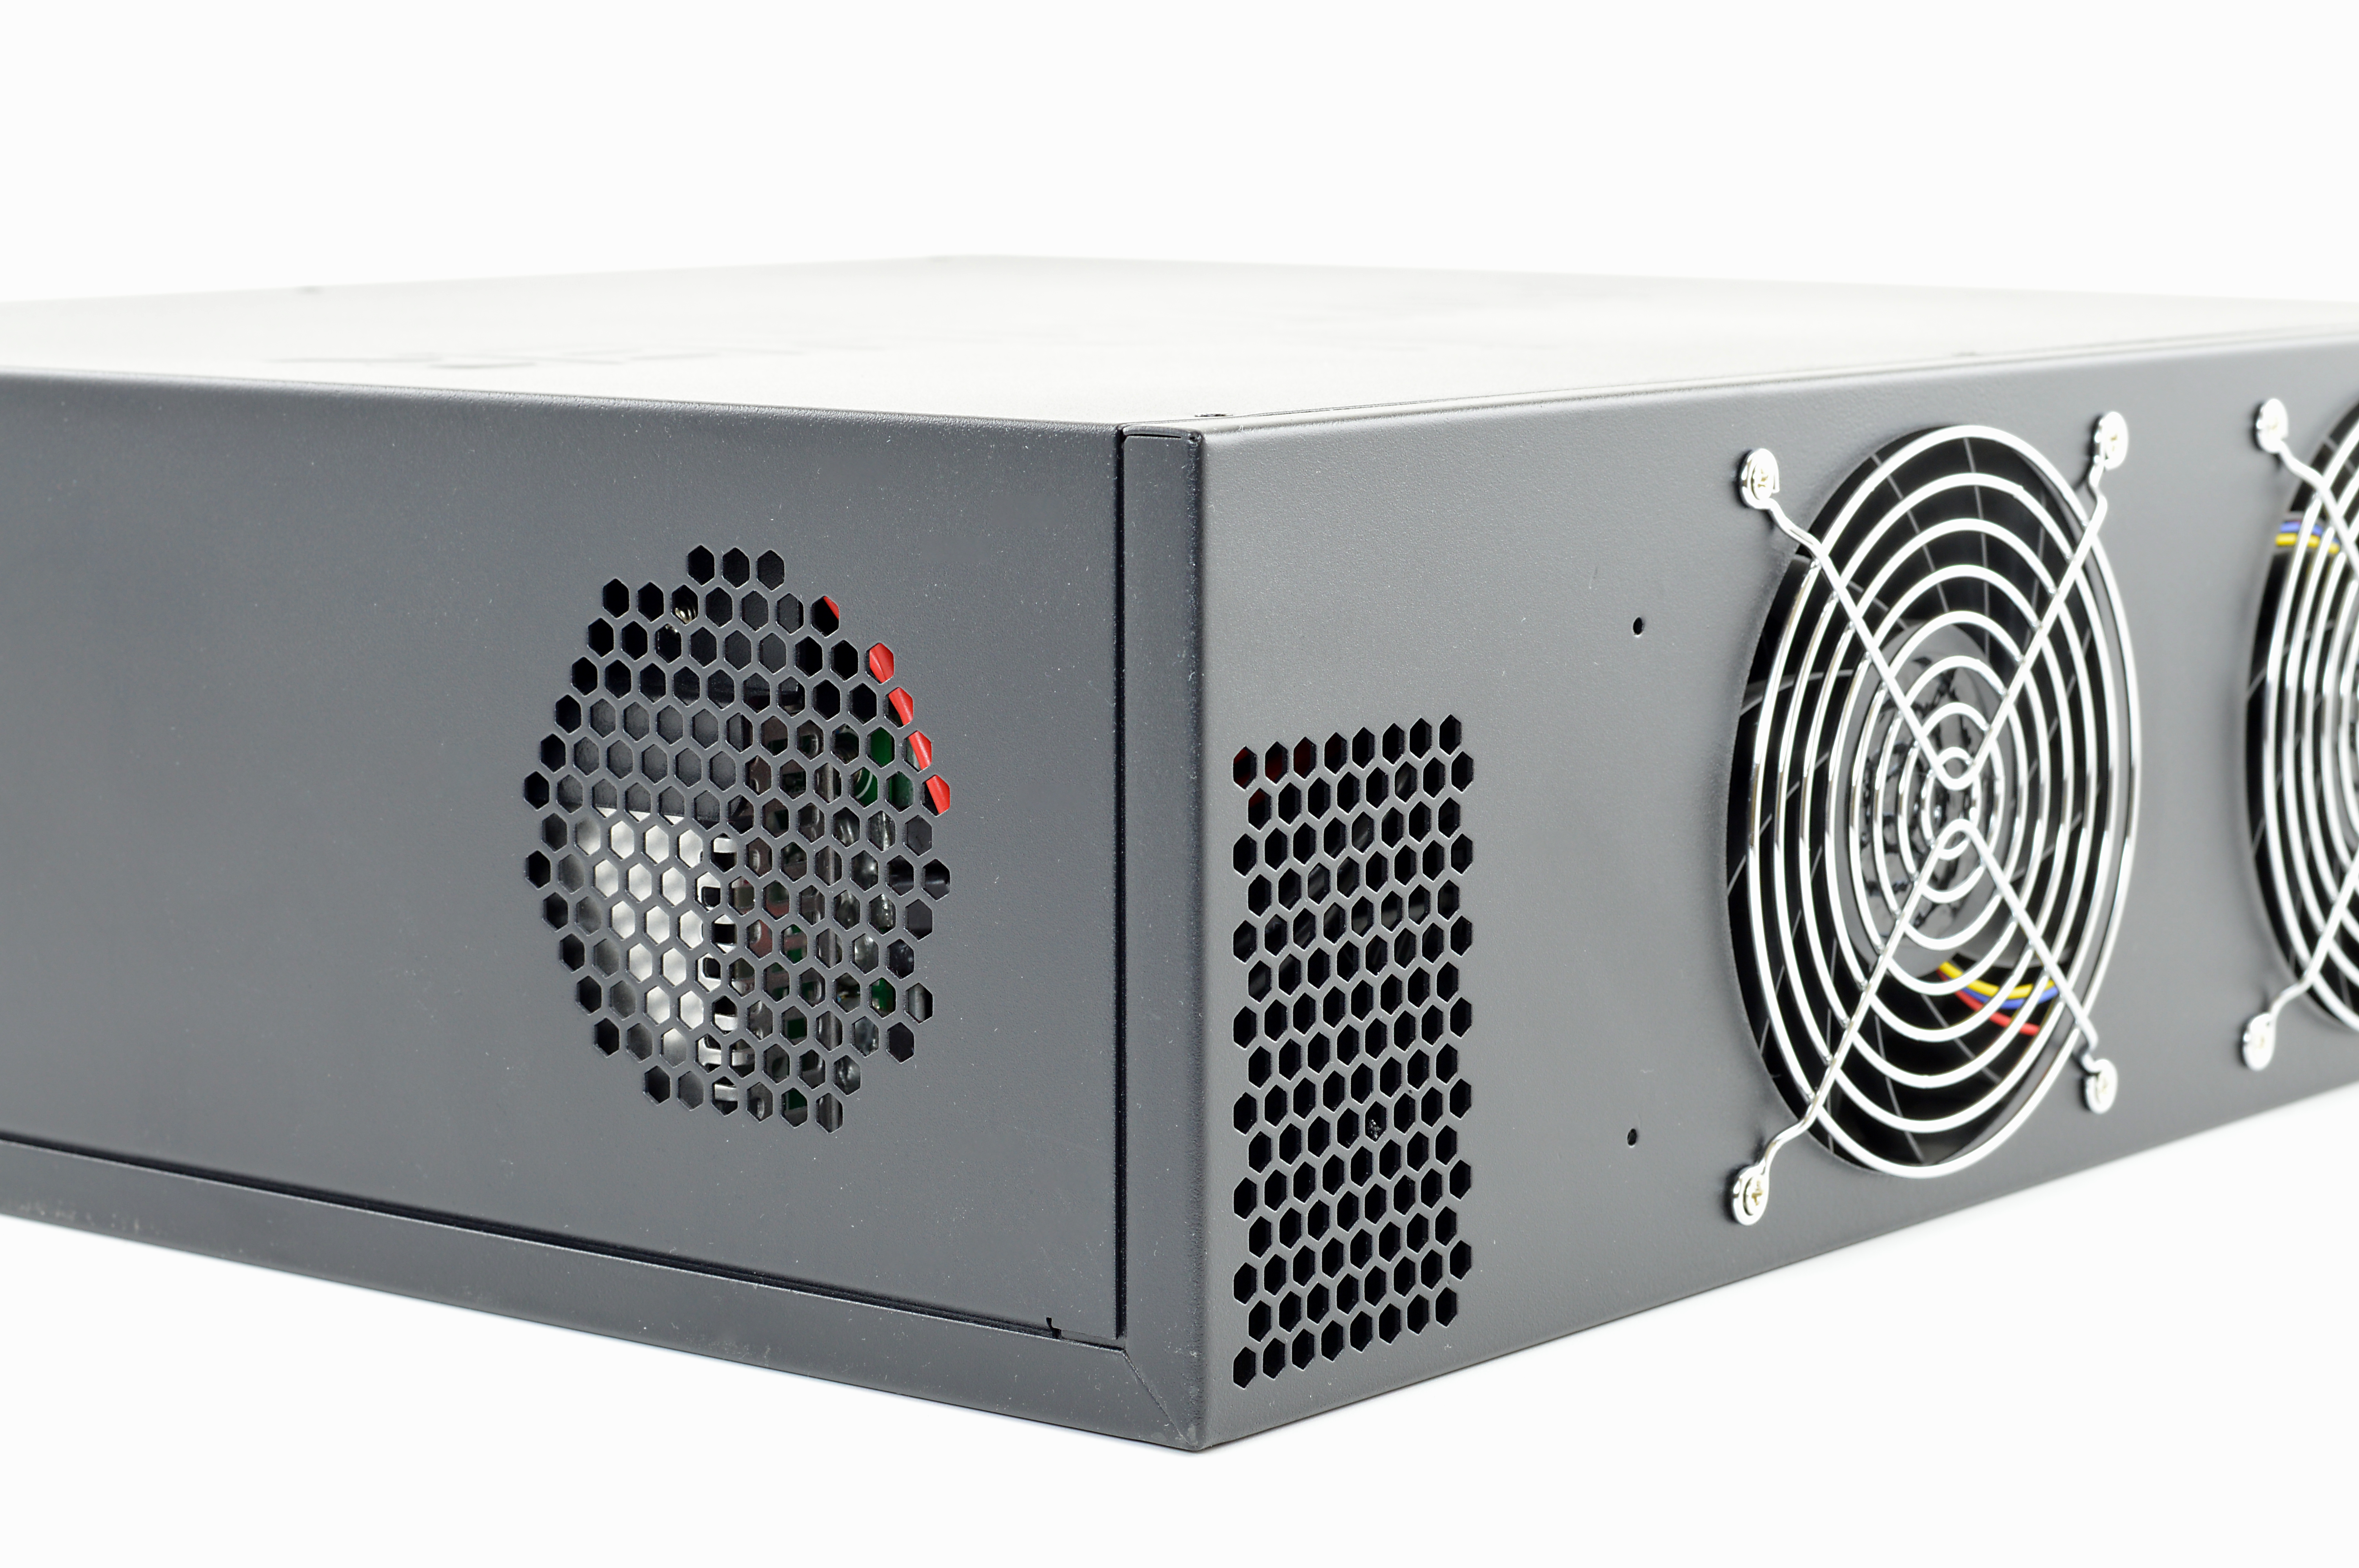
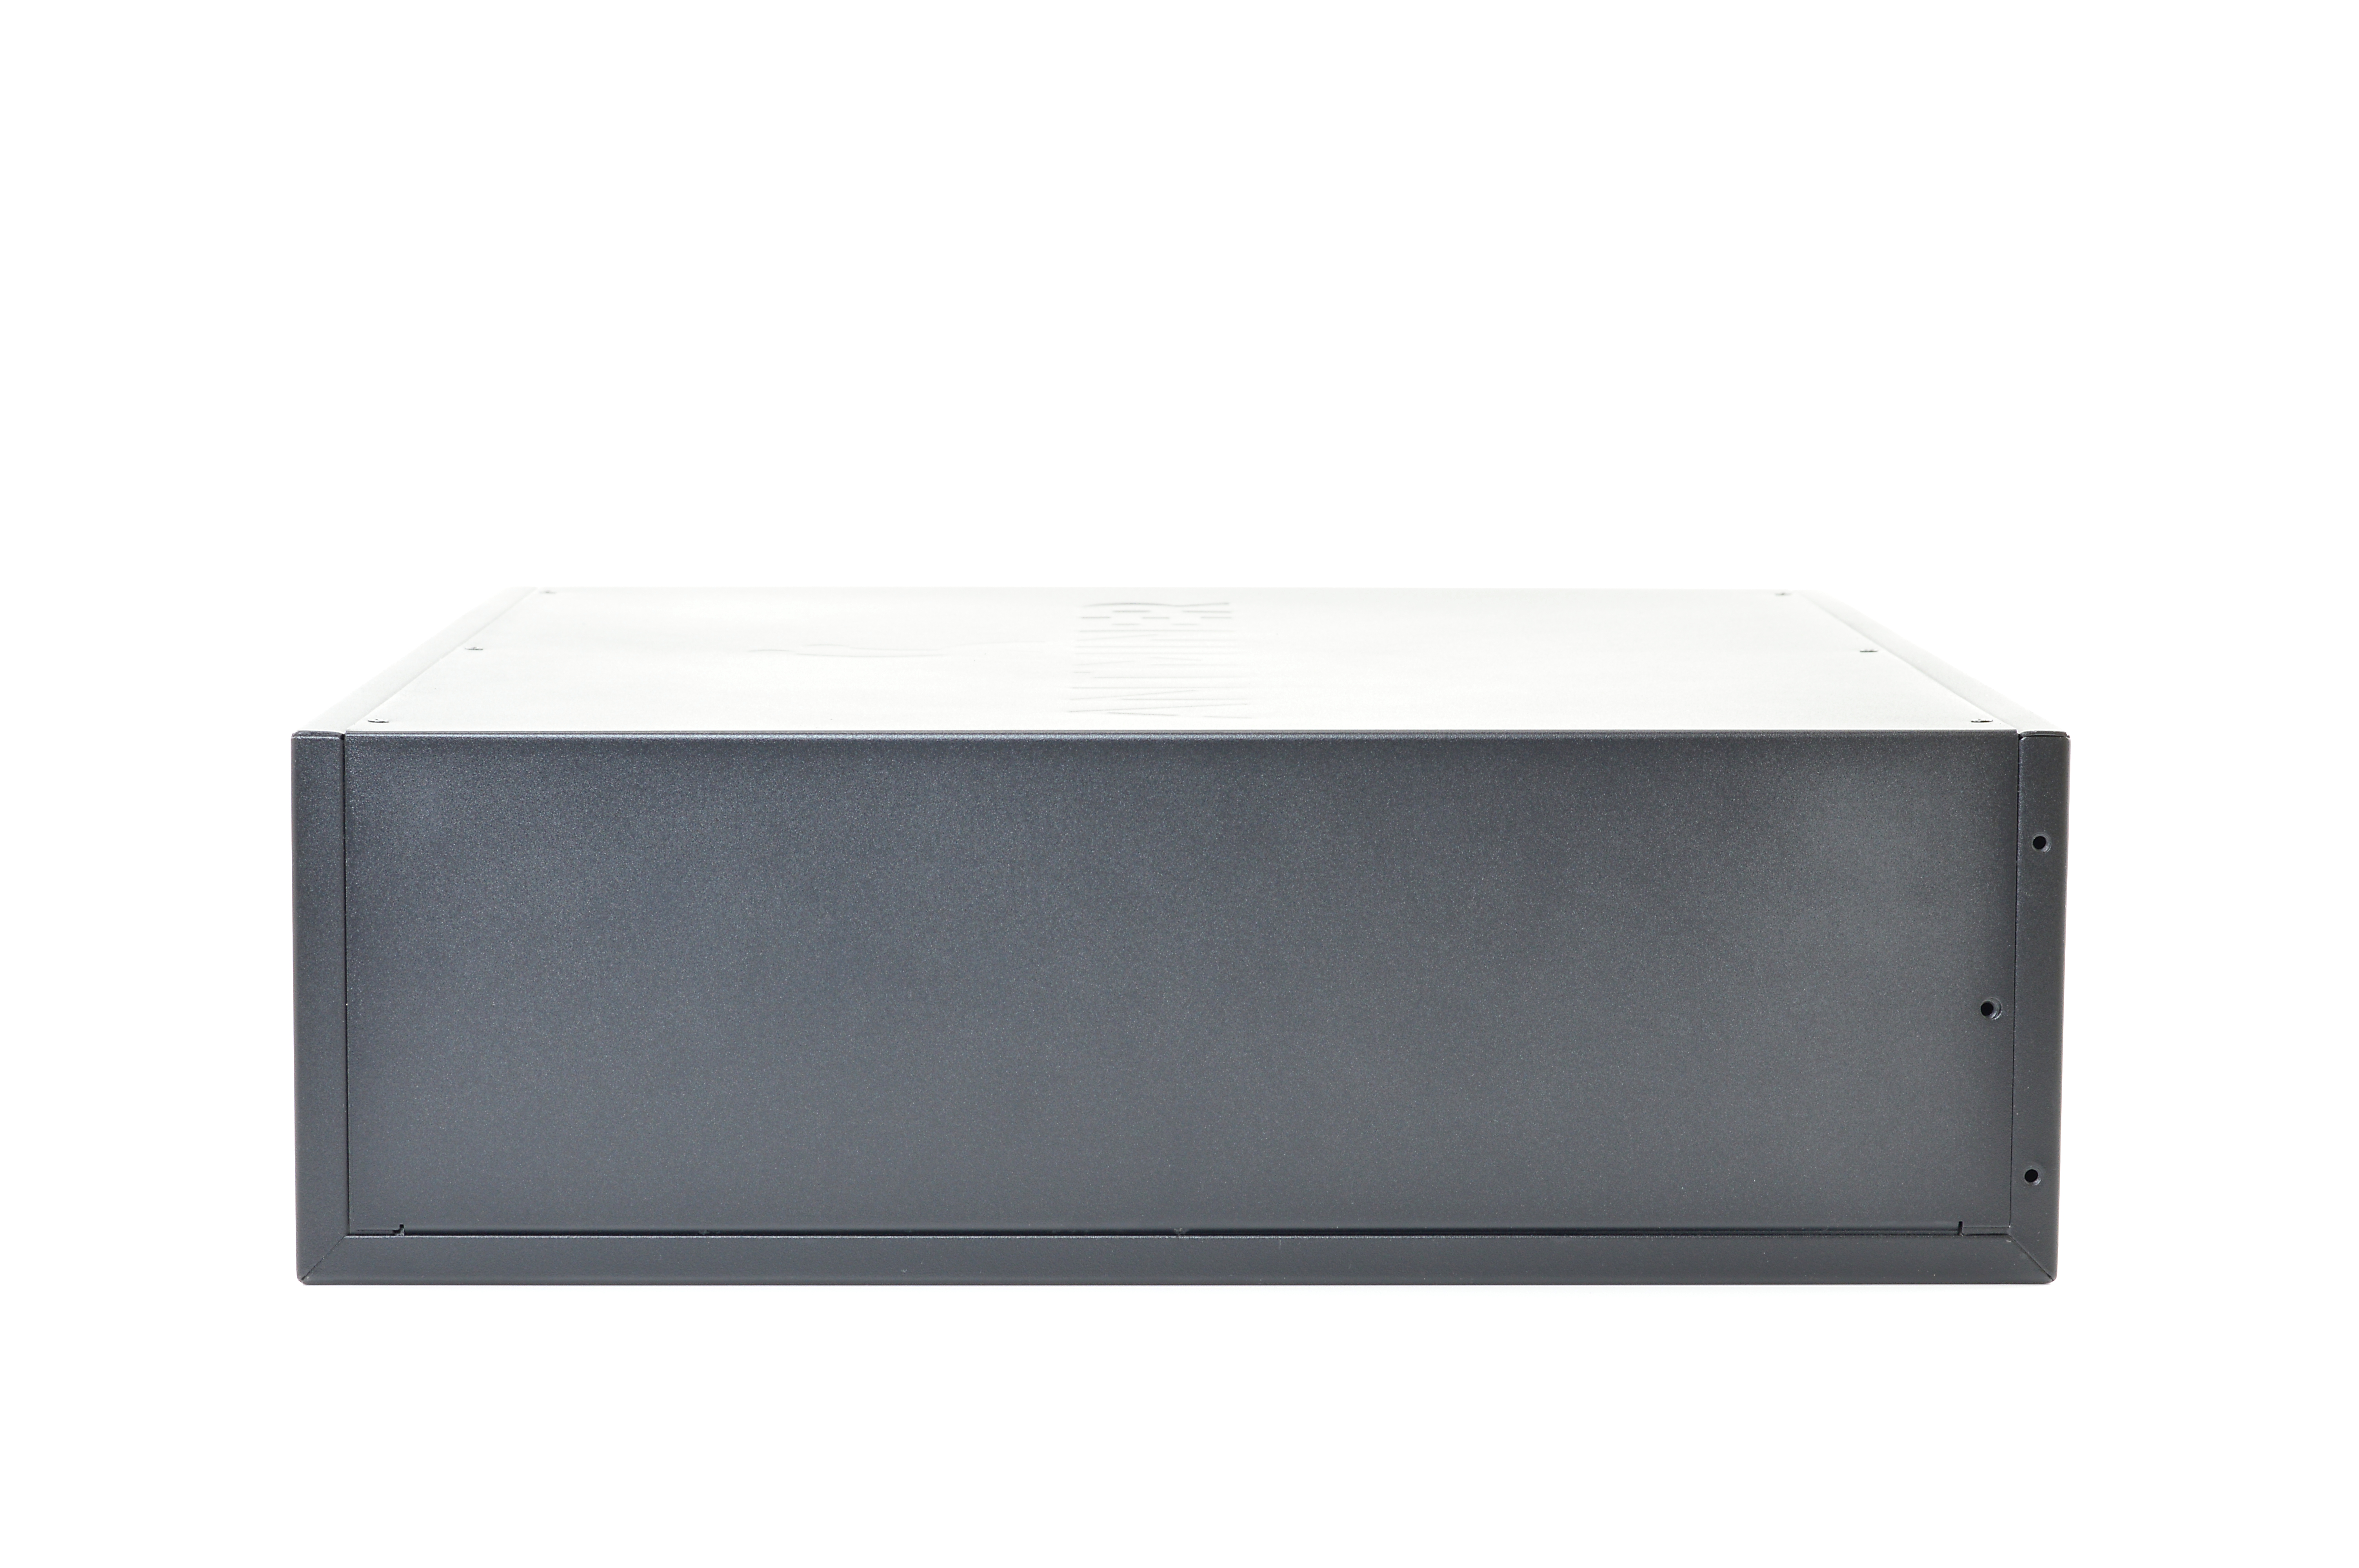
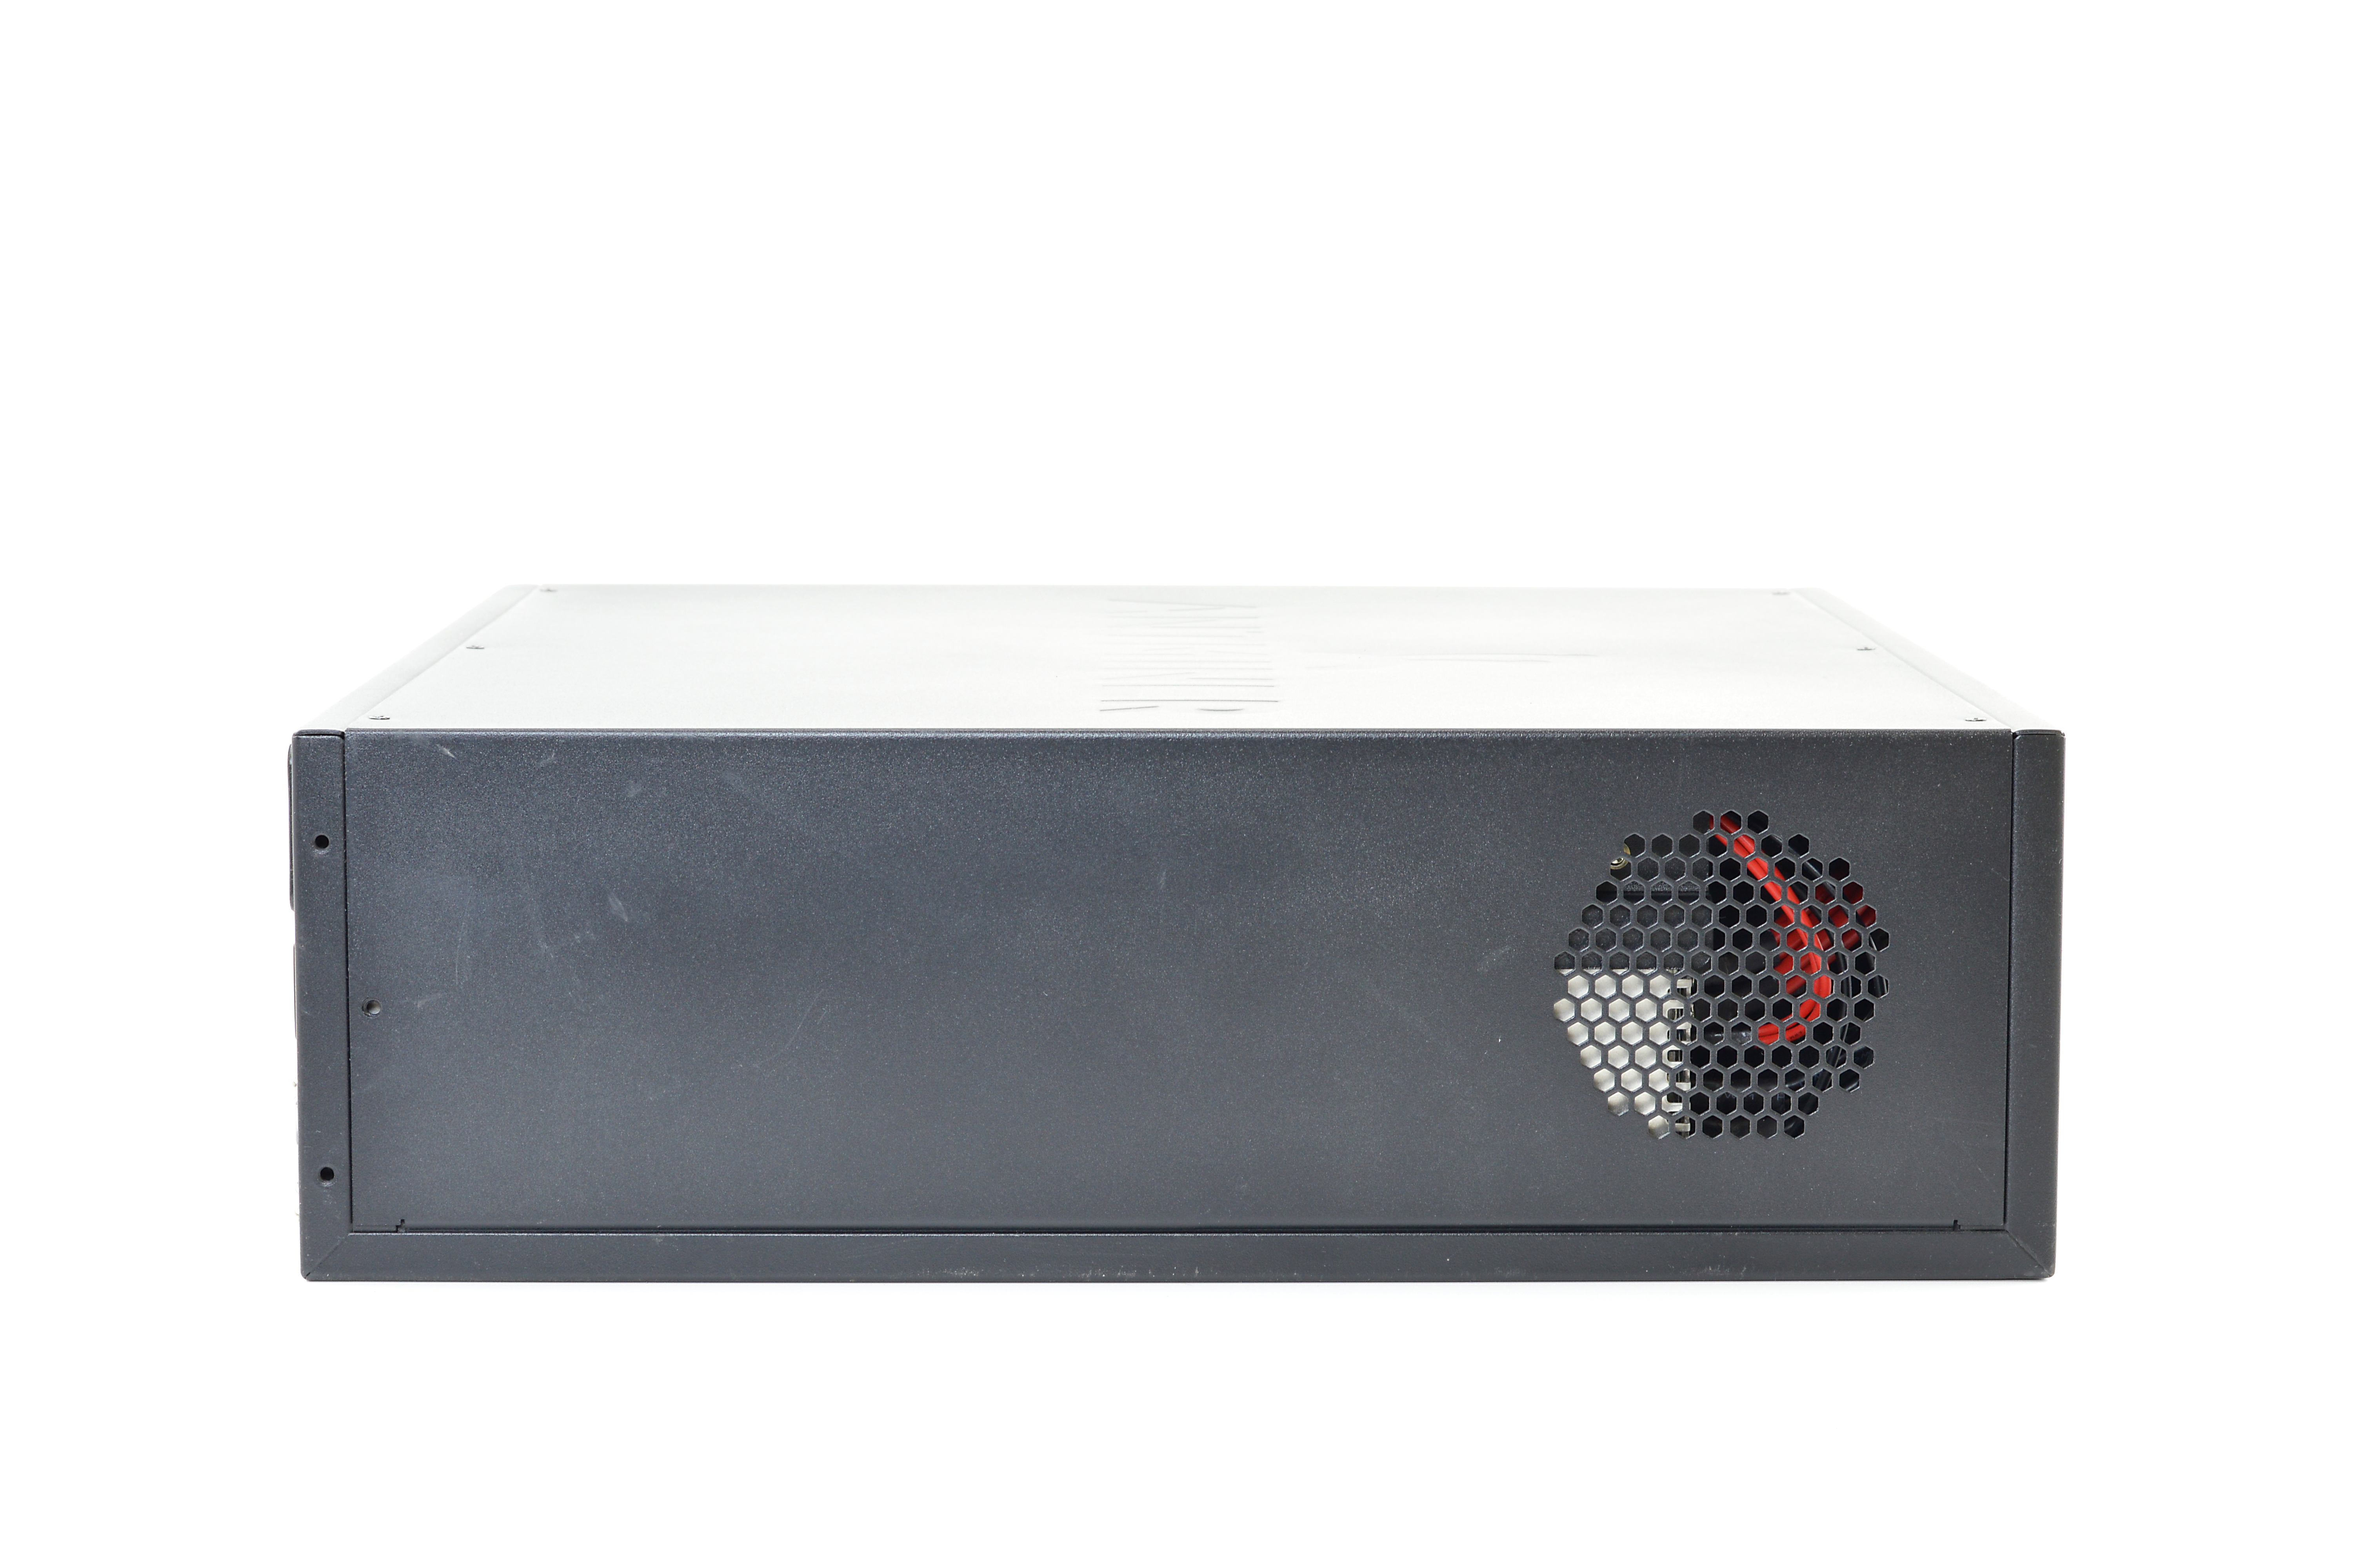
3) Case (top)
The S4+ retains the same lightweight steel case as the original and is easy to lift and install. The case is held closed by 6 screws placed on the top
for easy internal access. The PSU's compartment is separated from the mining area and cables are neatly routed out of the way. Please be careful when
replacing the case lid, that you make sure the grill on the lid is aligned with the PSU, else the PSU will be suffocated and may overheat.
A boxed S4+ weighs 14.4kg and measures 580mm x 5650mm x 265mm while the unit alone weighs 12.4kg and measures 440mm x 425mm x 132mm.
Click here to see a 360 degree view!


4) Configuration (top)
The S4+ is standalone and does not require an external controller.
Wiring:
Configuration:

Nicely formatted version available at dogiecoin.com!
Contents:
0a) What to Expect
0b) What You Need
1) Powering
2) Cooling
3) Case
4) Configuration
5) Troubleshooting
6) Where to buy
0a) What to Expect (top)
Bitmain's AntMiner S4+ upgrades the original by adding an additional 44 chips across the 4 mining boards which are cooled by 4 powerful 120mm fans. A
power efficient string design is utilised along with an internal 1600W PSU. The S4+ is standalone and does not require an external controller. Mounting ears
are included.
|  |
| |  |


0b) What You Need (top)
You will need a few accessories to get started.
Click your flag to find everything you need to get started at Amazon!
1) Powering (top)
S4+'s come with a internal 1600W APW3-12-1600-B1 / B2 power supply which will power on automatically once plugged in. Please note that this PSU is
ONLY compatible with high voltage mains, between 205V and 264V. The unit will not operate outside of this range. The B1 variant utilises 12 PCI-E
connectors while the B2 variant utilises 4 pairs of M4 10 AWG spade connectors to power the hashing boards and a single PCI-E connector to power the controller
and fans.


2) Cooling (top)
The S4+ is self sufficient in cooling terms and utilises four 120x38mm fans which operate between 3500 and 4200rpm. All four are PWM controlled and
automatically react to increased temperatures. Noise levels are very high but of reasonable tone, and identical to that of the original S4. The PSU is cooled
by its own 40mm fan which remains inaudible over the main fans at all temperatures.
The rear of each hashing board is covered by a full cover aluminium heatsink with a reasonable polished finish. Each chip has individually applied thermal
paste to provide good contact. Please be careful when handling these heatsinks, they are extremely sharp.
3) Case (top)
The S4+ retains the same lightweight steel case as the original and is easy to lift and install. The case is held closed by 6 screws placed on the top
for easy internal access. The PSU's compartment is separated from the mining area and cables are neatly routed out of the way. Please be careful when
replacing the case lid, that you make sure the grill on the lid is aligned with the PSU, else the PSU will be suffocated and may overheat.
A boxed S4+ weighs 14.4kg and measures 580mm x 5650mm x 265mm while the unit alone weighs 12.4kg and measures 440mm x 425mm x 132mm.
Click here to see a 360 degree view!

4) Configuration (top)
The S4+ is standalone and does not require an external controller.
Wiring:
- Plug in a power cable from the AntMiner to the mains.
- Plug in an ethernet cable from the AntMiner to you router.
Configuration:
- The unit will automatically power on when you provide it power.
- Make sure that your router's DHCP table is turned on. You can assume it is already on if you have a typical router.
- Using a browser, navigate to your router and find the IP it has assigned the S4+ and navigate to that IP.
- Login using "root" as both the username and password.
- Navigate to the page Status -> Miner Configuration. Enter your pool information in the below format. Click "Save & Apply".
- Navigate to the page "Miner Status" to check mining has started.
 |
| Antpool Register! Code: Servers : stratum.antpool.com:3333 Code: Servers : stratum.btcguild.com:3333 Code: Servers : us1.ghash.io:3333 Jump to:
|