


Nice review and pics, Dogie.
Have you done any mid/long-term testing to find out the average hardware error rate / poolside performance?
Are you going to provide screenshots from the hashing unit or is the GUI still so ugly you would rather not have anyone see it?
BitcointalkSearch
Search easily and fast between all the Bitcointalk topics content.
What's this?

Bitcointalksearch.org - what's this site?
It was the Bitcointalk forum that inspired us to create Bitcointalksearch.org - Bitcointalk is an excellent site that should be the default page for anybody dealing in cryptocurrency, since it is a virtual gold-mine of data. However, our experience and user feedback led us create our site; Bitcointalk's search is slow, and difficult to get the results you need, because you need to log in first to find anything useful - furthermore, there are rate limiters for their search functionality.
The aim of our project is to create a faster website that yields more results and faster without having to create an account and eliminate the need to log in - your personal data, therefore, will never be in jeopardy since we are not asking for any of your data and you don't need to provide them to use our site with all of its capabilities.
We created this website with the sole purpose of users being able to search quickly and efficiently in the field of cryptocurrency so they will have access to the latest and most accurate information and thereby assisting the crypto-community at large.

Author
Topic: [Guide] Dogie's Comprehensive XBTec Pacific 1250 Setup [HD] - page 2. (Read 8413 times)


Dogie's Miner Setup Guides:
Nicely formatted version available at dogiecoin.com!


Contents:
0a) What to Expect
0b) What You Need
1) Powering
2) Cooling
3) Case
4) Configuration
5) Troubleshooting
6) Where to buy
0a) What to Expect (top)
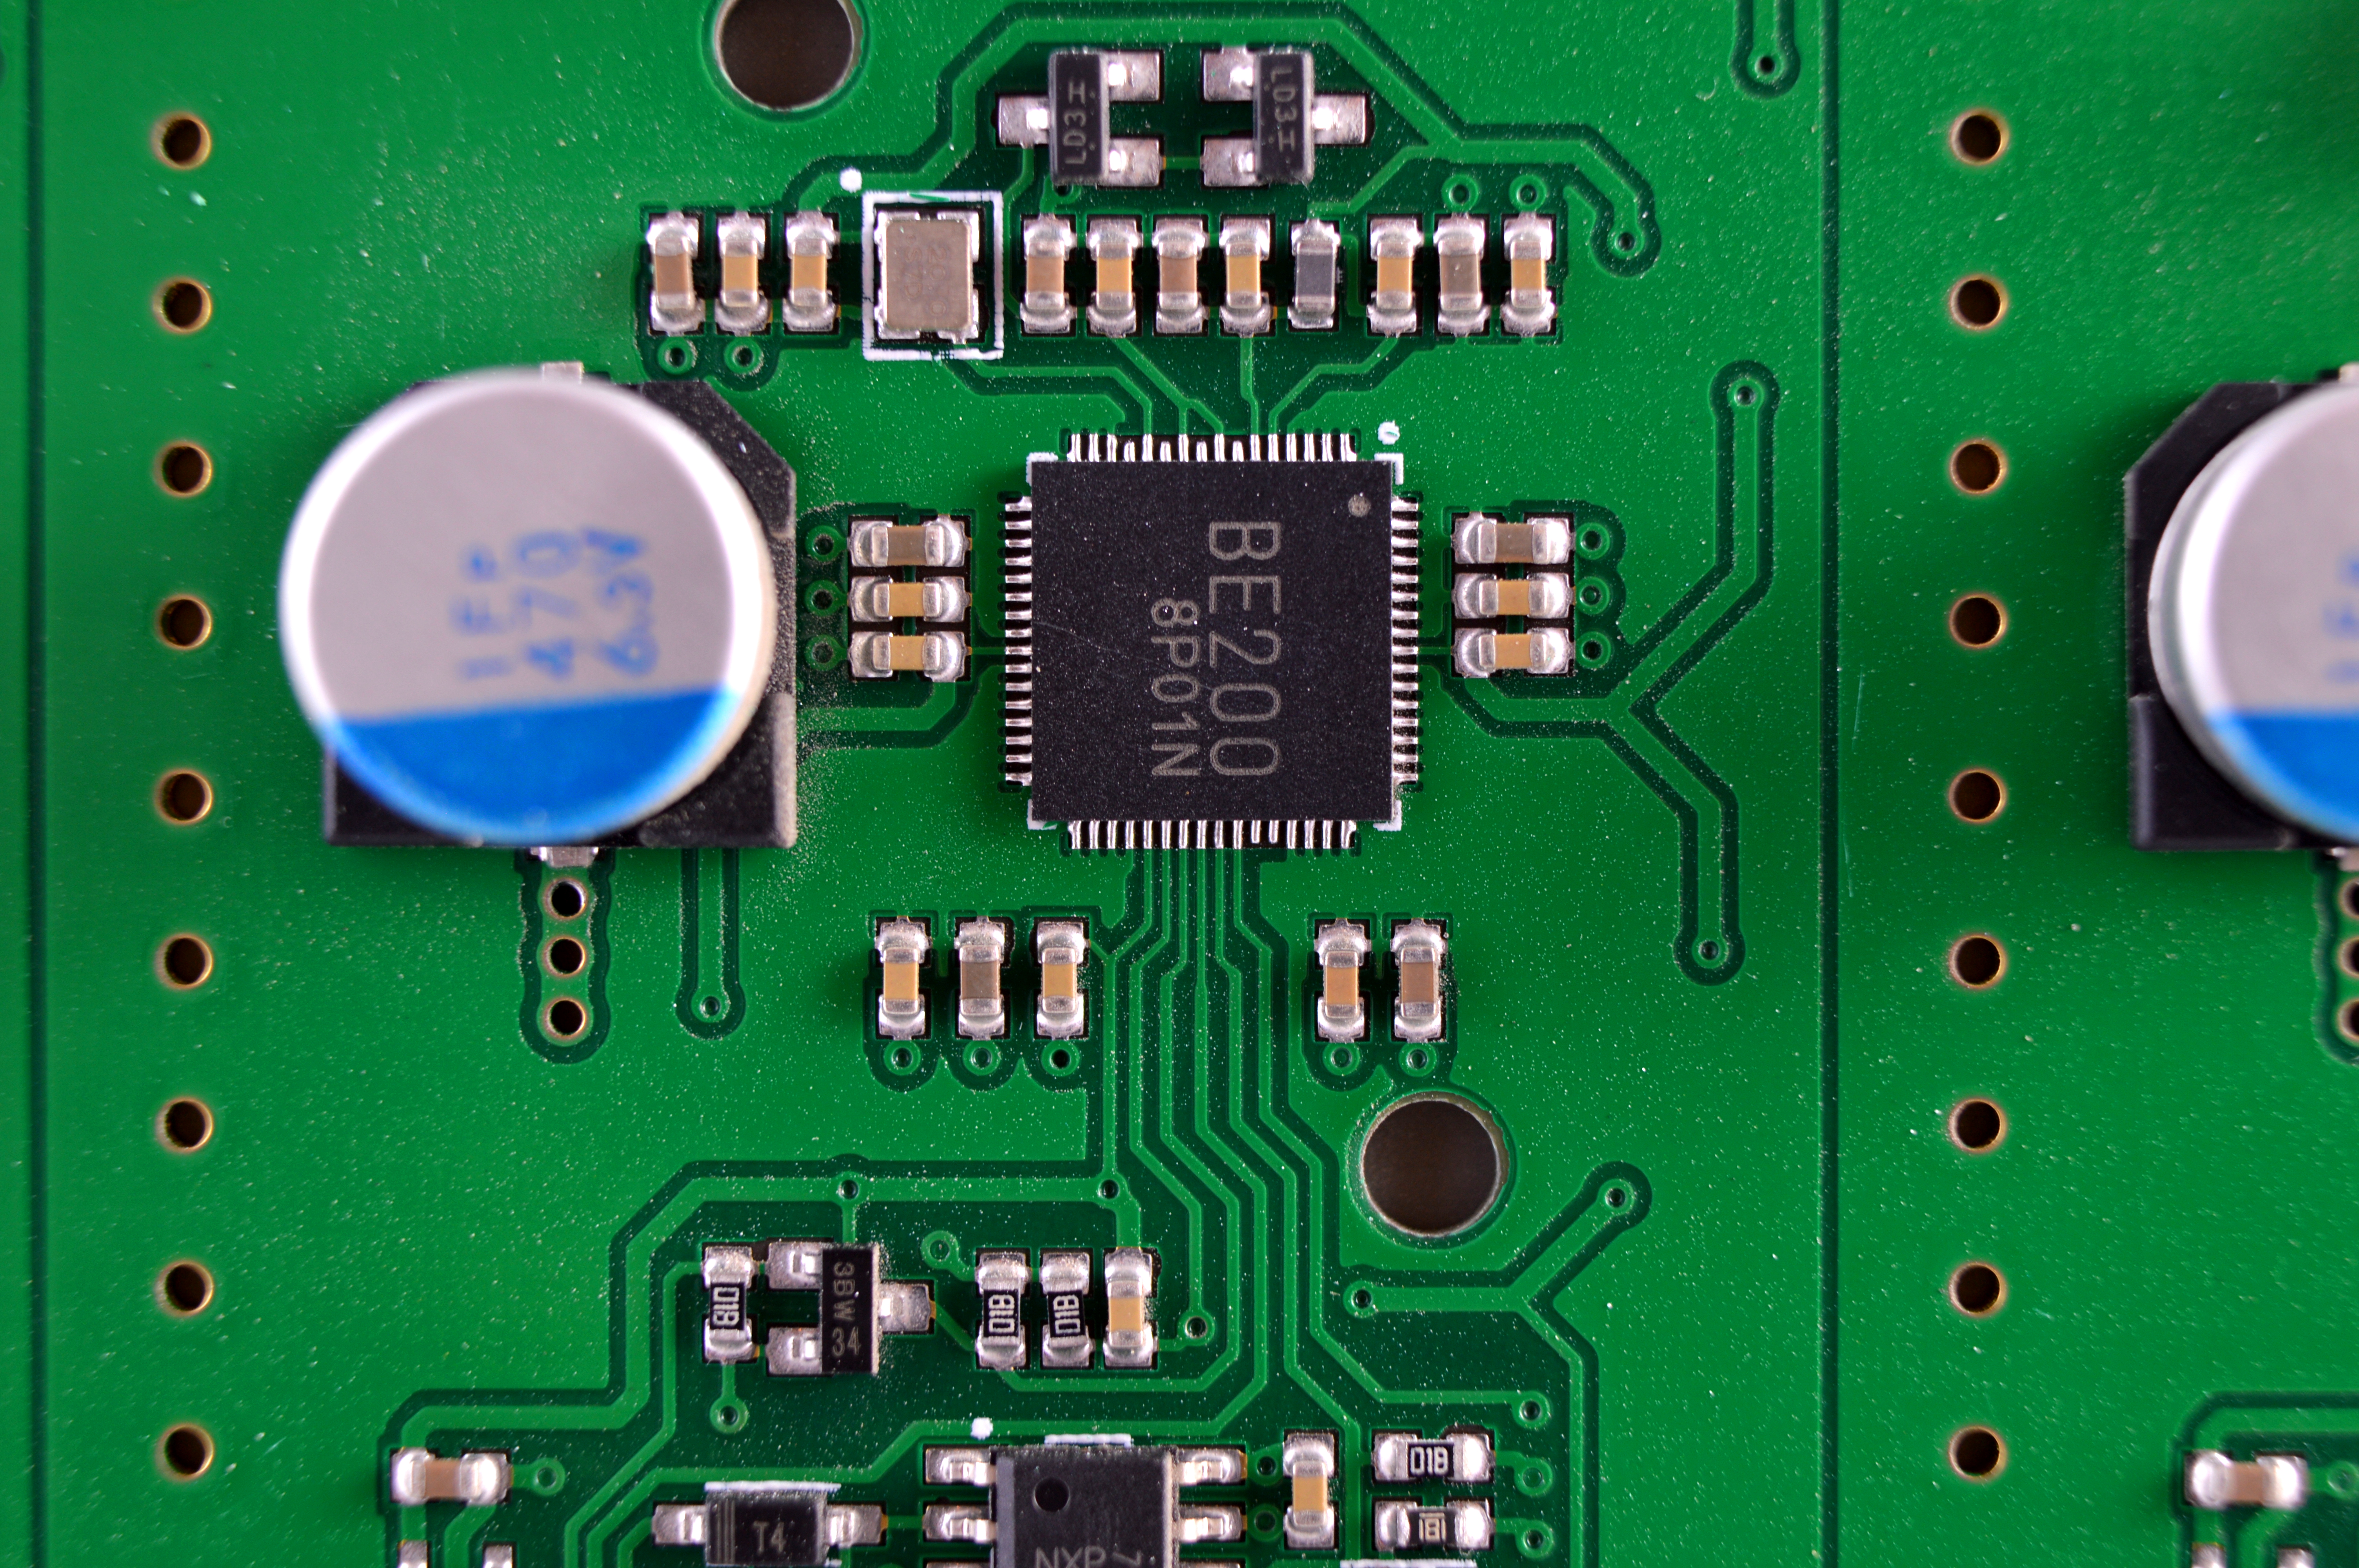
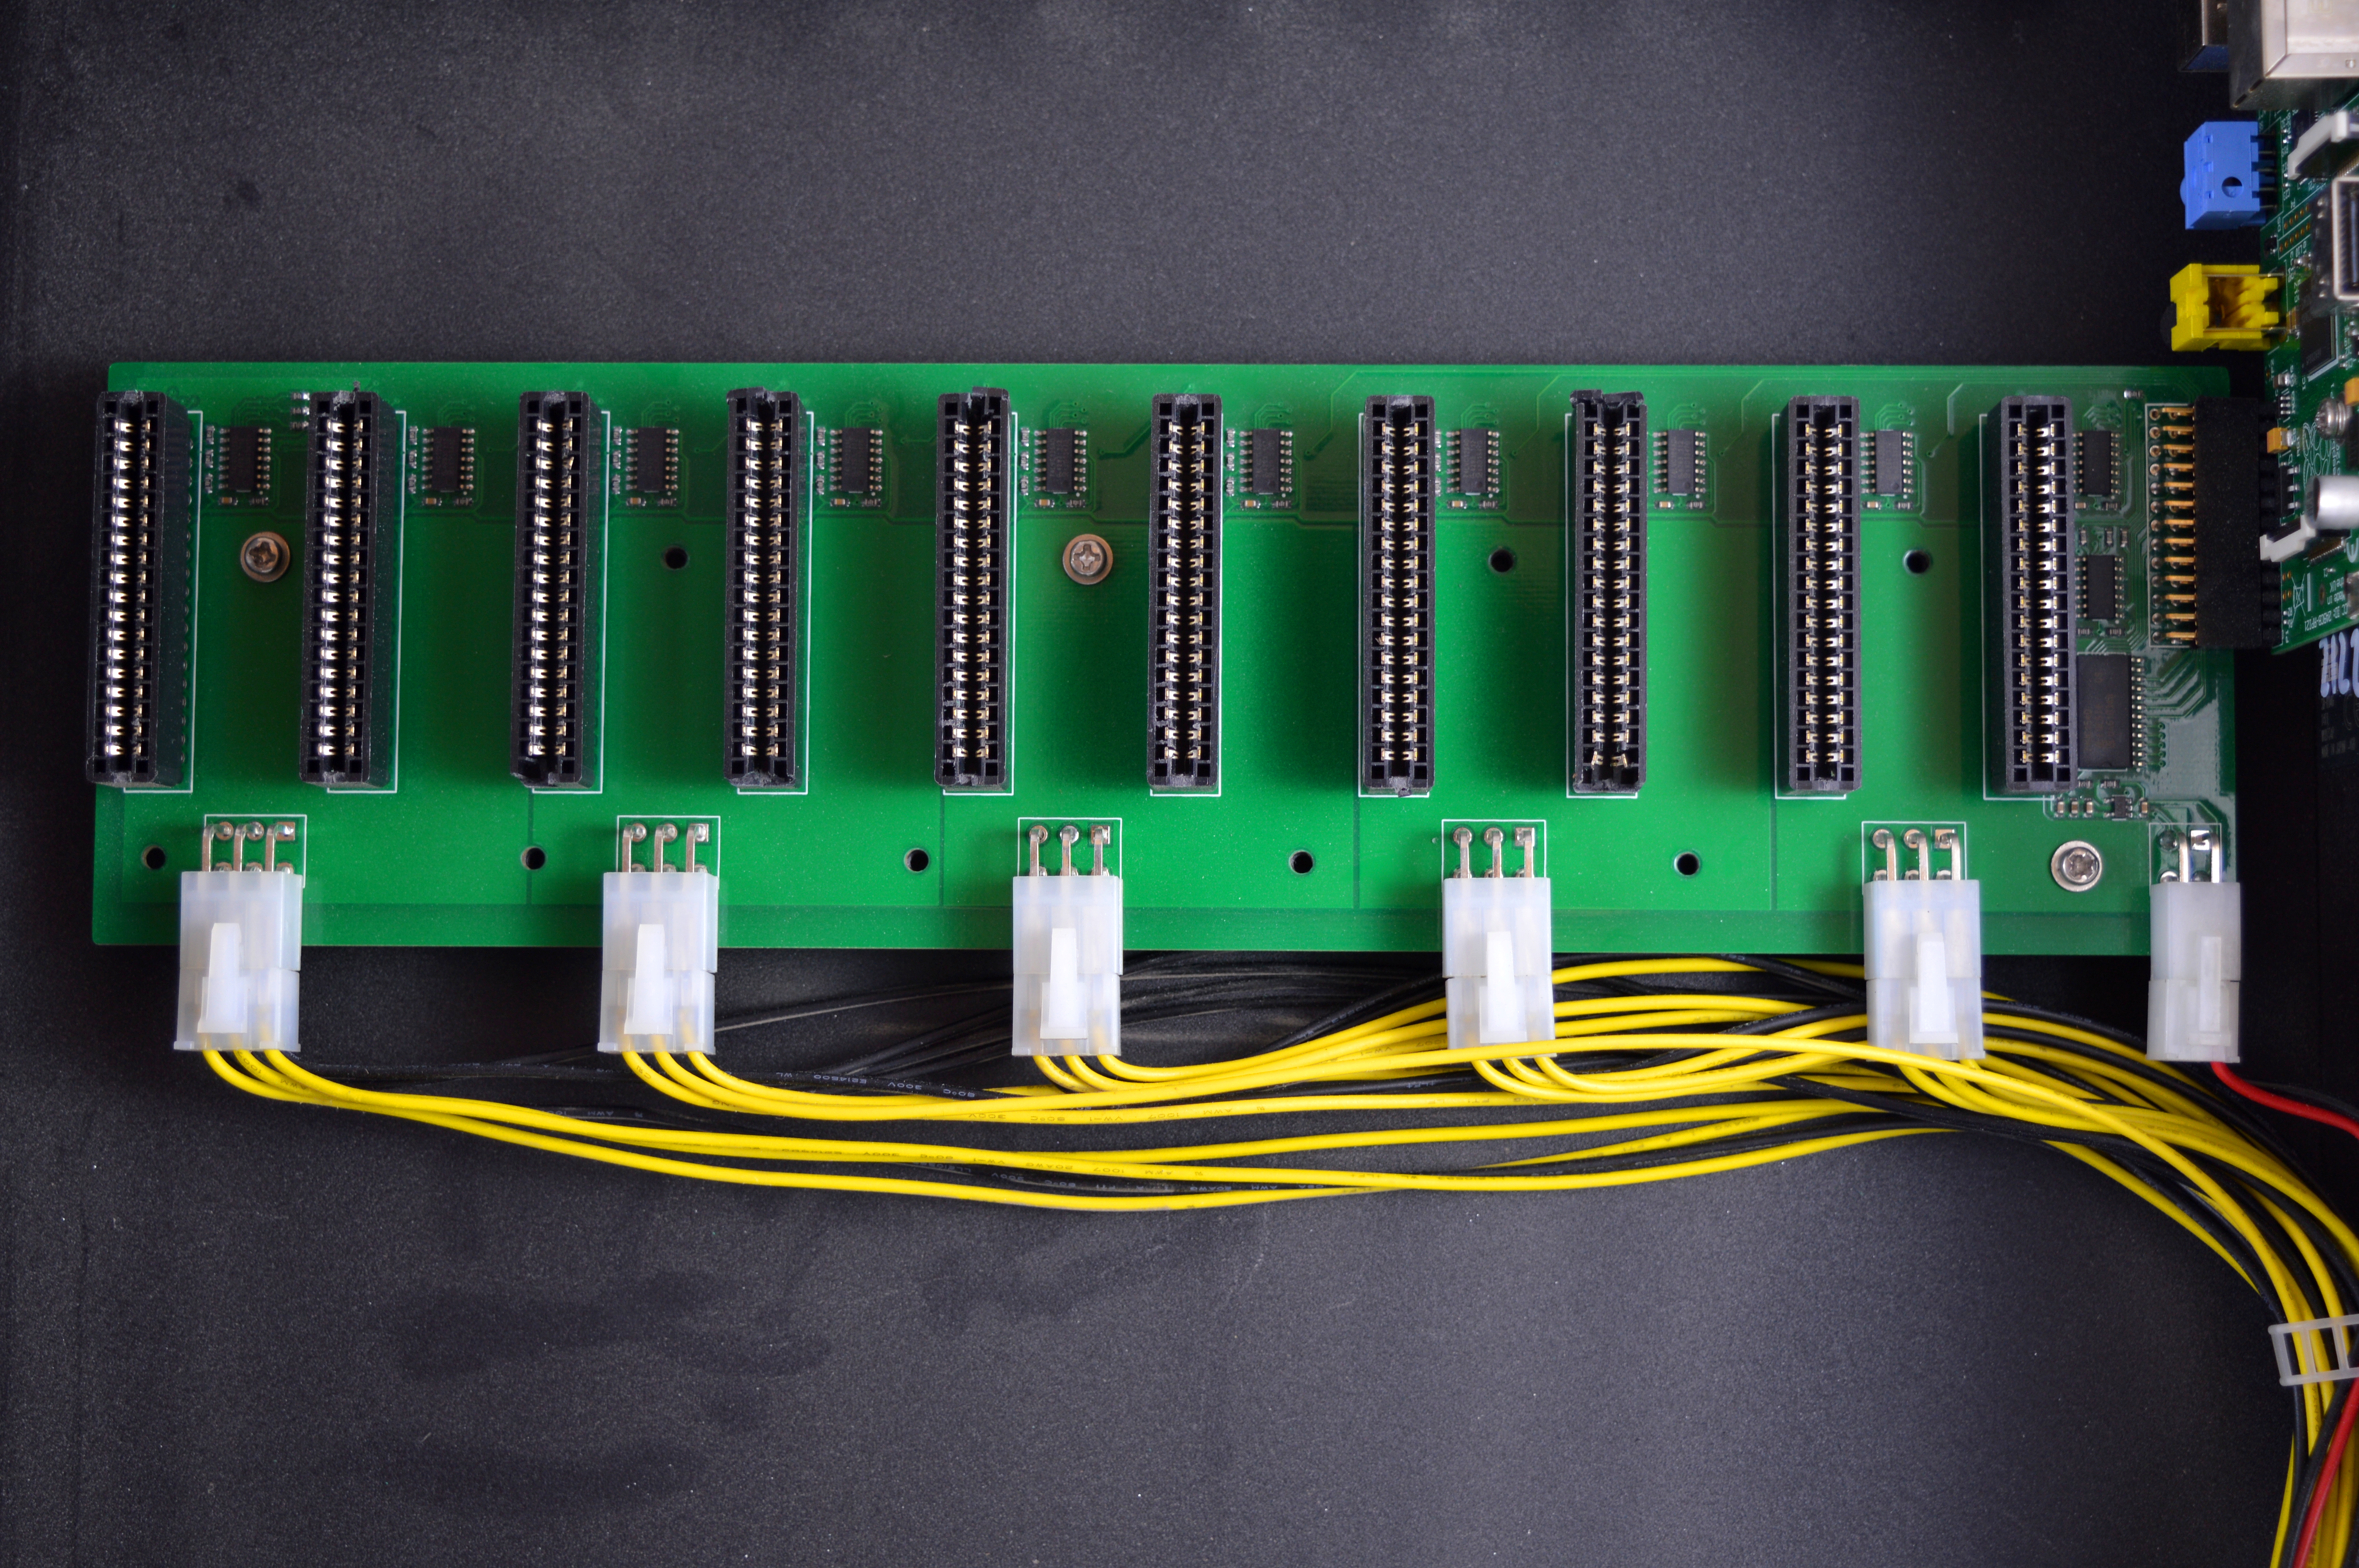
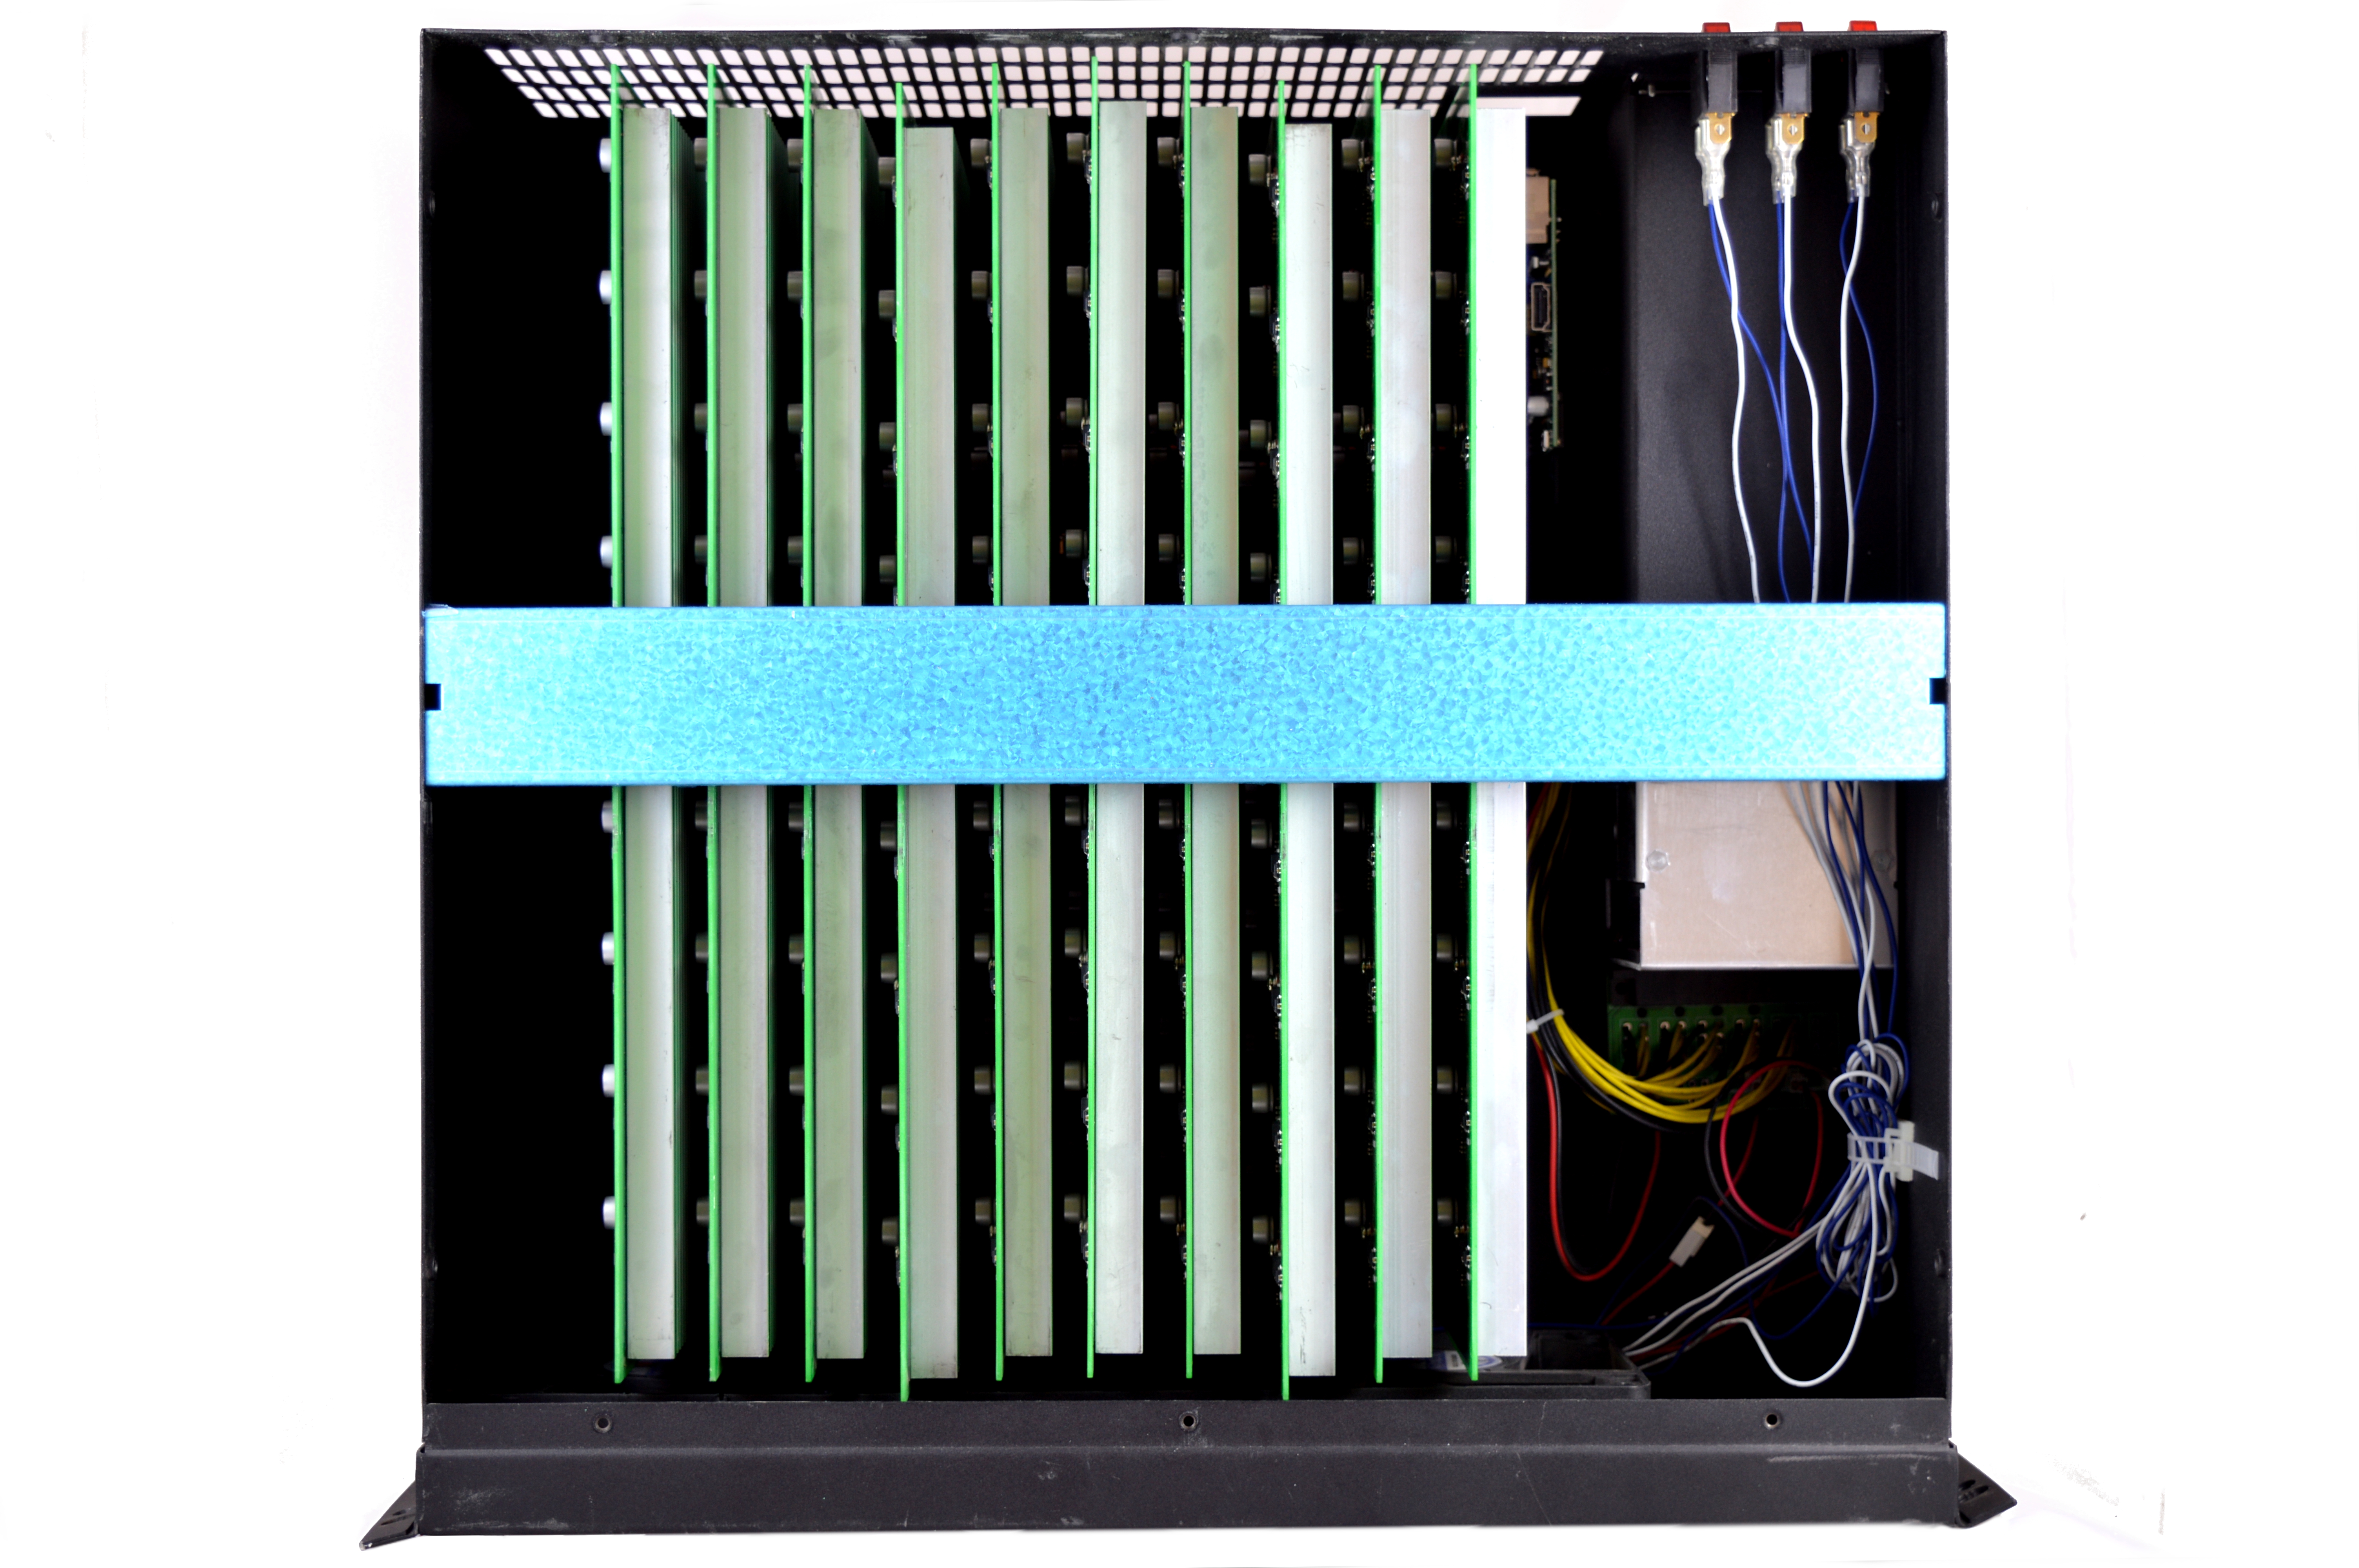
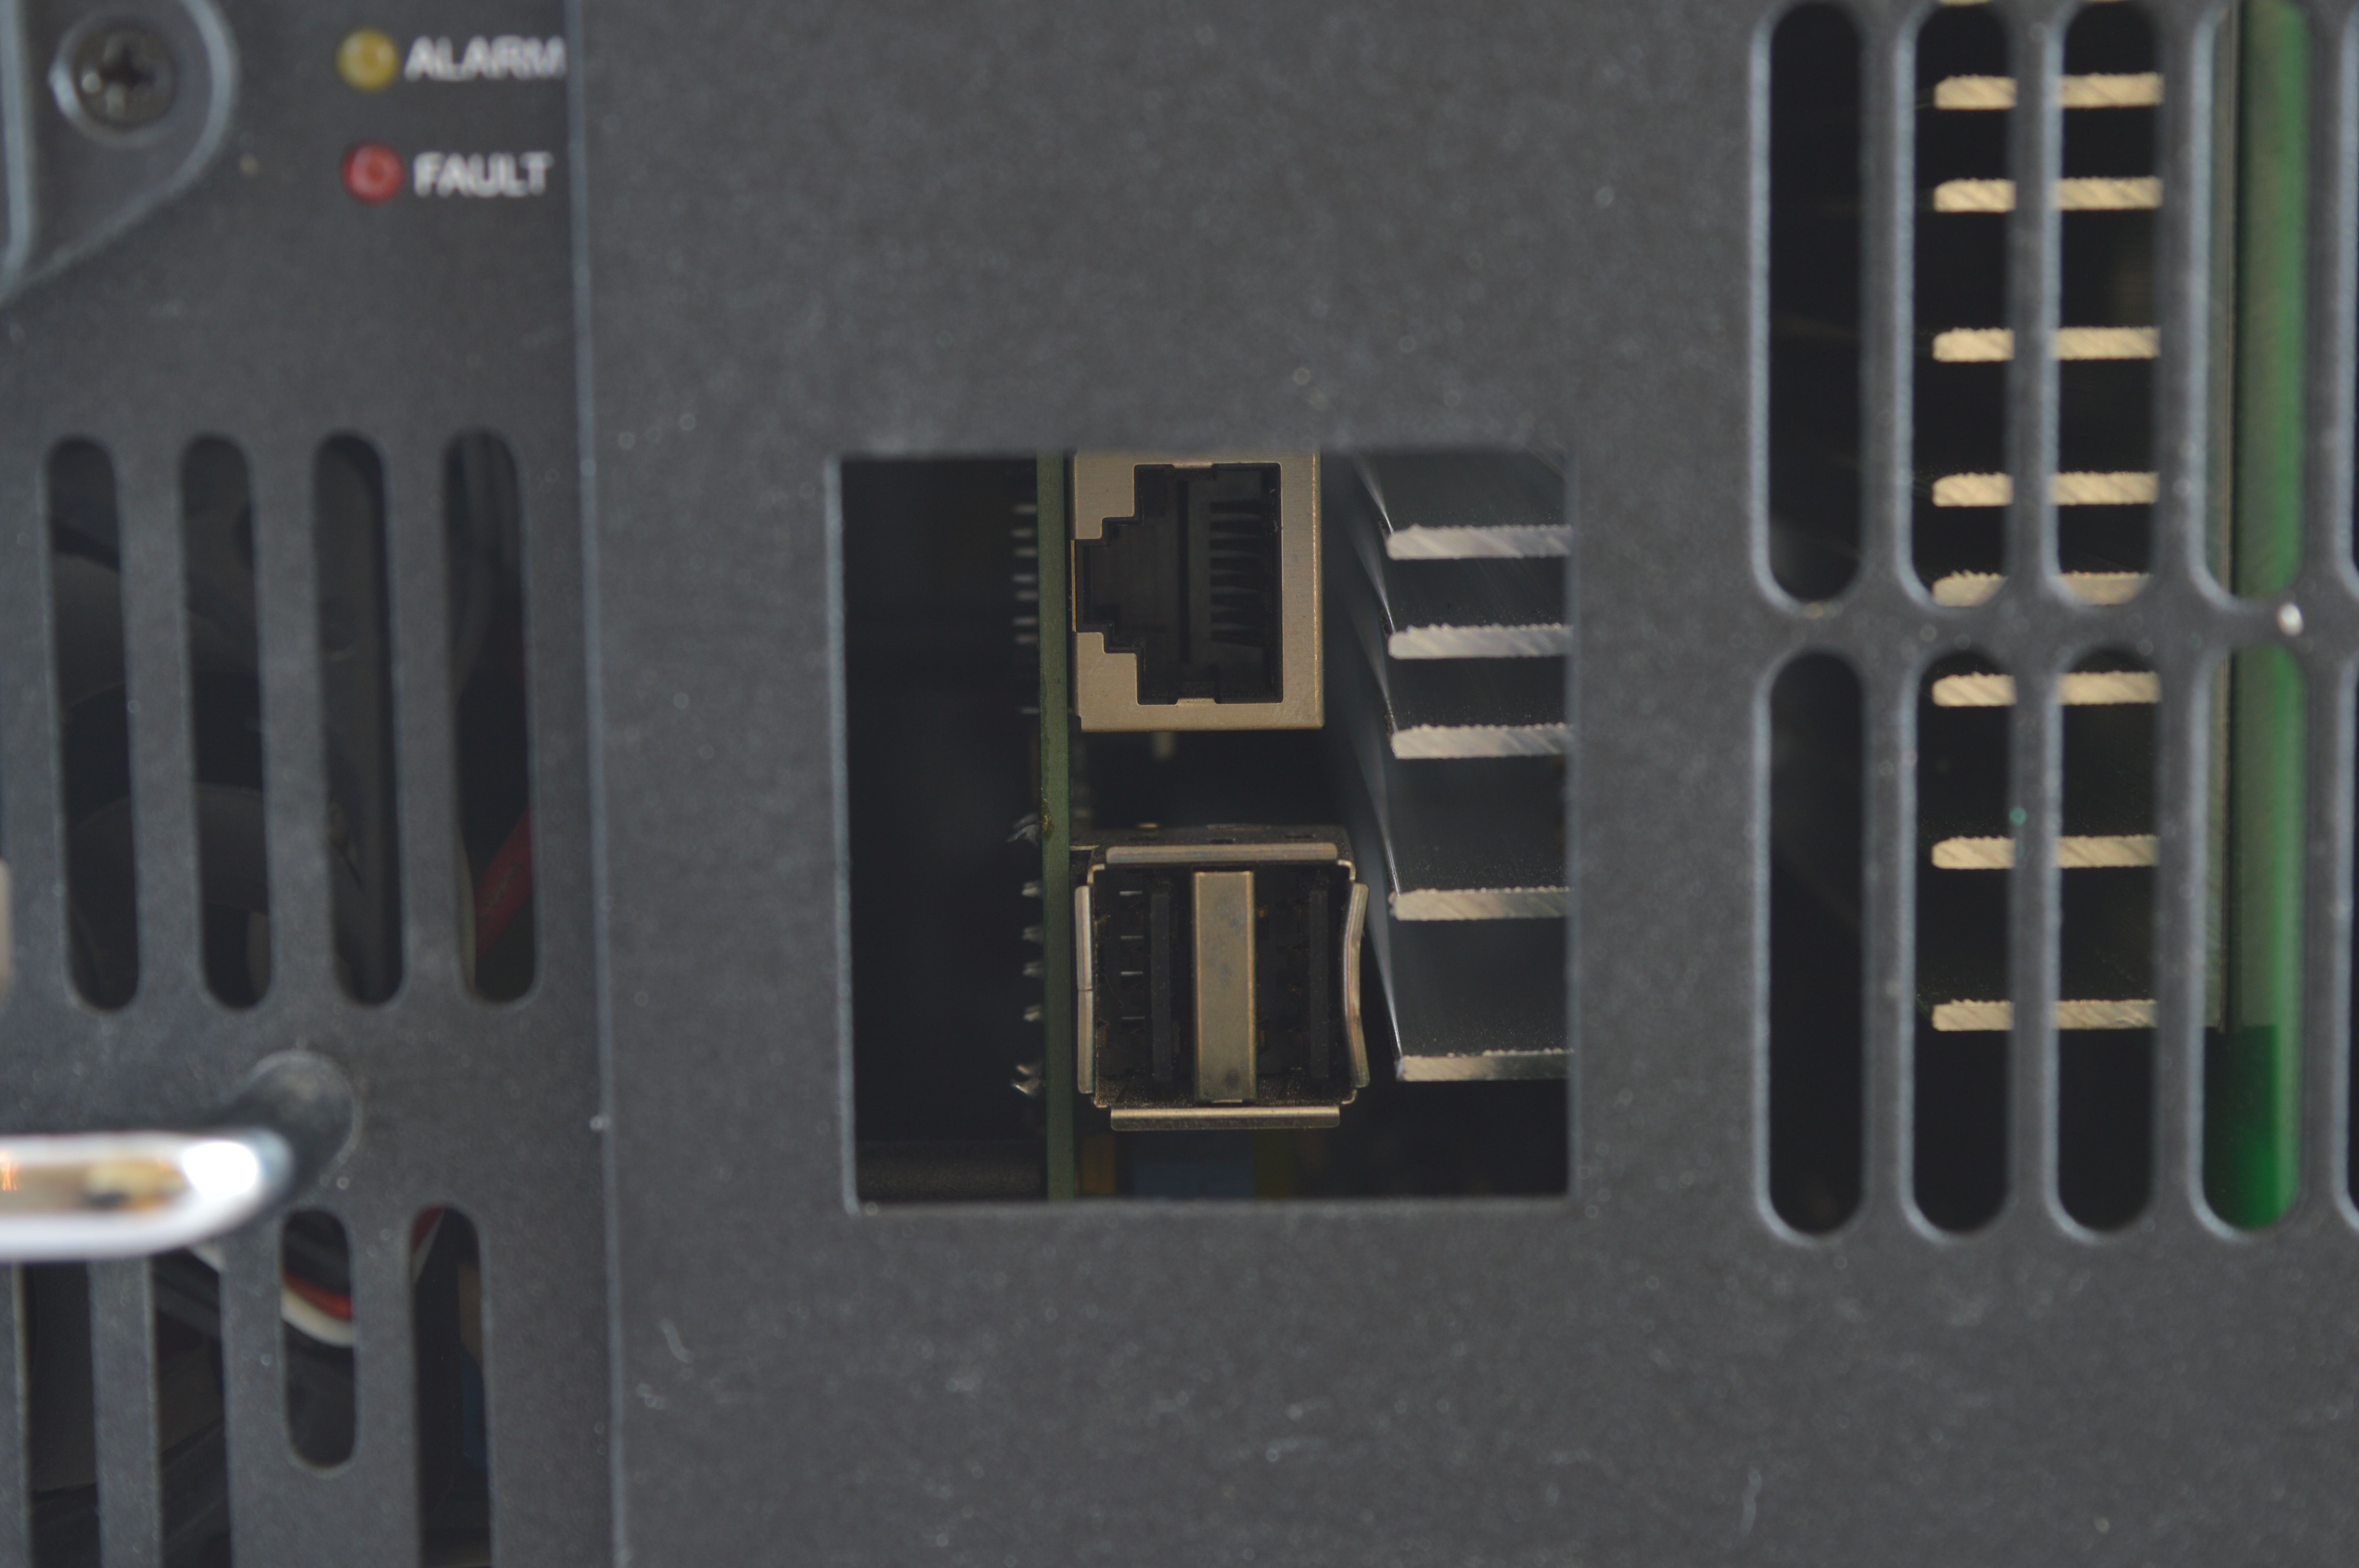
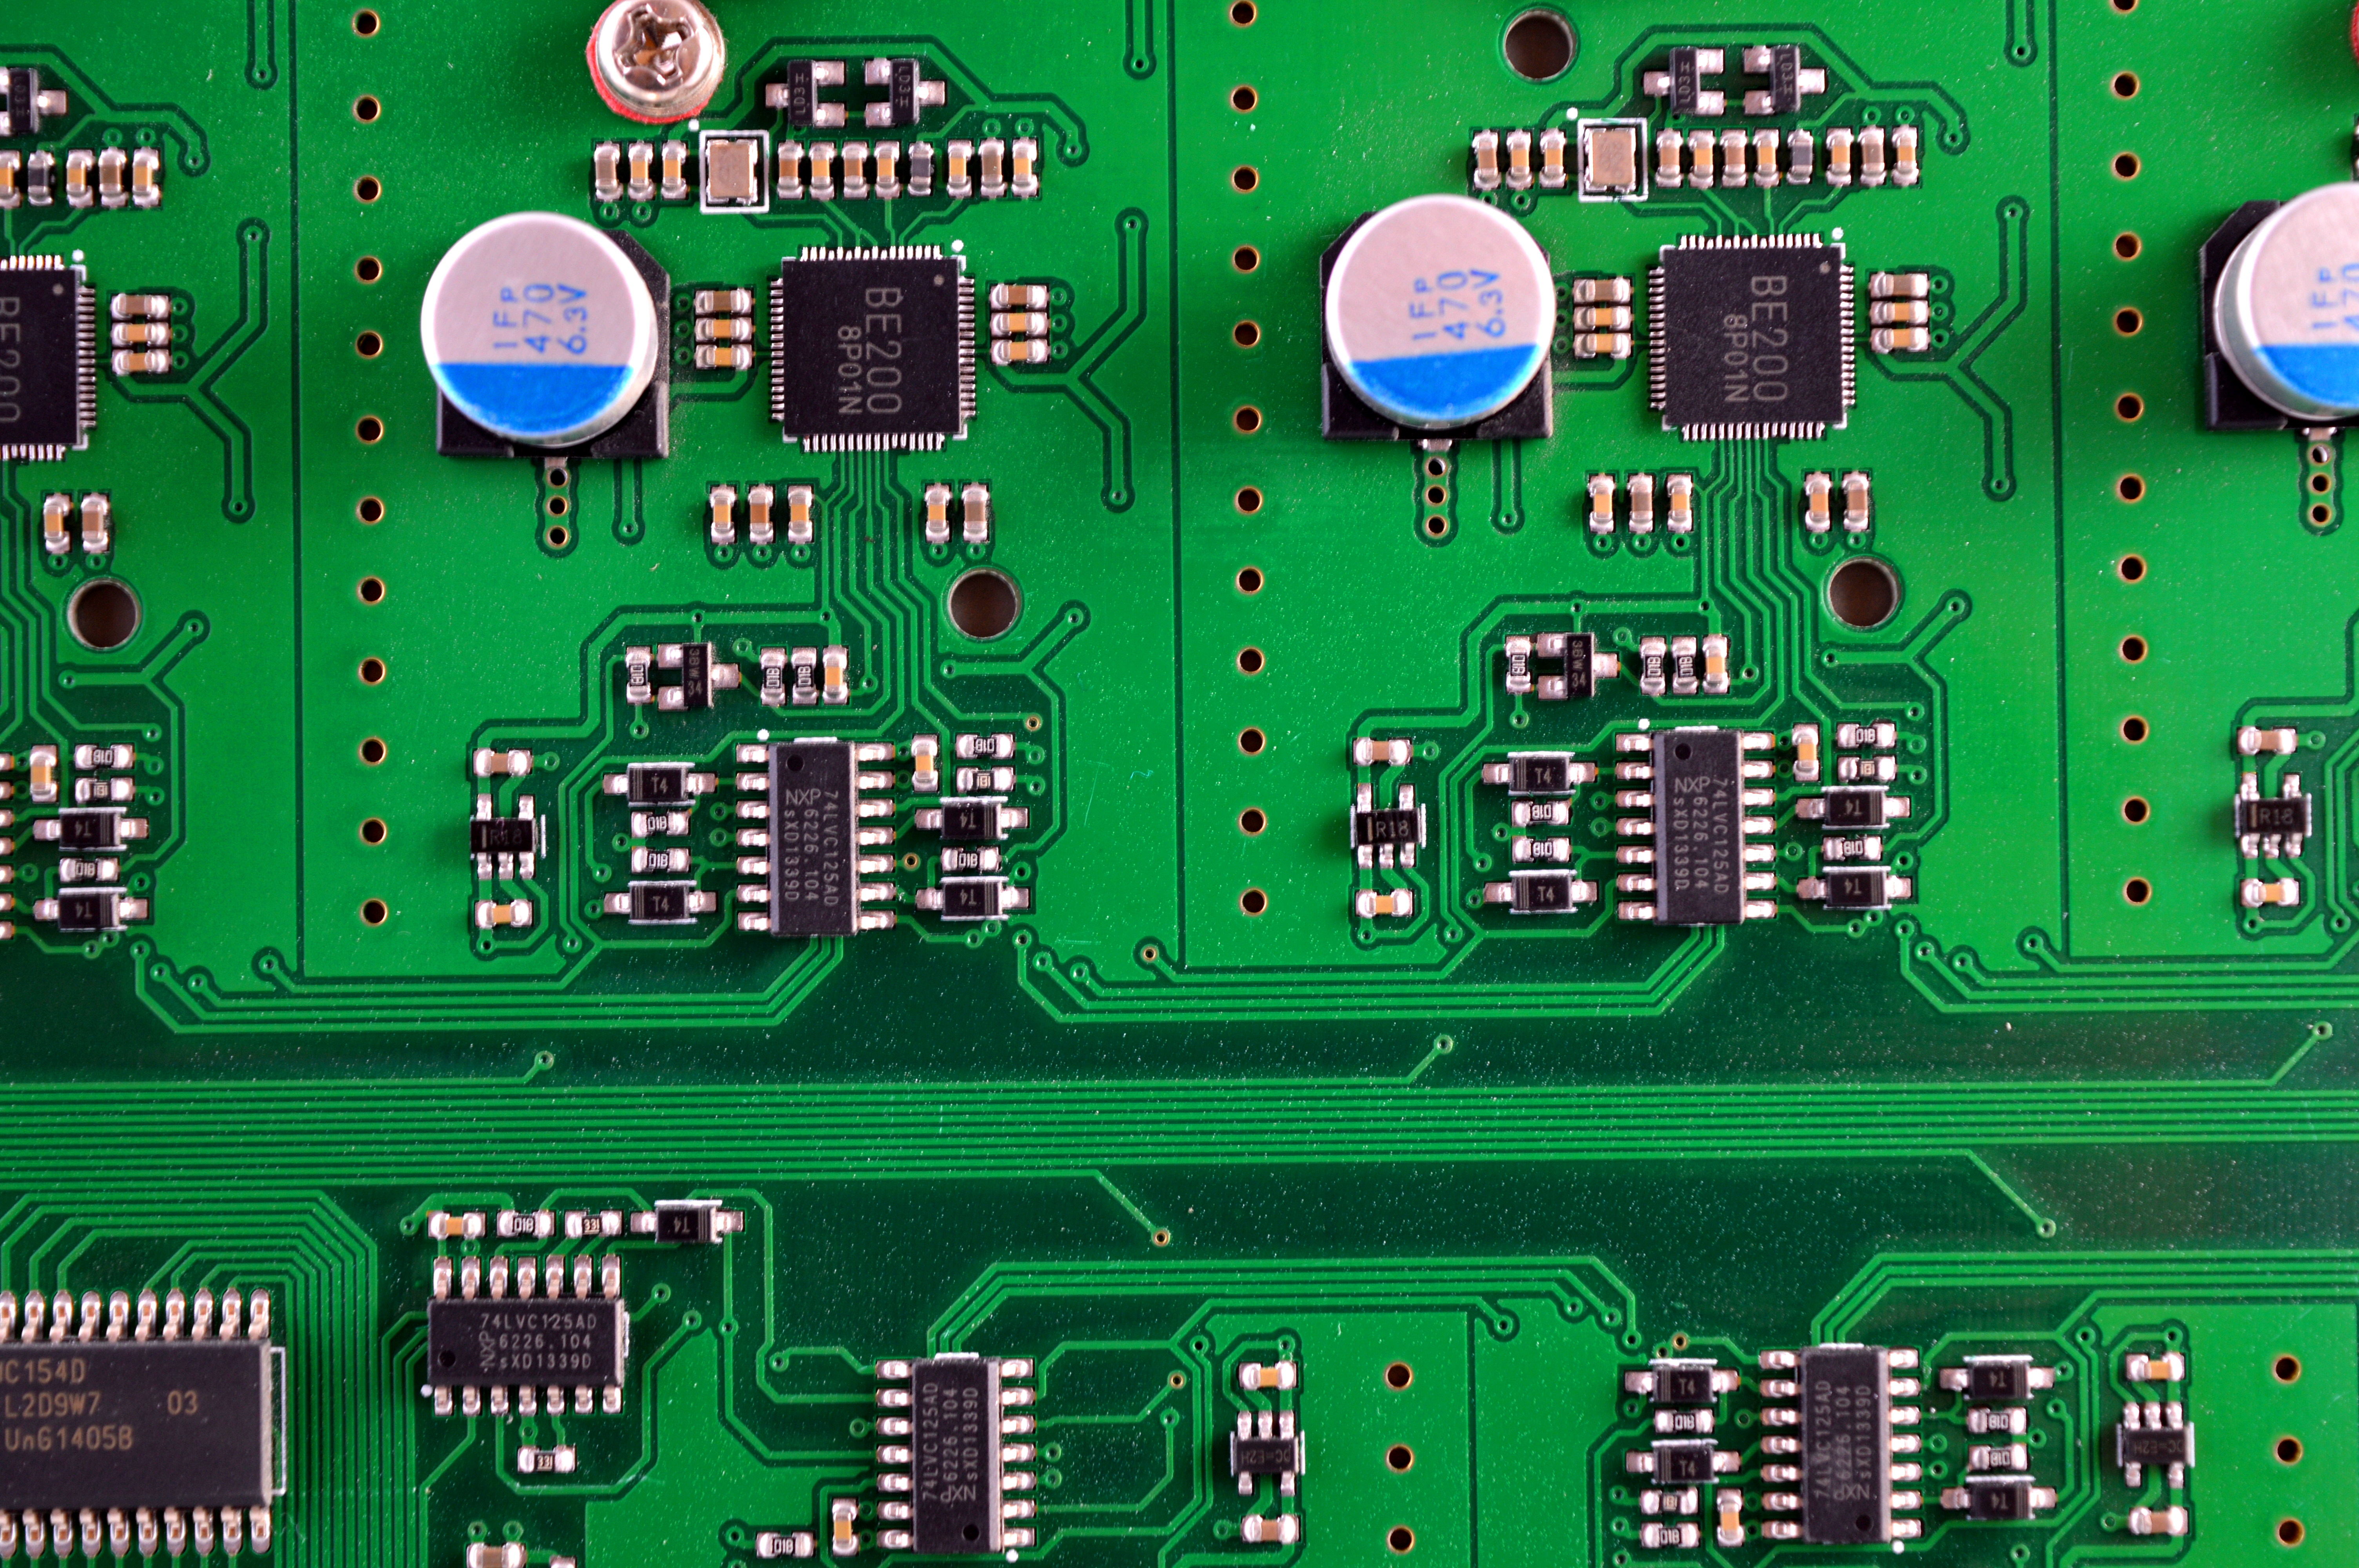
XBTec is jumping straight in at the deep end with a large 1.25TH unit of ASICMiner's generation 3 chips across 9 blades. Each blade plugs into a backpane
motherboard and sits upright within a 4U chassis. A Raspberry Pi is included internally as the controller. This is the V1 Pacific 1250, and a V2 is due very soon with a number of improvements built in.


0b) What You Need (top)
You will need a few accessories to get started.
Click your flag to find everything you need to get started at Amazon!


1) Powering (top)
Pacific 1250s come with a custom made 1600W PSU in an unusual formfactor, although they can be replaced with an external PSU. You will require 5 PCI-E
cables and a micro USB power cable for the included Raspberry Pi.


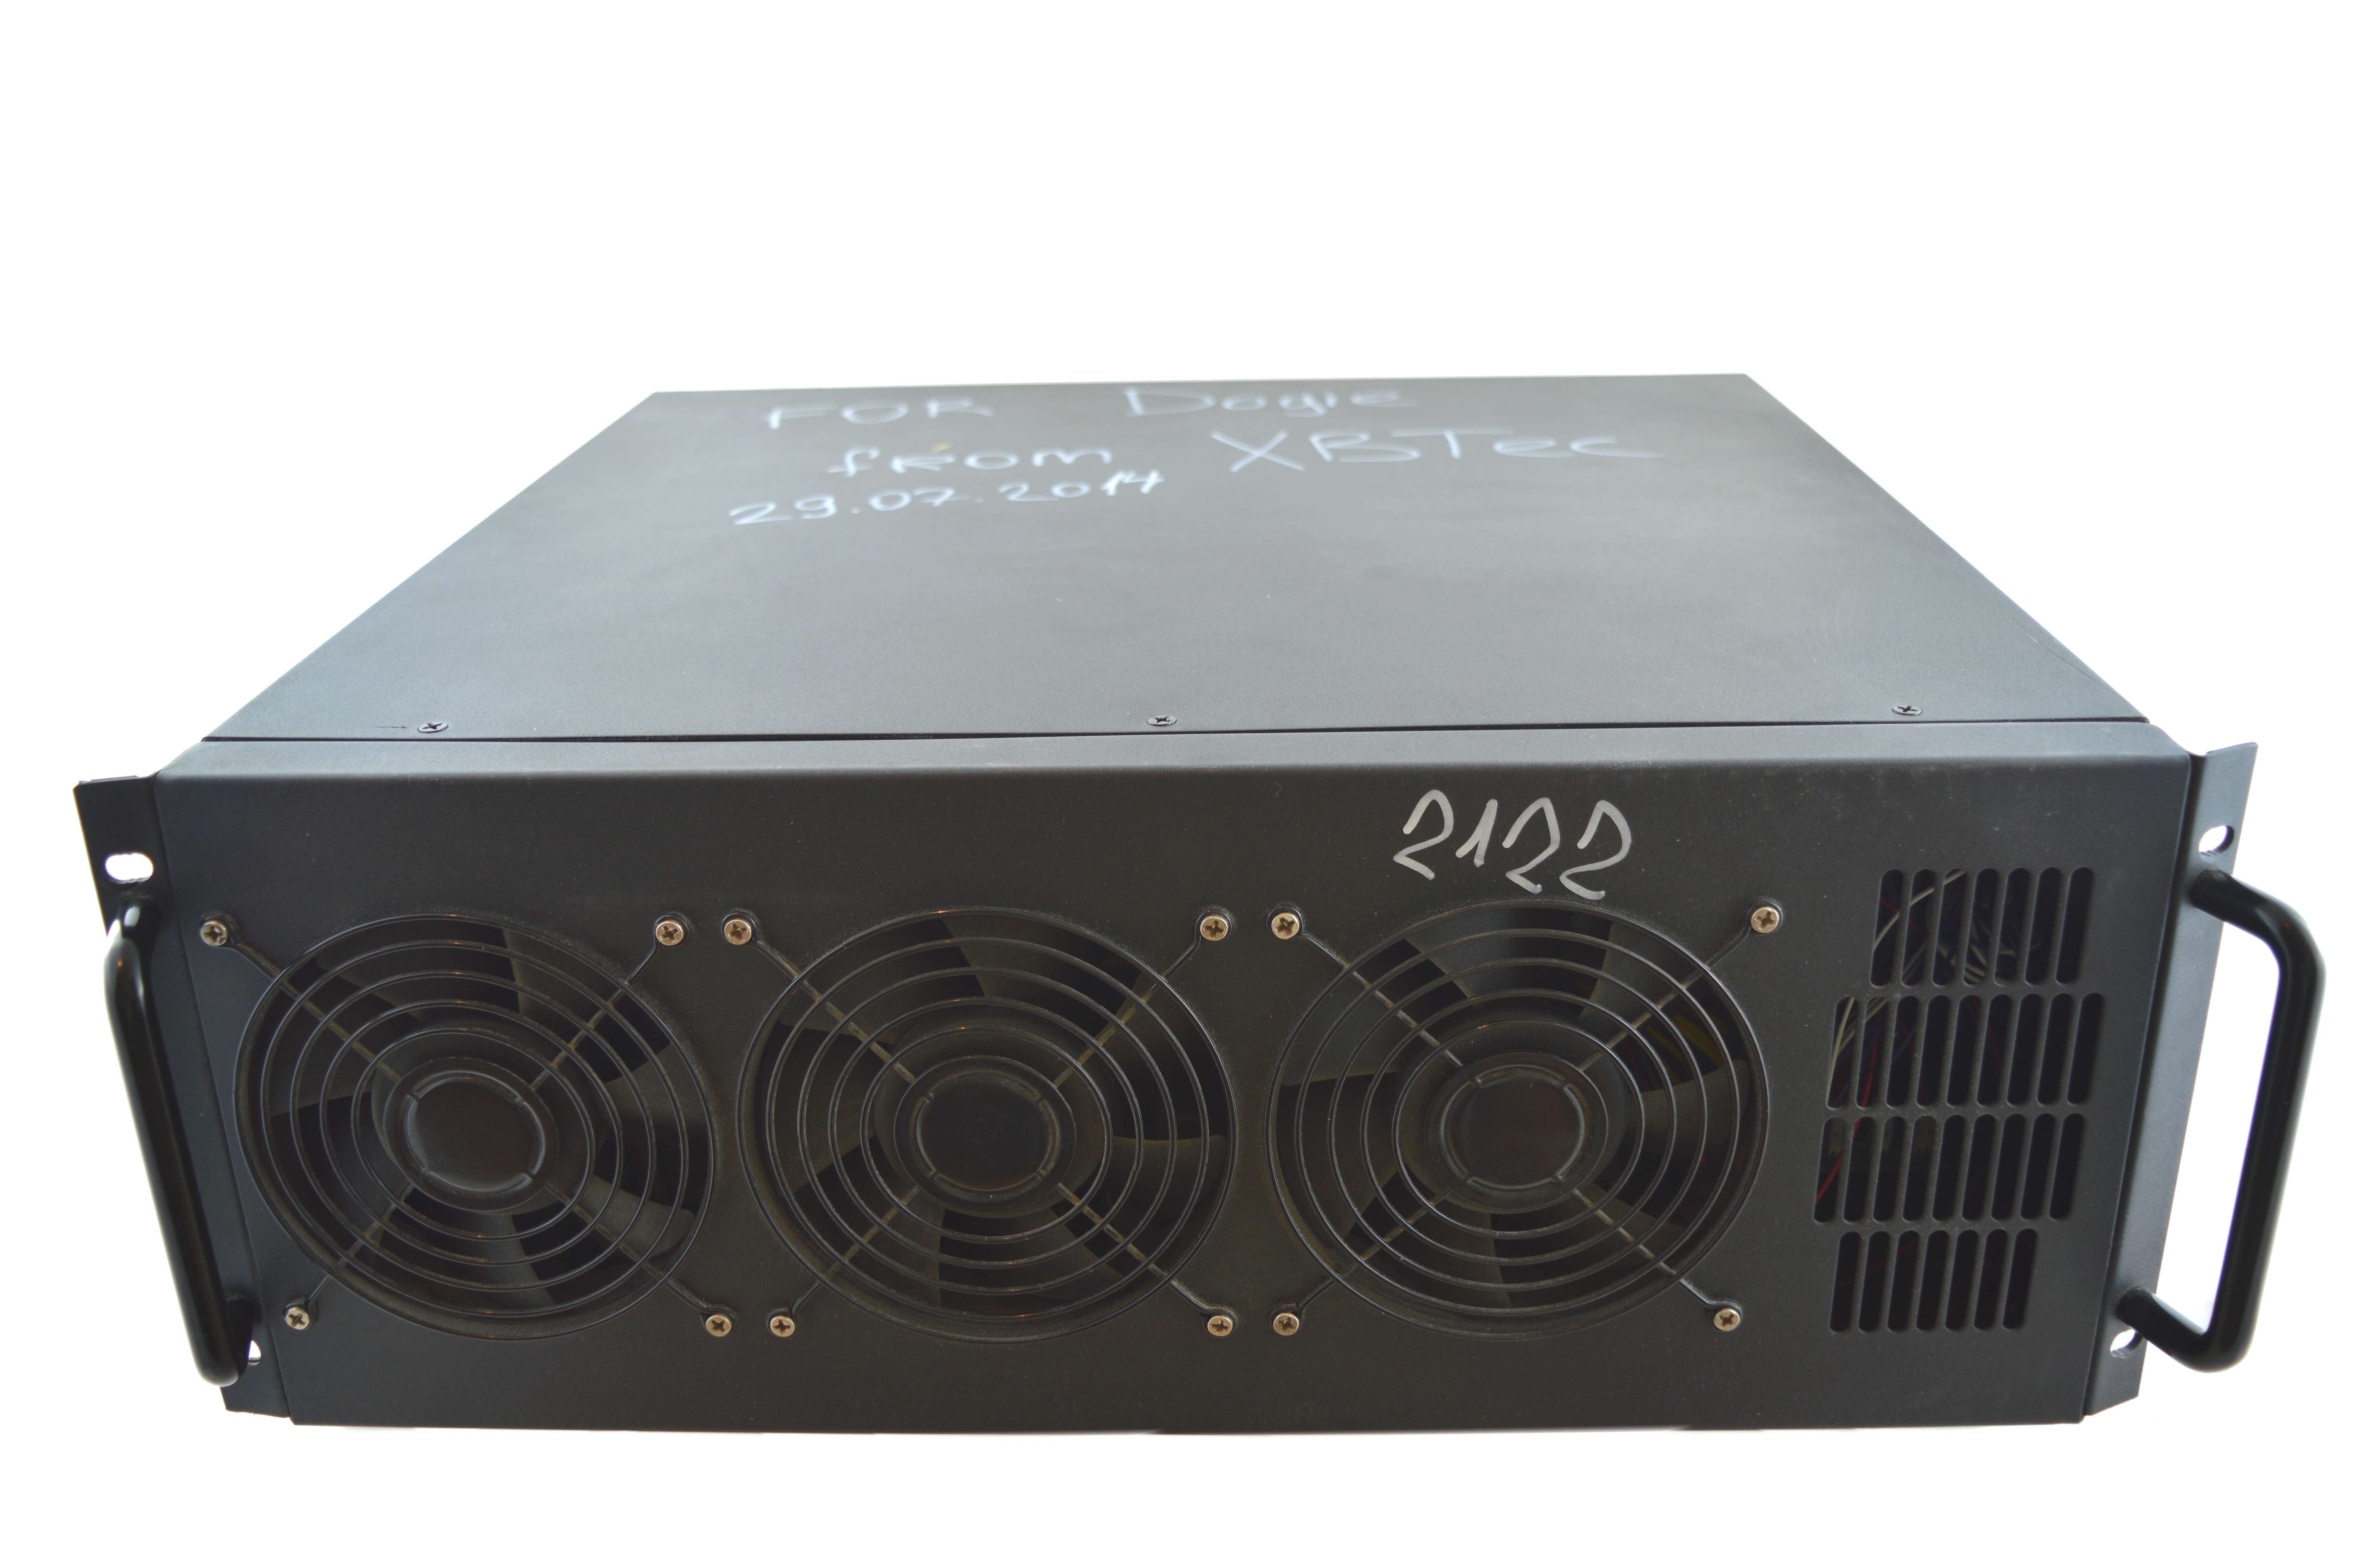
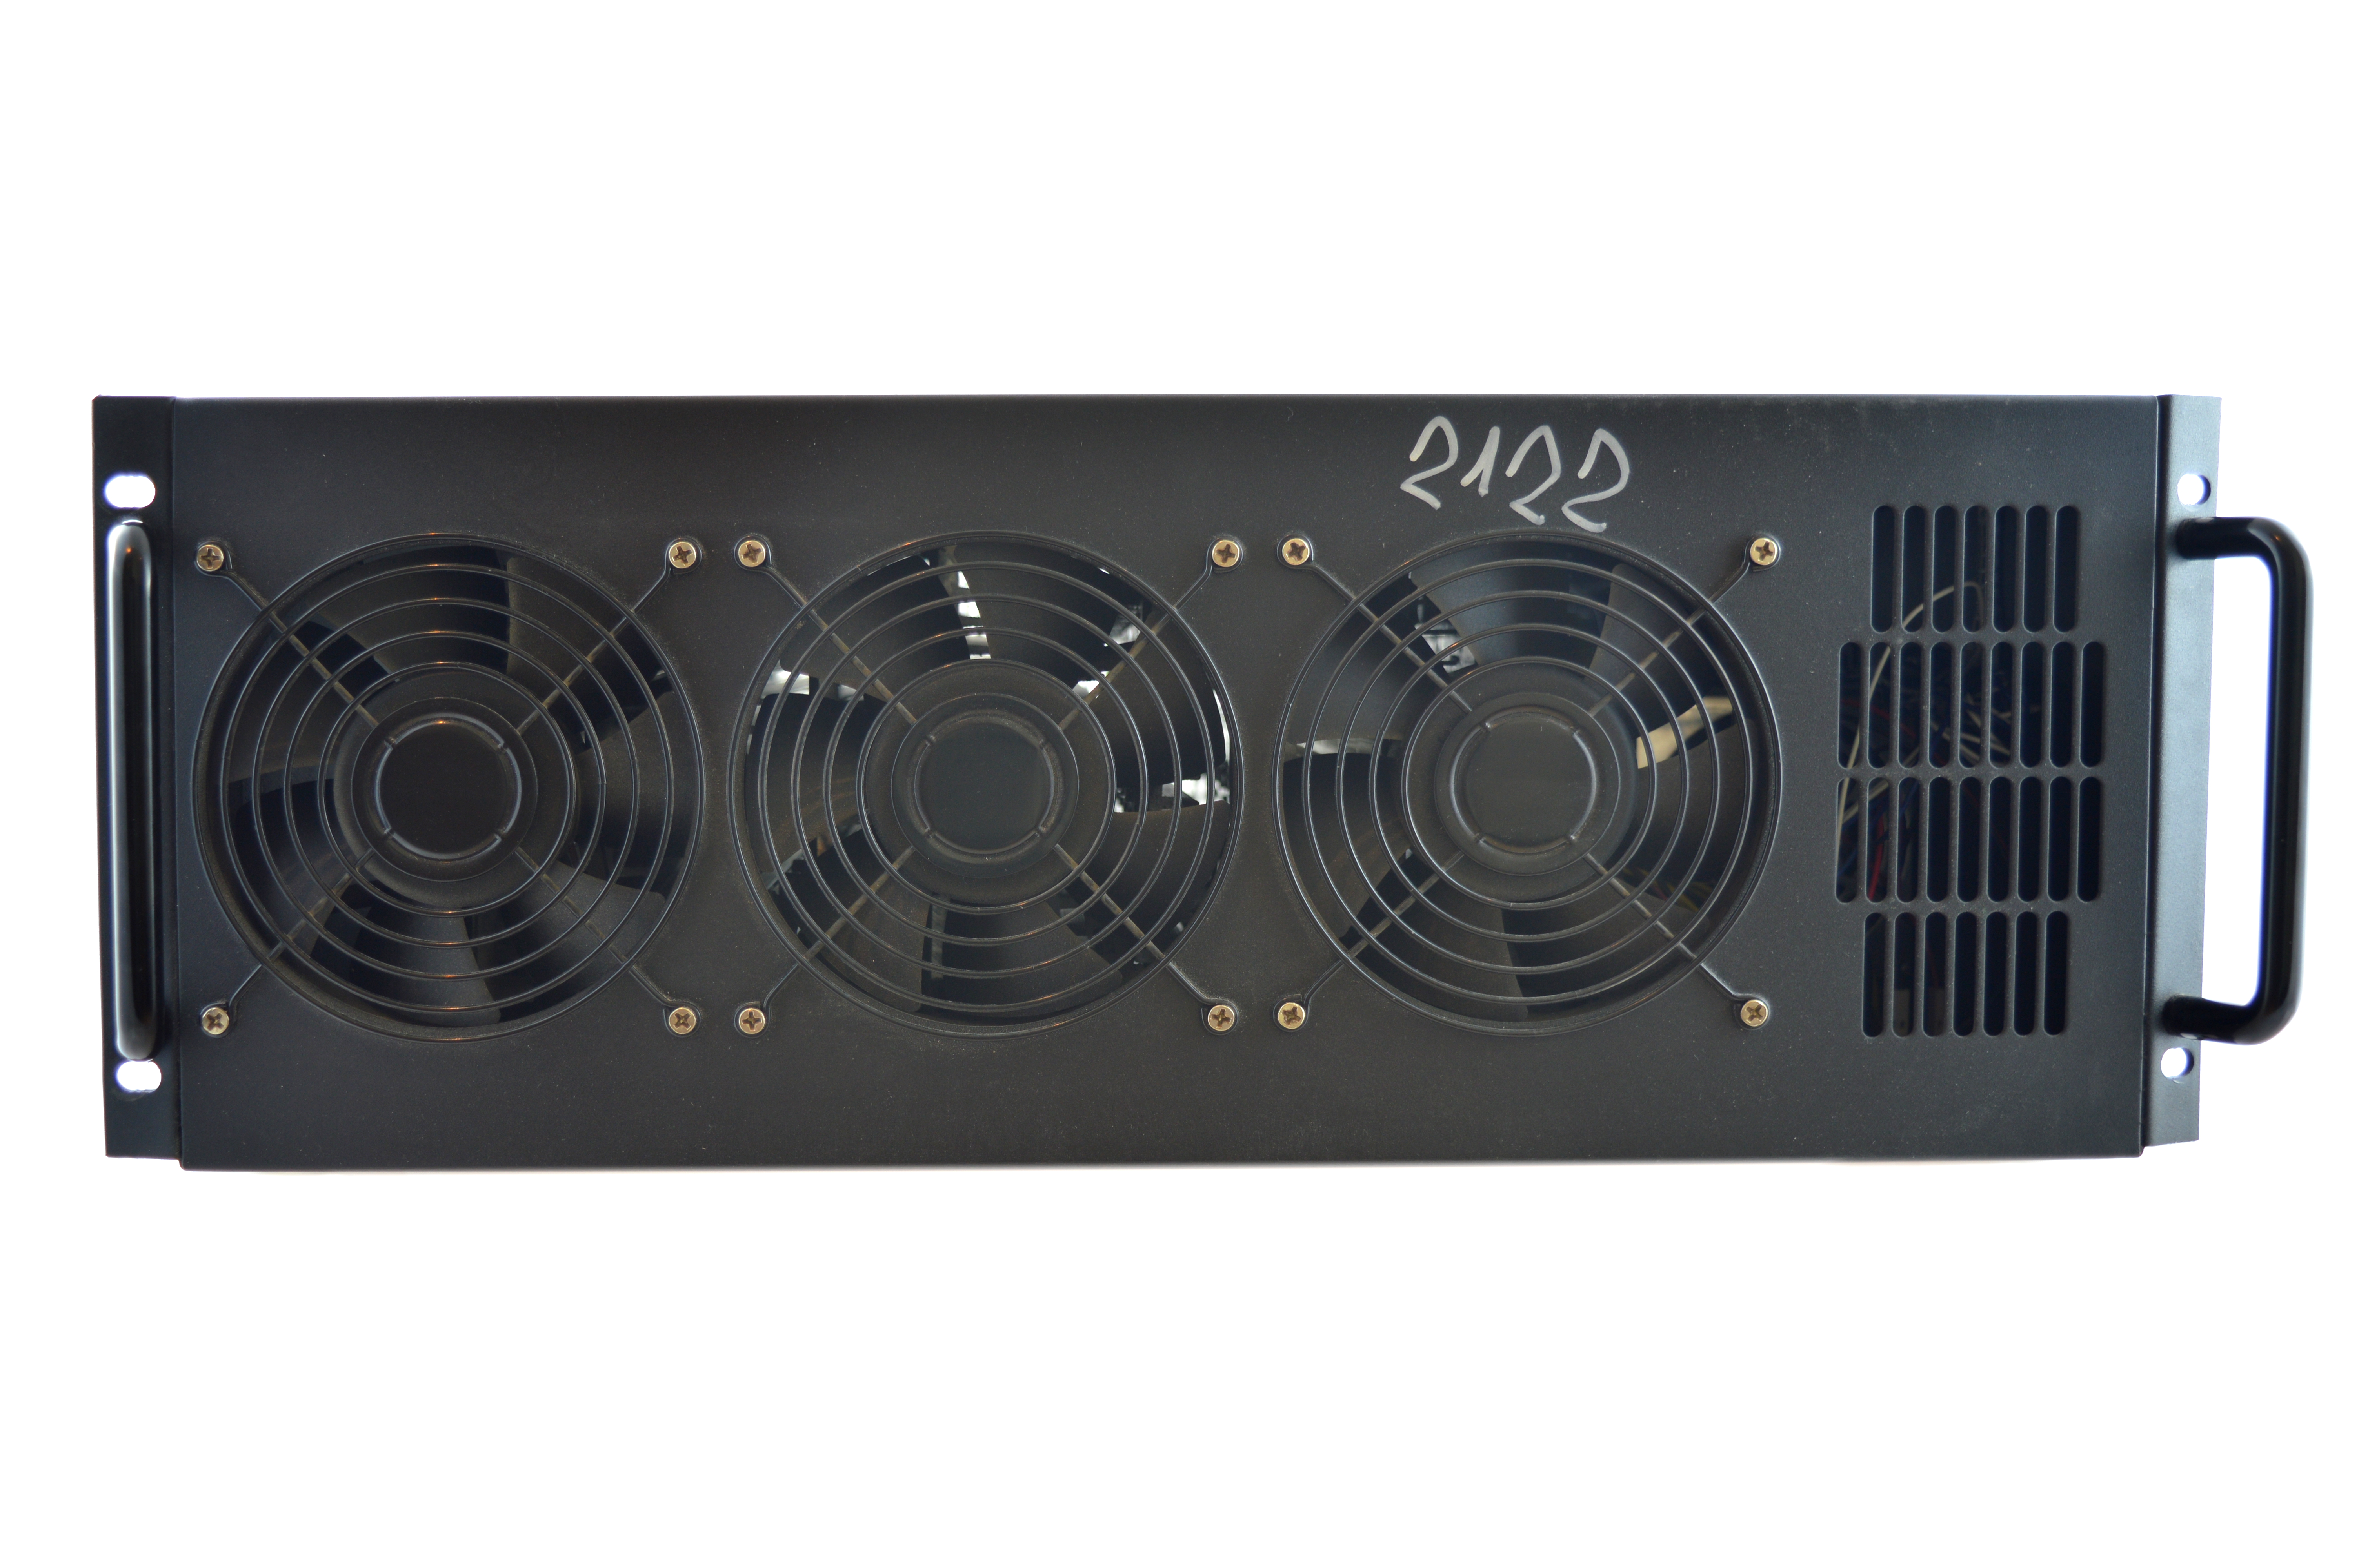
2) Cooling (top)
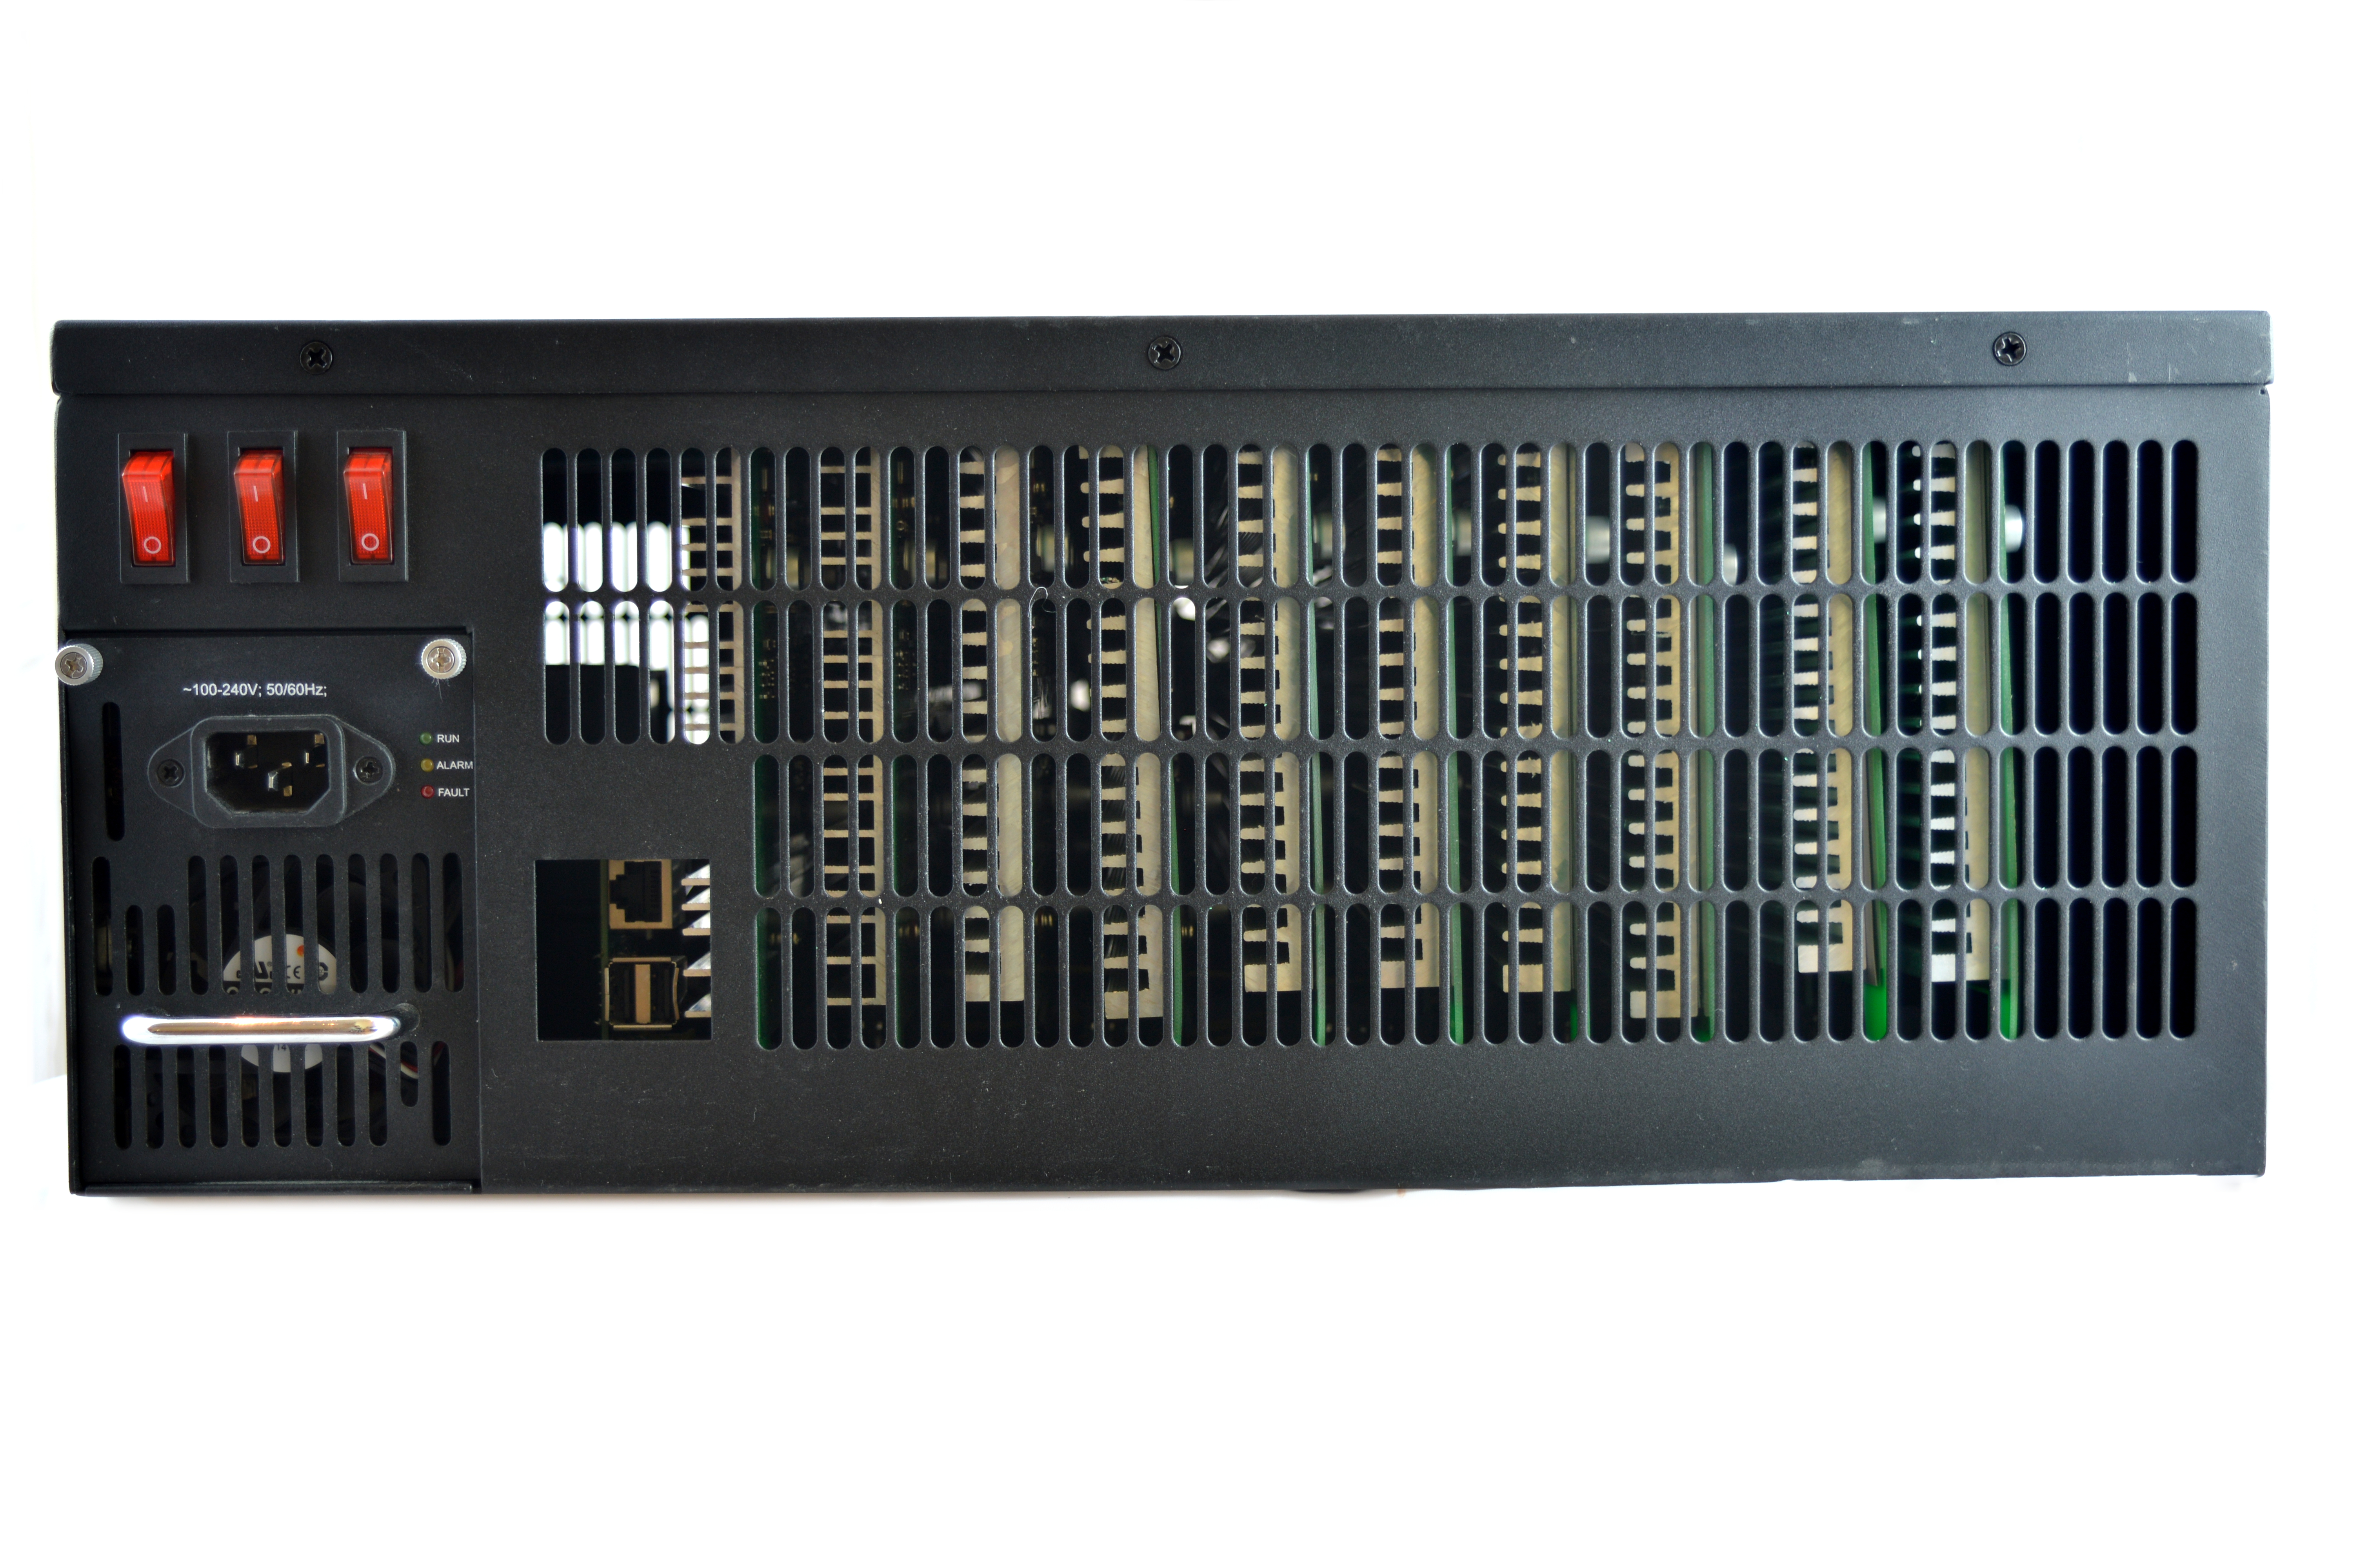
Three 120mm Fan-Cooling FD12038BD1 fans are used to drive air through the unit, and are manually controlled at two speed settings. Three red switches at
the back of the unit bump the fan speeds from 50% to 100% for high ambient applications. The rear of each module features a full cover, aluminium heatsink.
Noise levels are extremely reasonable at 50%, while 100% fans are loud. It should be noted that no consumer should ever need the 100% mode as it is
designed for farm use only.


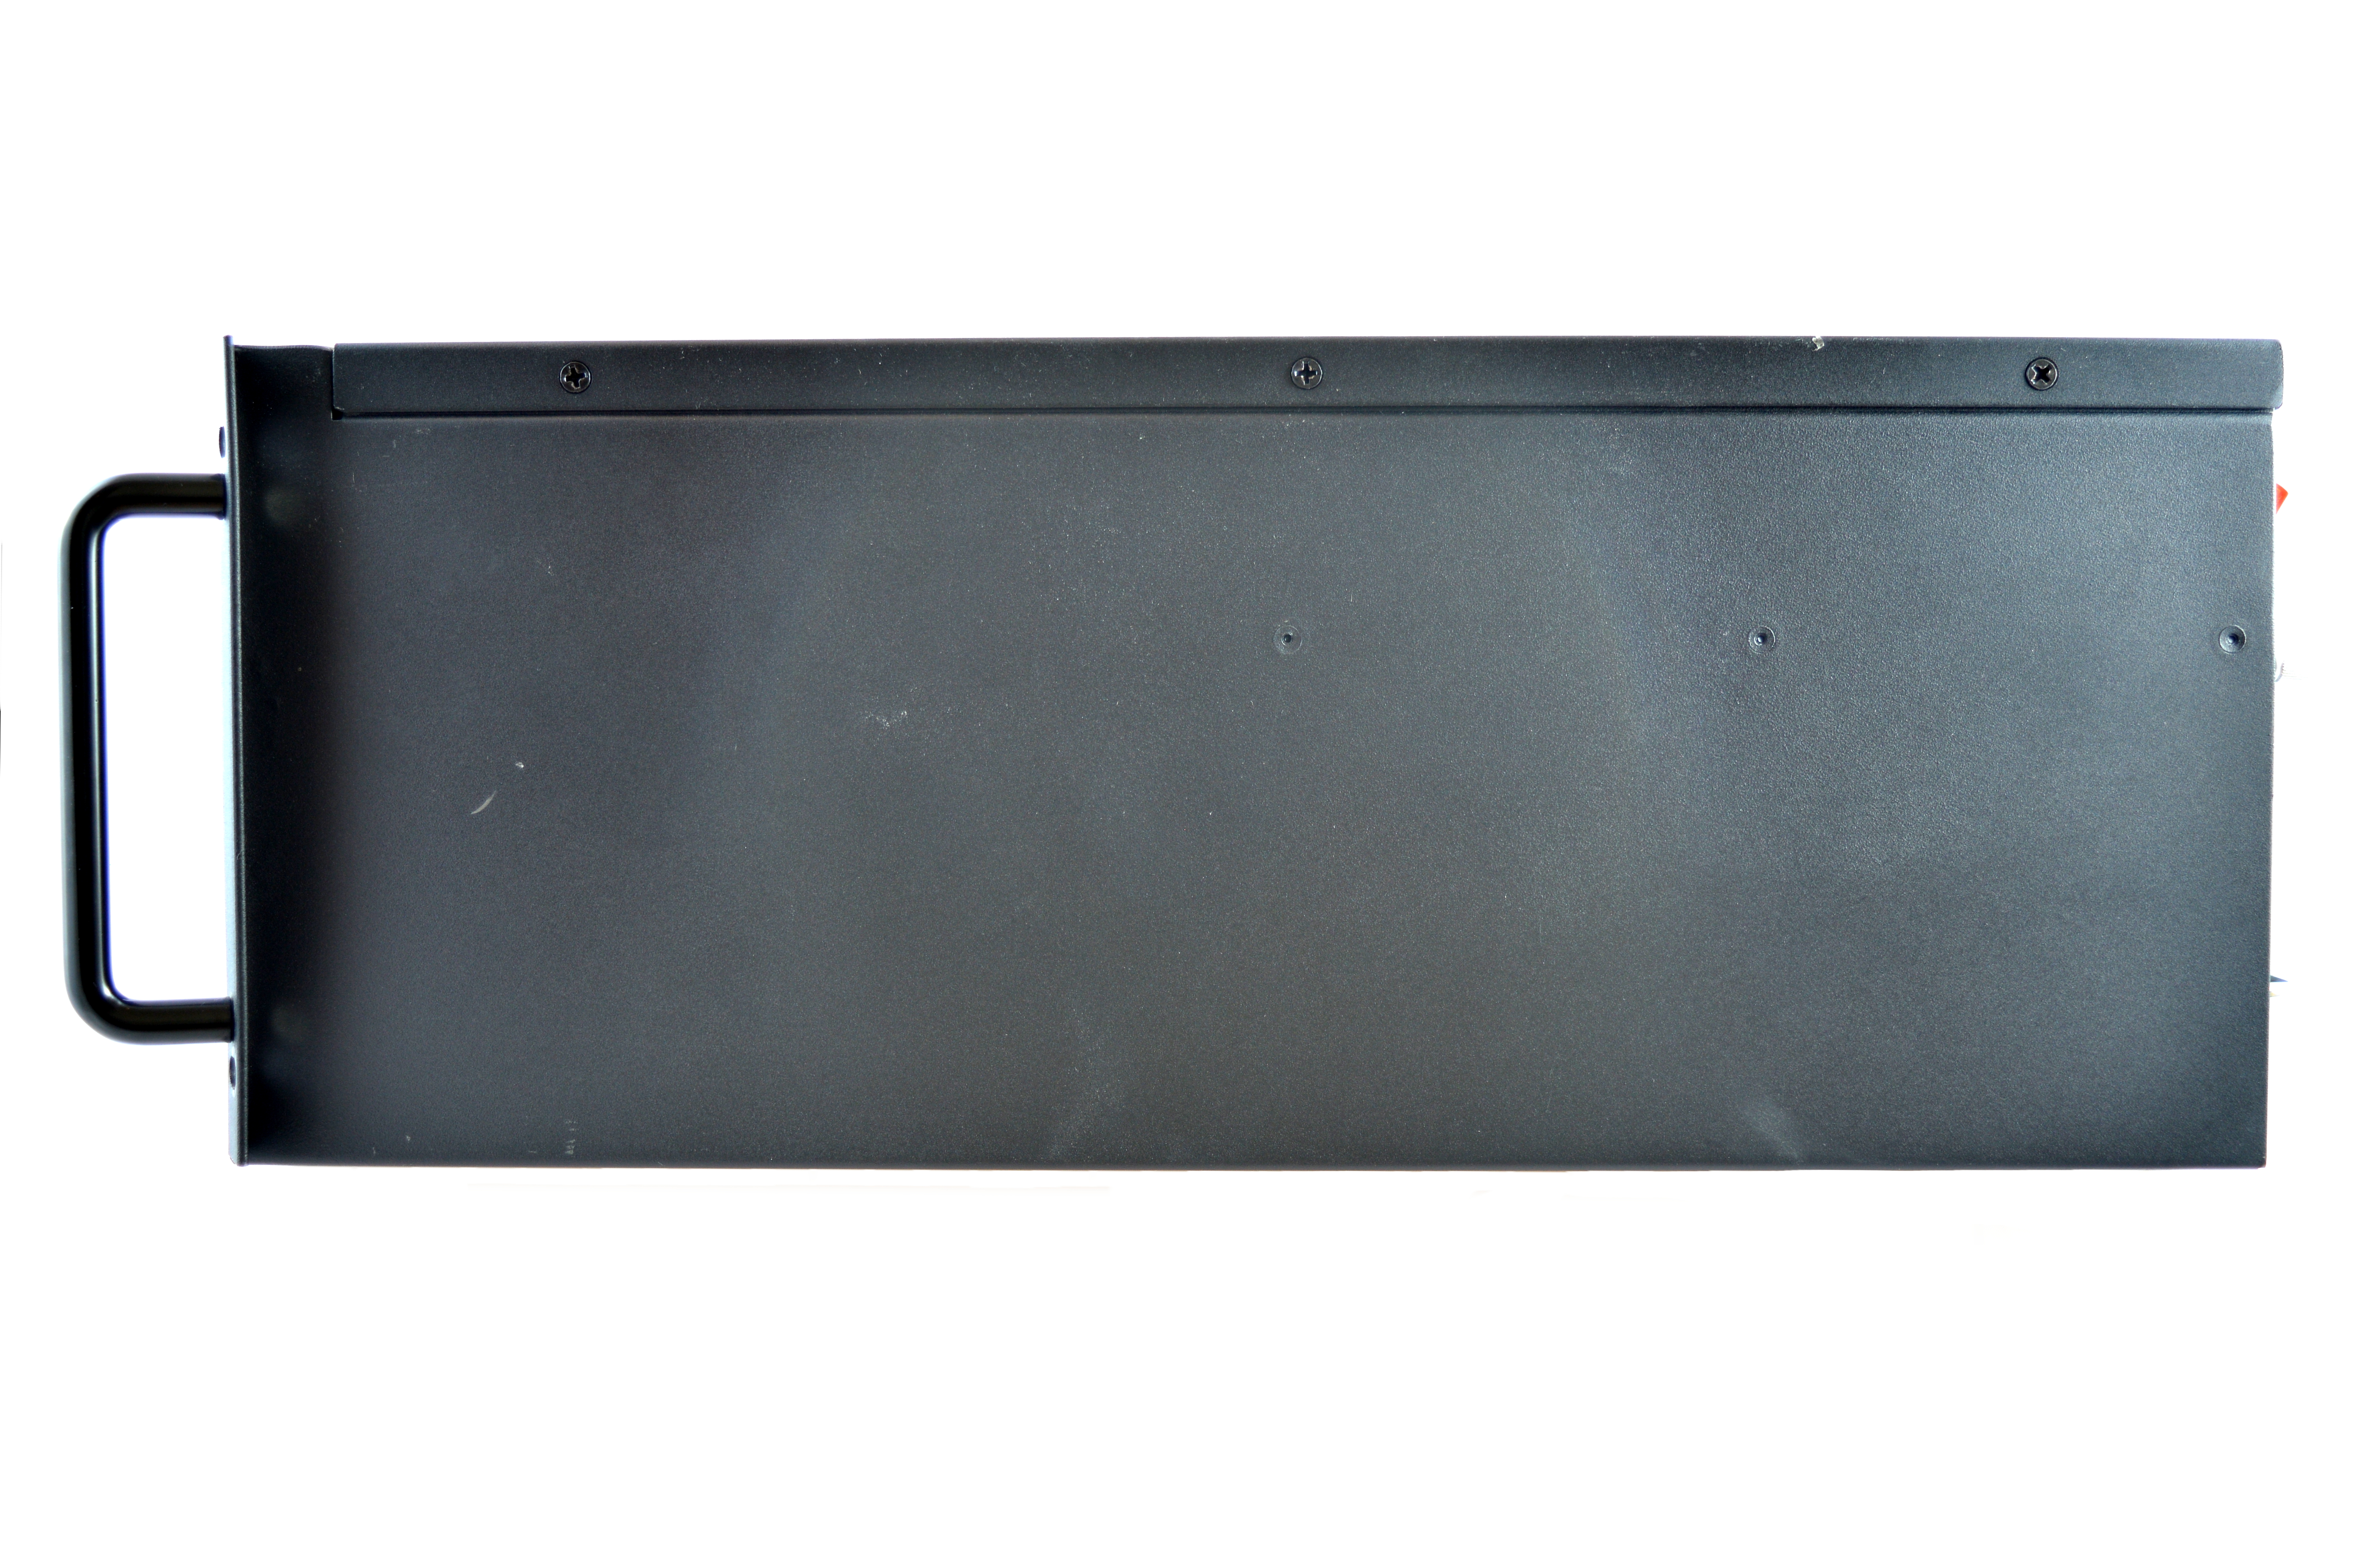
3) Case (top)
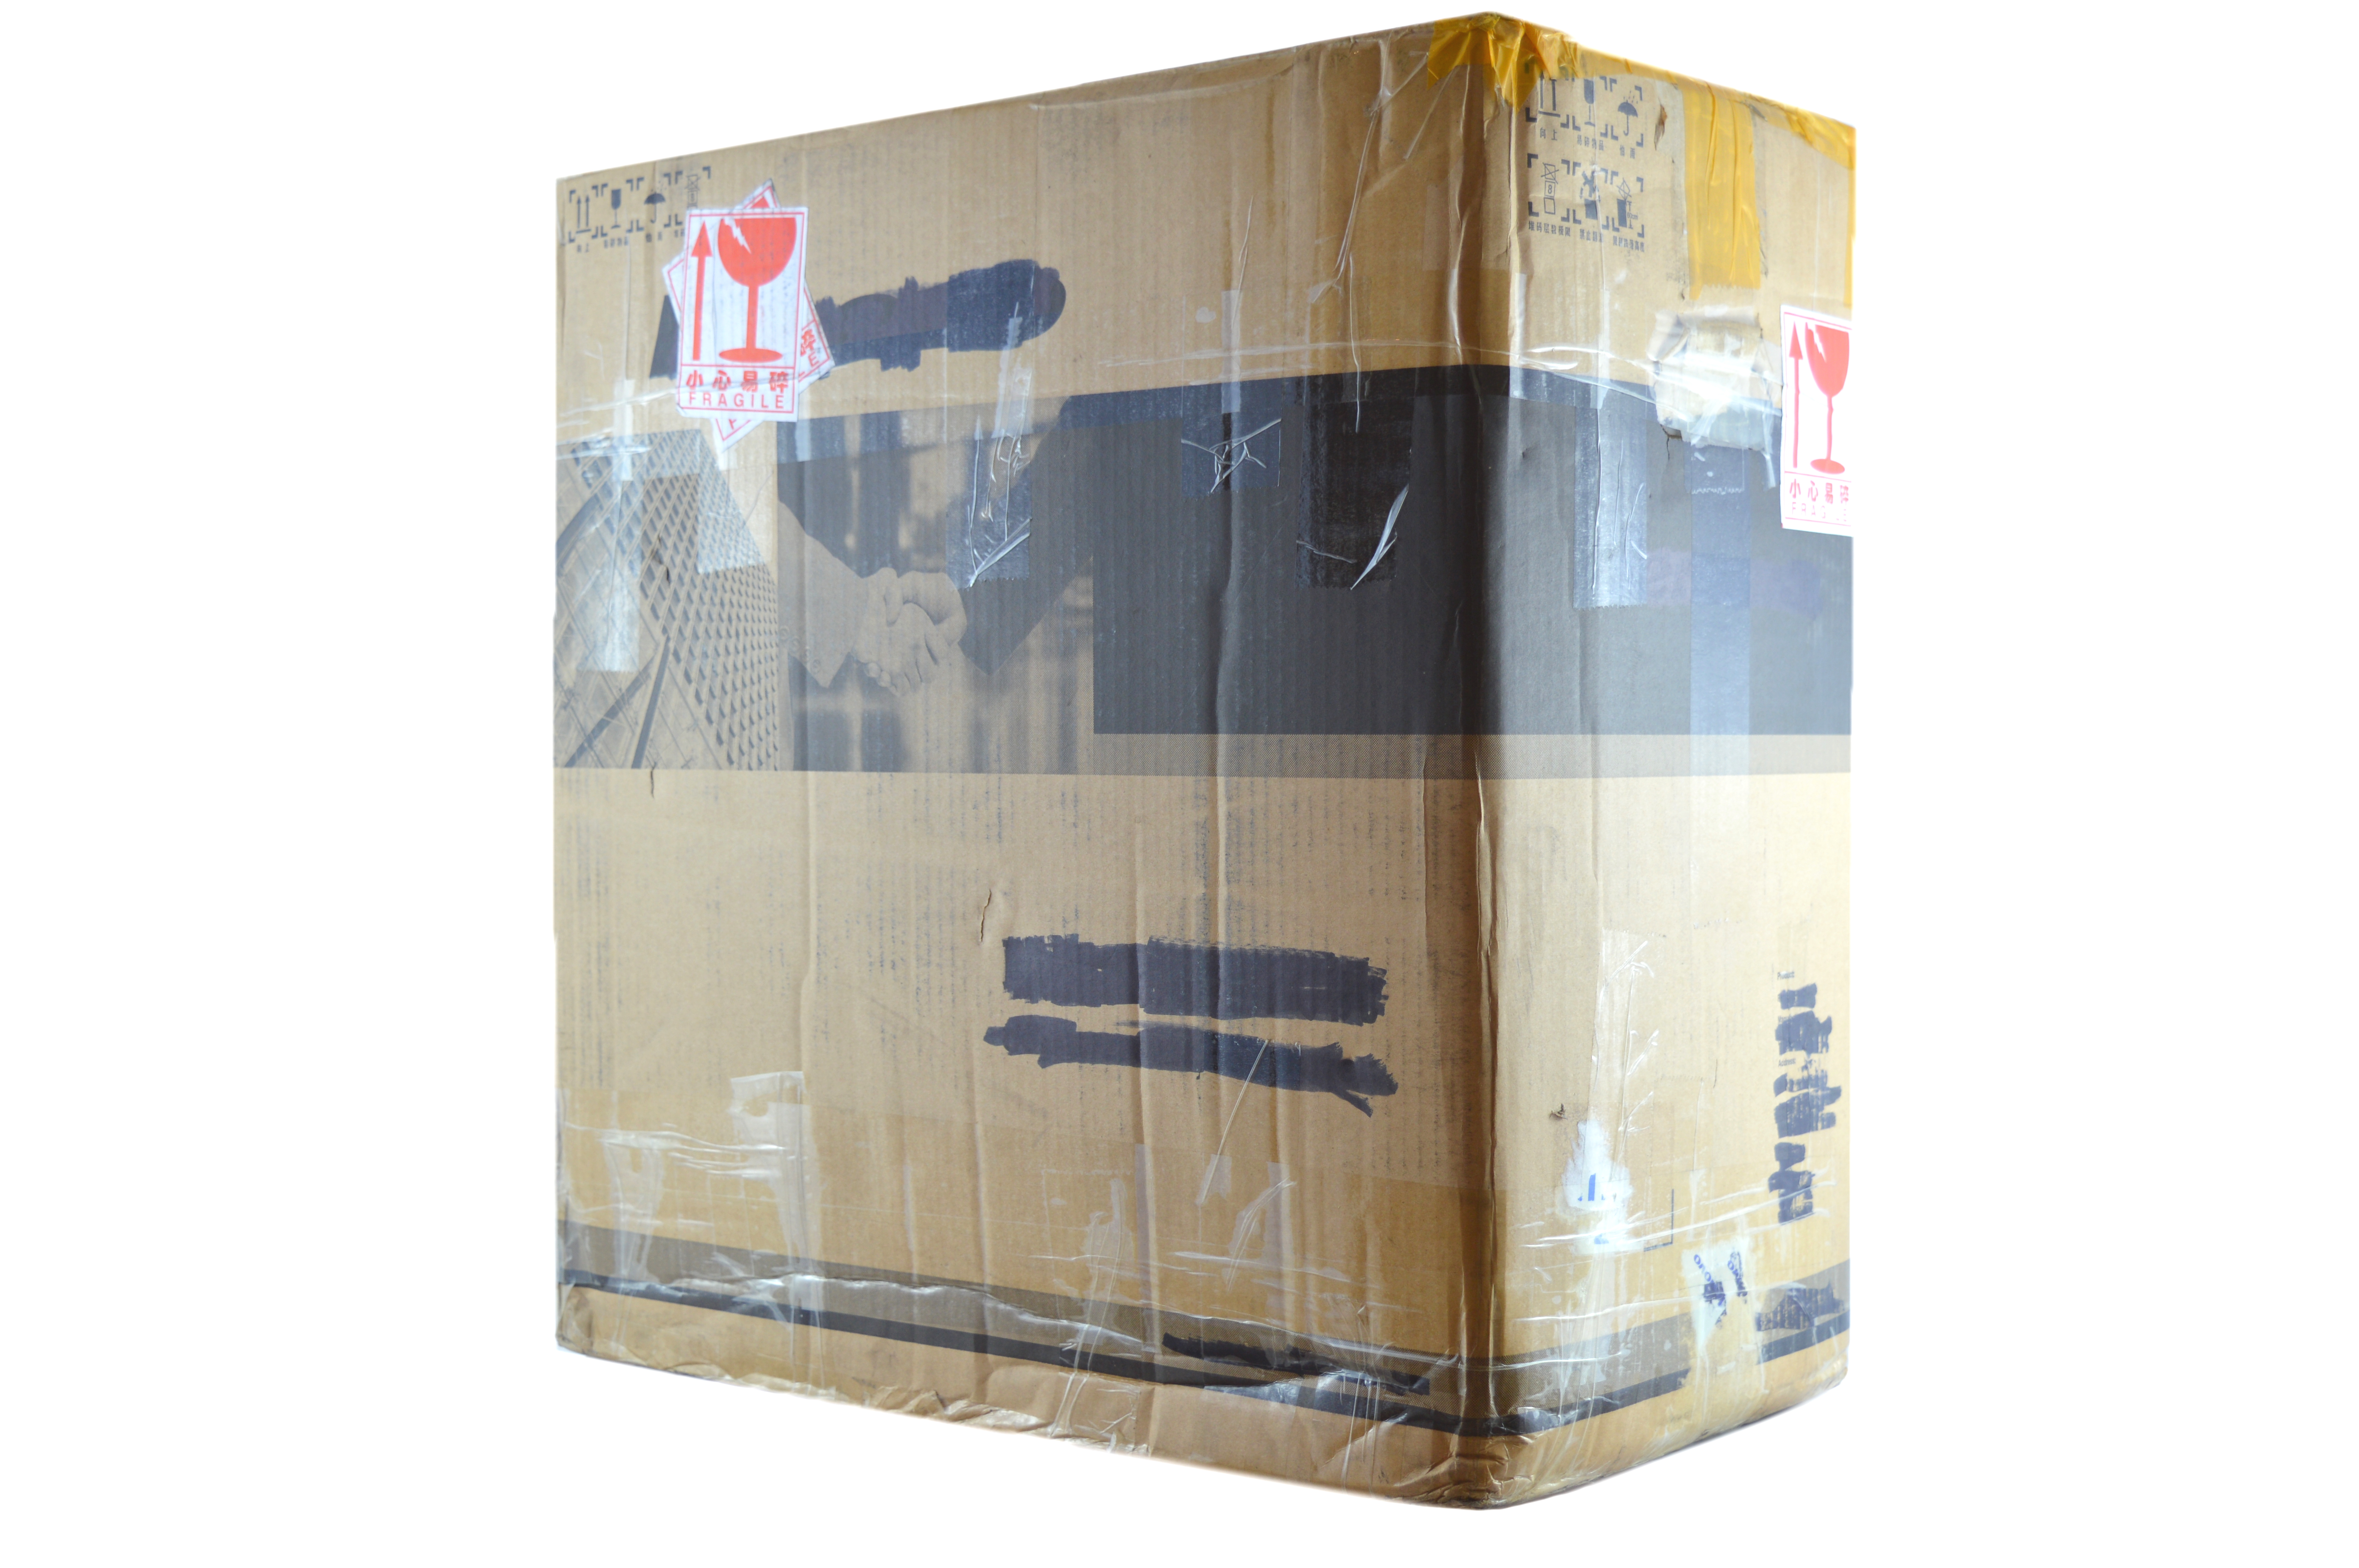
The Pacific 1250's case is extremely thick steel and almost impervious to damage, although at the same time is very heavy. The case is designed to be rack
mountable in a 19" wide rack (482.6mm), or stacked vertically. External dimensions of the case are 550 x 430 x 176mm.


4) Configuration (top)
Configuration is relatively straight forward, although this is a very early alpha consumer build so some steps may change.
Wiring:
Configuration:
Antpool Register!

5) Troubleshooting (top)
TBD as problems arise.


Legal disclaimer: This information is for general guidance and does not constitute expert advice. We are not responsible if you, your property or a third
party is injured or damaged as a result of any interaction with this information, and no warranty is provided. All text and images are covered by copyright.
6) Where to buy (top)

Nicely formatted version available at dogiecoin.com!
Contents:
0a) What to Expect
0b) What You Need
1) Powering
2) Cooling
3) Case
4) Configuration
5) Troubleshooting
6) Where to buy
0a) What to Expect (top)
XBTec is jumping straight in at the deep end with a large 1.25TH unit of ASICMiner's generation 3 chips across 9 blades. Each blade plugs into a backpane
motherboard and sits upright within a 4U chassis. A Raspberry Pi is included internally as the controller. This is the V1 Pacific 1250, and a V2 is due very soon with a number of improvements built in.
| Chips | 126x ASICMiner Gen3 |
| Hashrate | 1250GH |
| Rated Voltage | 12V |
| Rated Current | 104A |
| Power.Consumption | ~1250W |


0b) What You Need (top)
You will need a few accessories to get started.
Click your flag to find everything you need to get started at Amazon!
1) Powering (top)
Pacific 1250s come with a custom made 1600W PSU in an unusual formfactor, although they can be replaced with an external PSU. You will require 5 PCI-E
cables and a micro USB power cable for the included Raspberry Pi.


2) Cooling (top)
Three 120mm Fan-Cooling FD12038BD1 fans are used to drive air through the unit, and are manually controlled at two speed settings. Three red switches at
the back of the unit bump the fan speeds from 50% to 100% for high ambient applications. The rear of each module features a full cover, aluminium heatsink.
Noise levels are extremely reasonable at 50%, while 100% fans are loud. It should be noted that no consumer should ever need the 100% mode as it is
designed for farm use only.


3) Case (top)
The Pacific 1250's case is extremely thick steel and almost impervious to damage, although at the same time is very heavy. The case is designed to be rack
mountable in a 19" wide rack (482.6mm), or stacked vertically. External dimensions of the case are 550 x 430 x 176mm.
4) Configuration (top)
Configuration is relatively straight forward, although this is a very early alpha consumer build so some steps may change.
Wiring:
- Plug in an ethernet cable from the Pacific 1250 to you router.
- Plug in a power cable from the mains to the PSU. The unit will automatically power on.
Configuration:
- Navigate to your router and find the list of devices.
- Using a browser, navigate to the IP assigned to the Pacific 1250 by your router.
- Login using "Pi" as the username and "raspberyy" as the password.
- Navigate to "Pools", and click "Add New". Enter Your miner information in the below format click save.
- Click "switch" to your new pool, and "remove" to any other default pool.
- Navigate to "Dashboard" to check mining has started.
Antpool Register!
Code:
Servers : stratum.antpool.com:3333
User : username.worker or username_worker - auto creates workers!
Password: anypassword
BTCGuild Register!User : username.worker or username_worker - auto creates workers!
Password: anypassword
Code:
Servers : stratum.btcguild.com:3333
User : username_worker
Password: anypassword
GHash IO Register!User : username_worker
Password: anypassword
Code:
Servers : us1.ghash.io:3333
User : username.worker - auto creates workers!
Password: anypassword
User : username.worker - auto creates workers!
Password: anypassword
5) Troubleshooting (top)
TBD as problems arise.

Legal disclaimer: This information is for general guidance and does not constitute expert advice. We are not responsible if you, your property or a third
party is injured or damaged as a result of any interaction with this information, and no warranty is provided. All text and images are covered by copyright.
6) Where to buy (top)
Jump to: