


Nicely formatted version available at dogiecoin.com!


Contents:
0a) What to Expect
0b) What You Need
1) Powering
2) Cooling
3) Case
4) Configuration
5) Troubleshooting
6) Where to buy
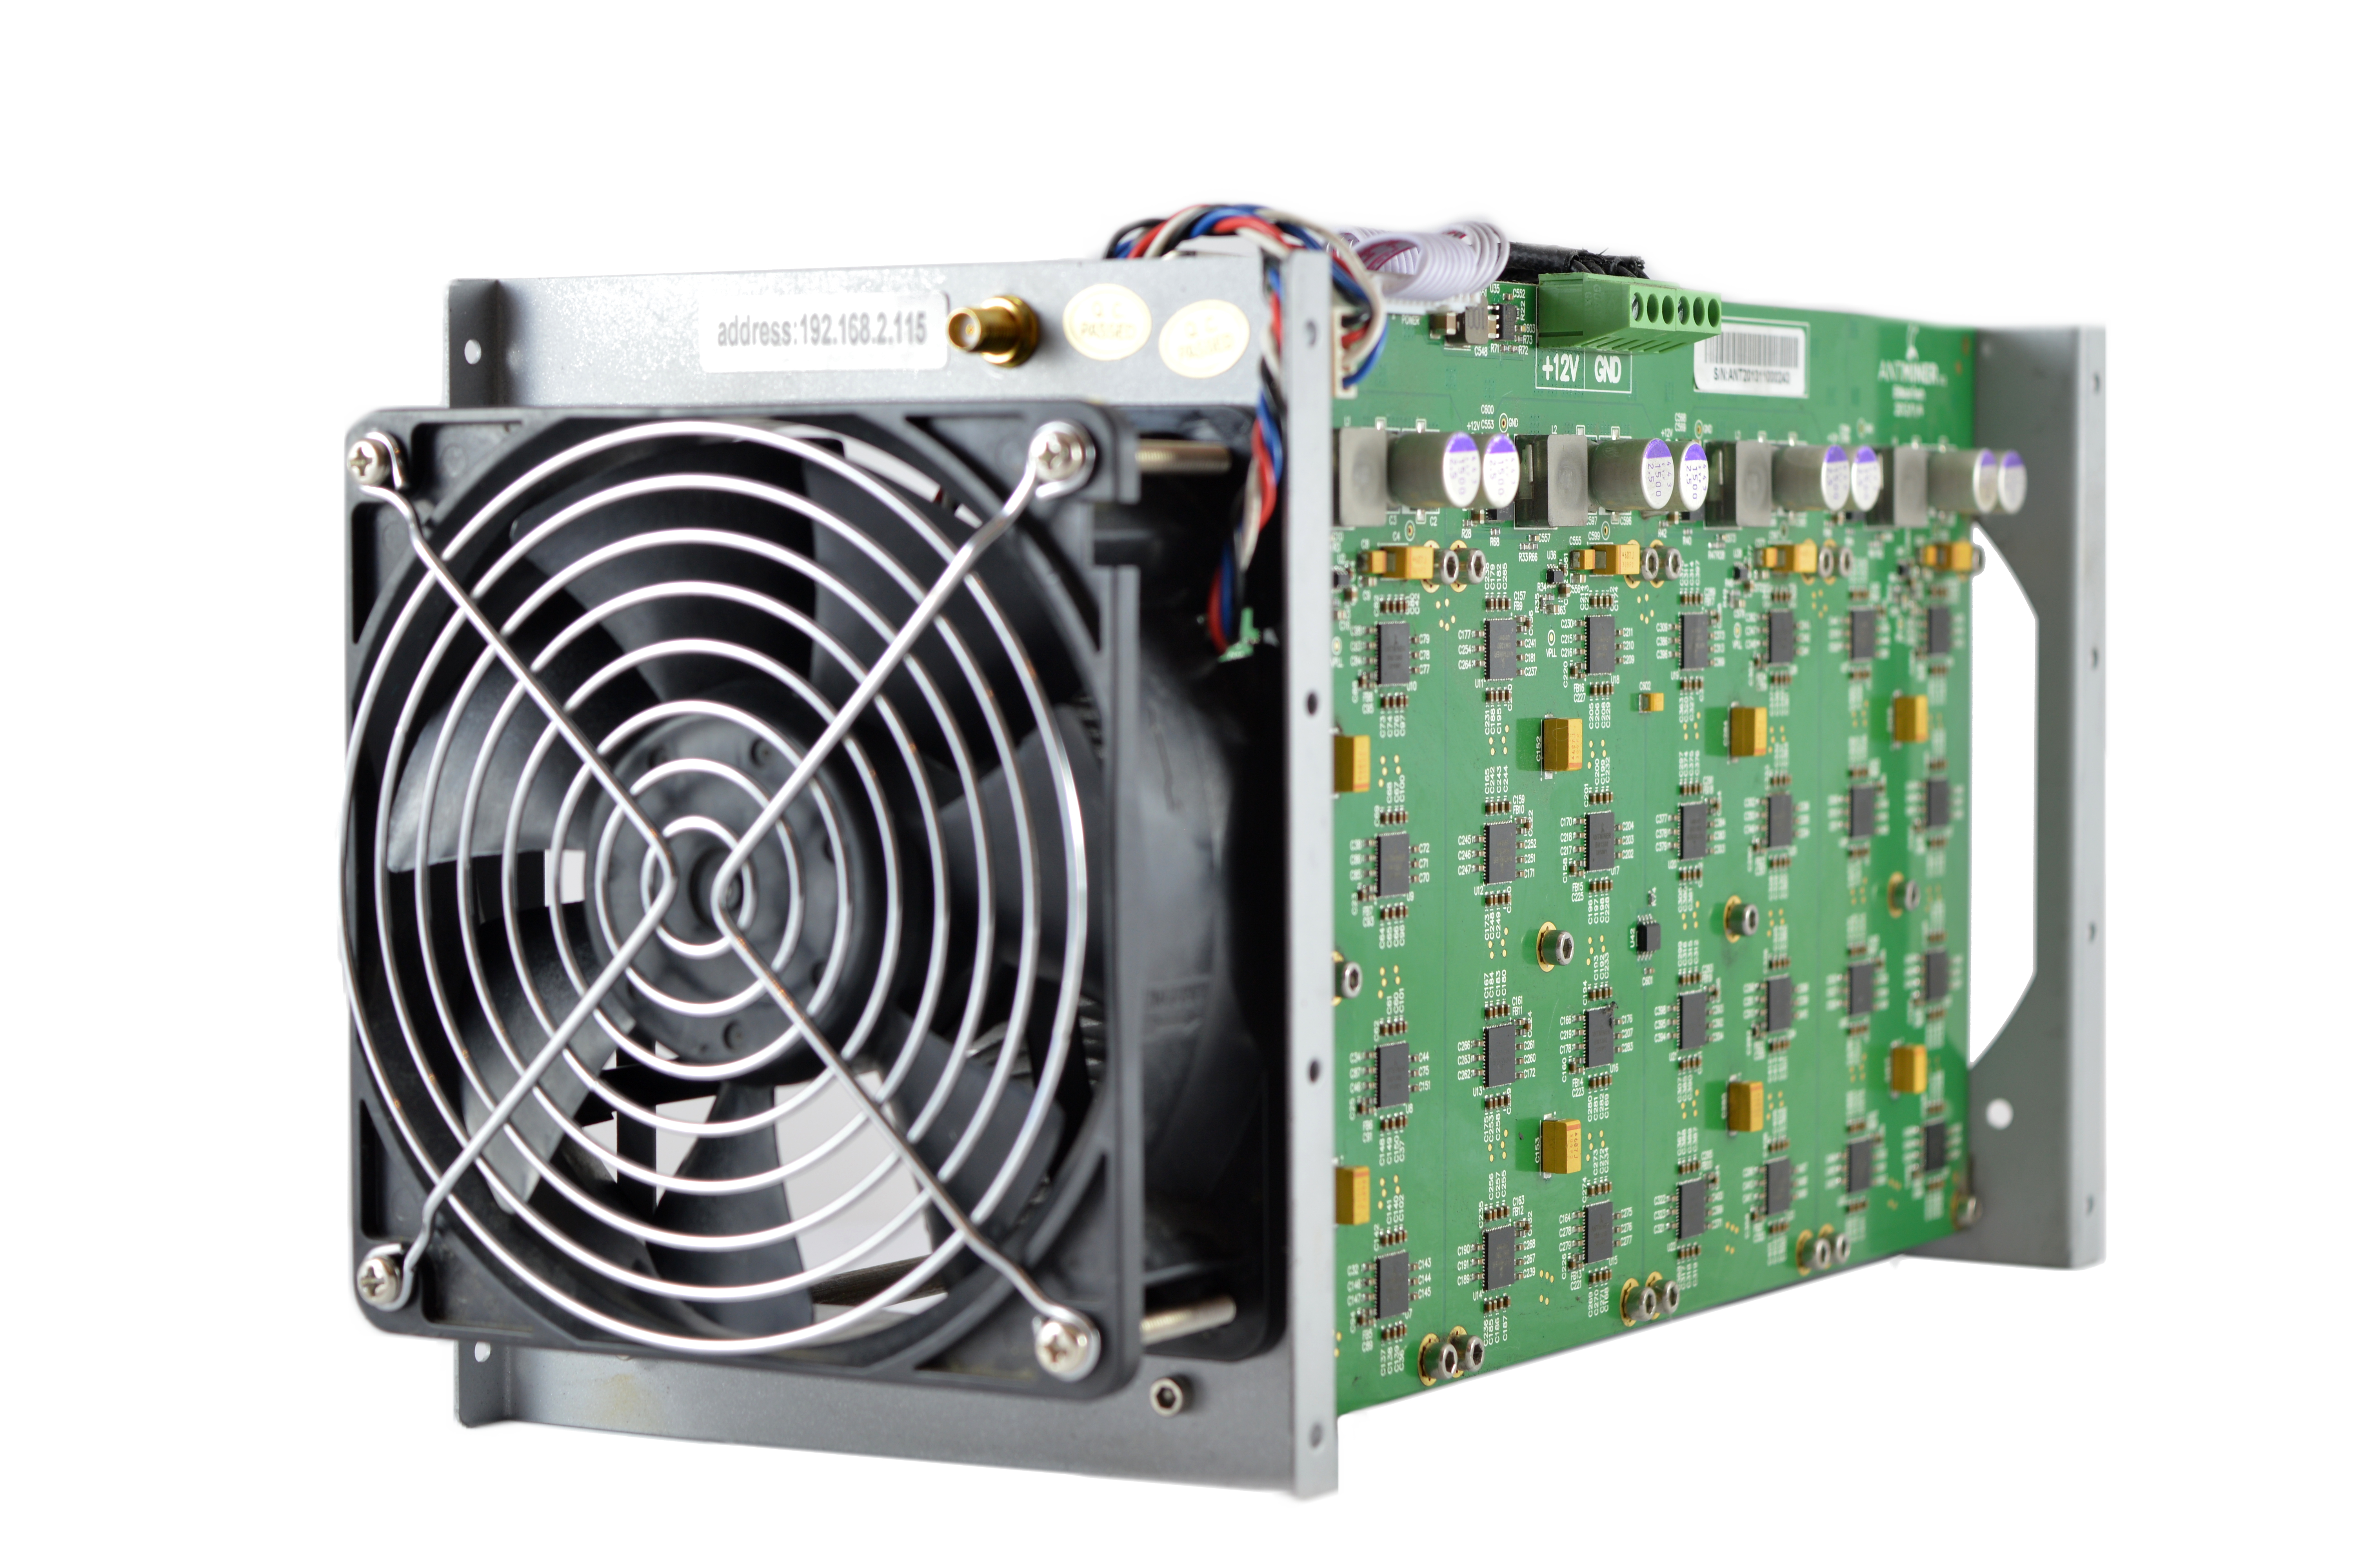
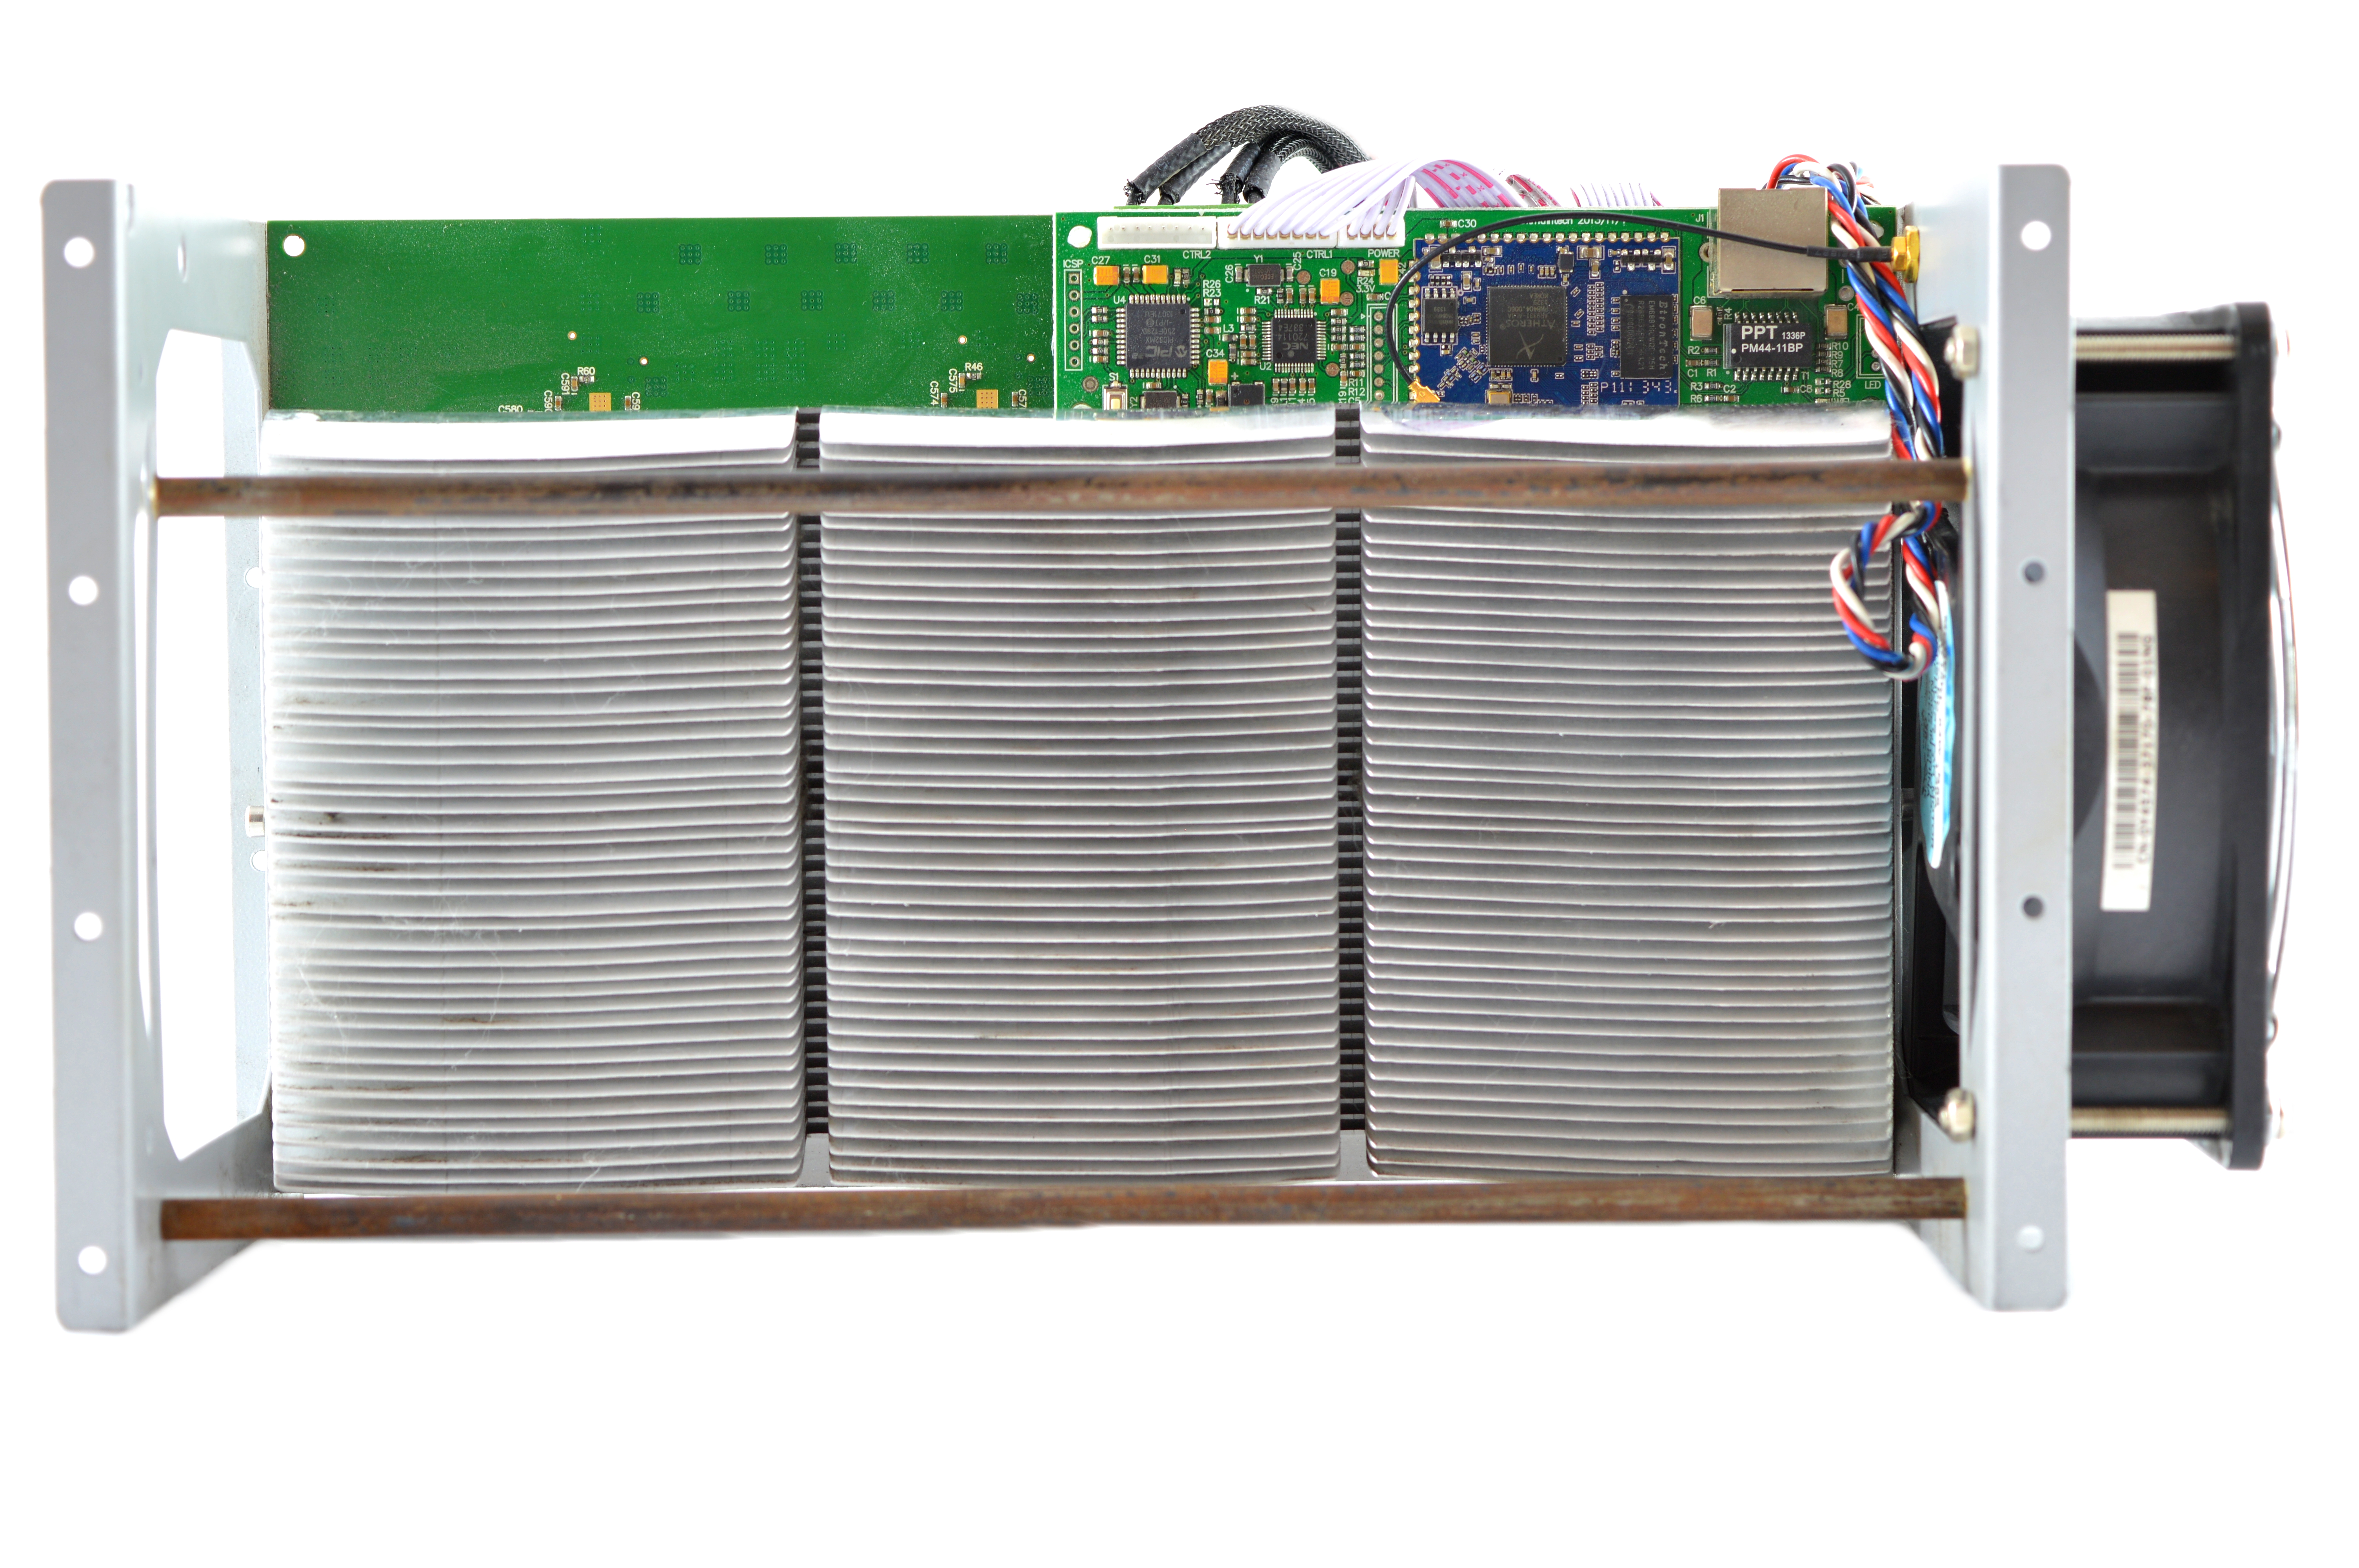
0a) What to Expect (top)
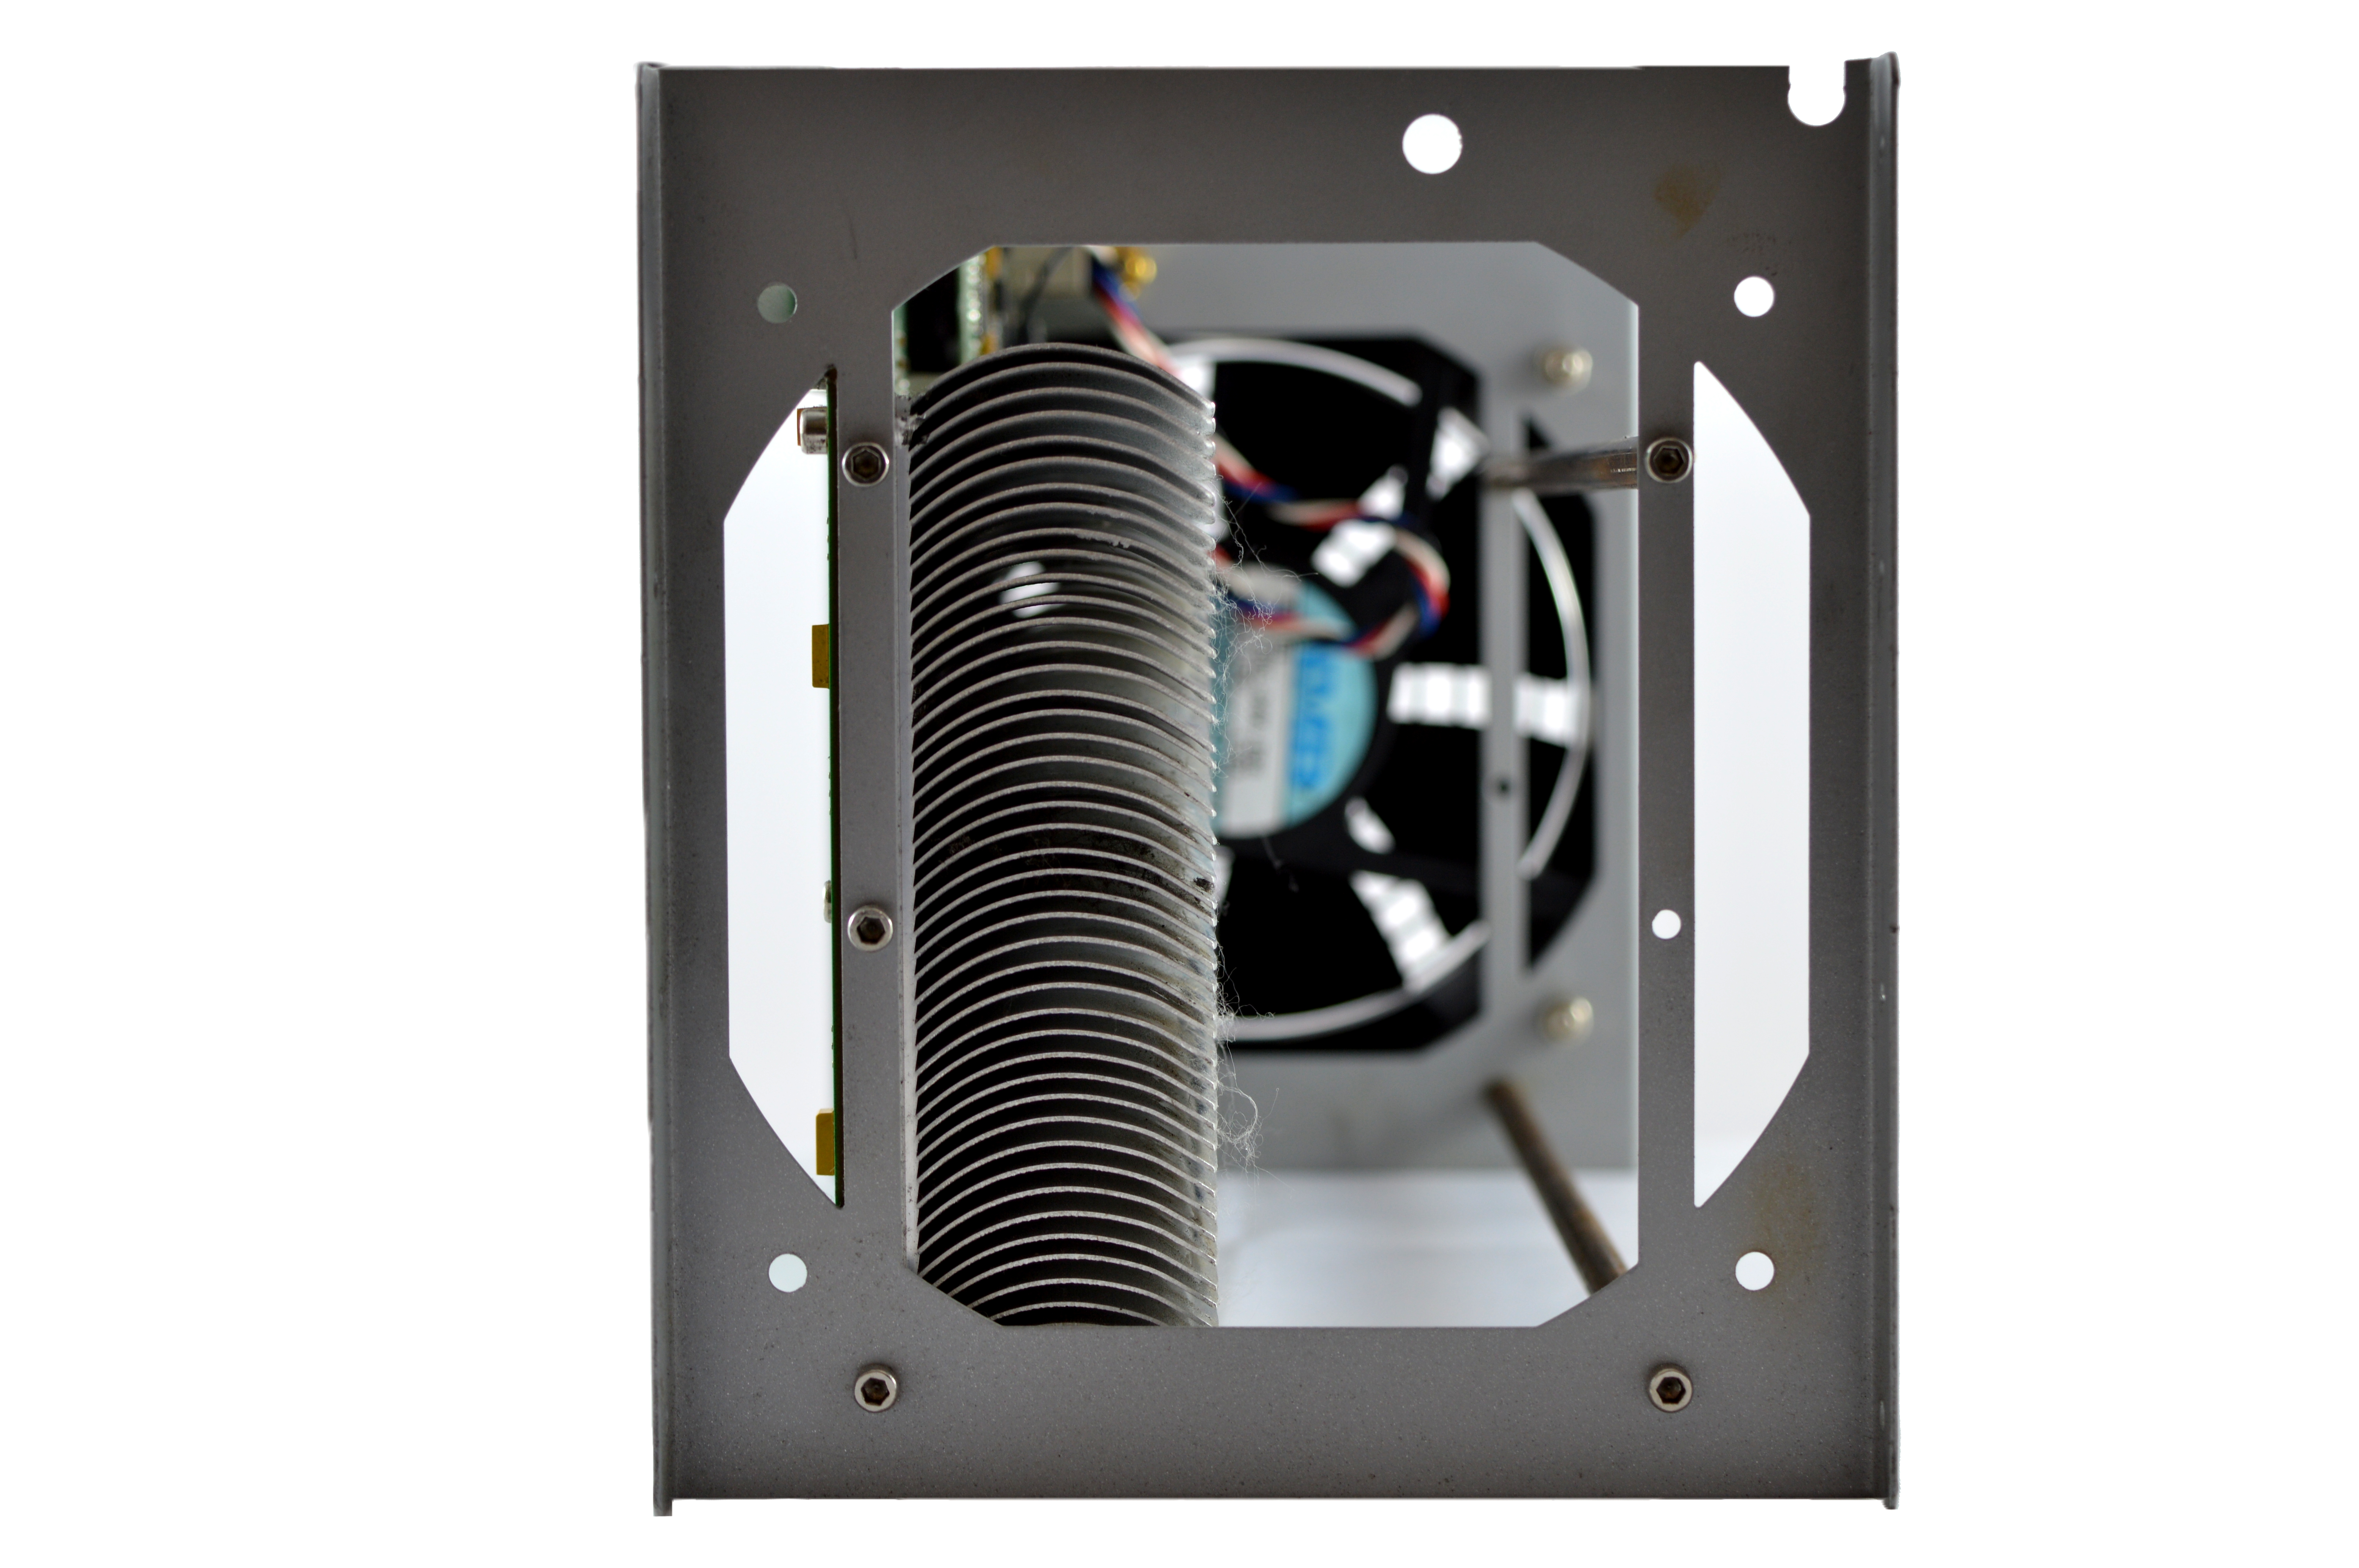
The AntMiner S1 has two hashing boards and an onboard controller featuring wifi. A single 120mm fan provides cooling to the aluminium heatsinks. This
unit only has one mining board and a screw terminal as it is a very early model. Consumer units come with both a screw terminal and a PCI-E port.
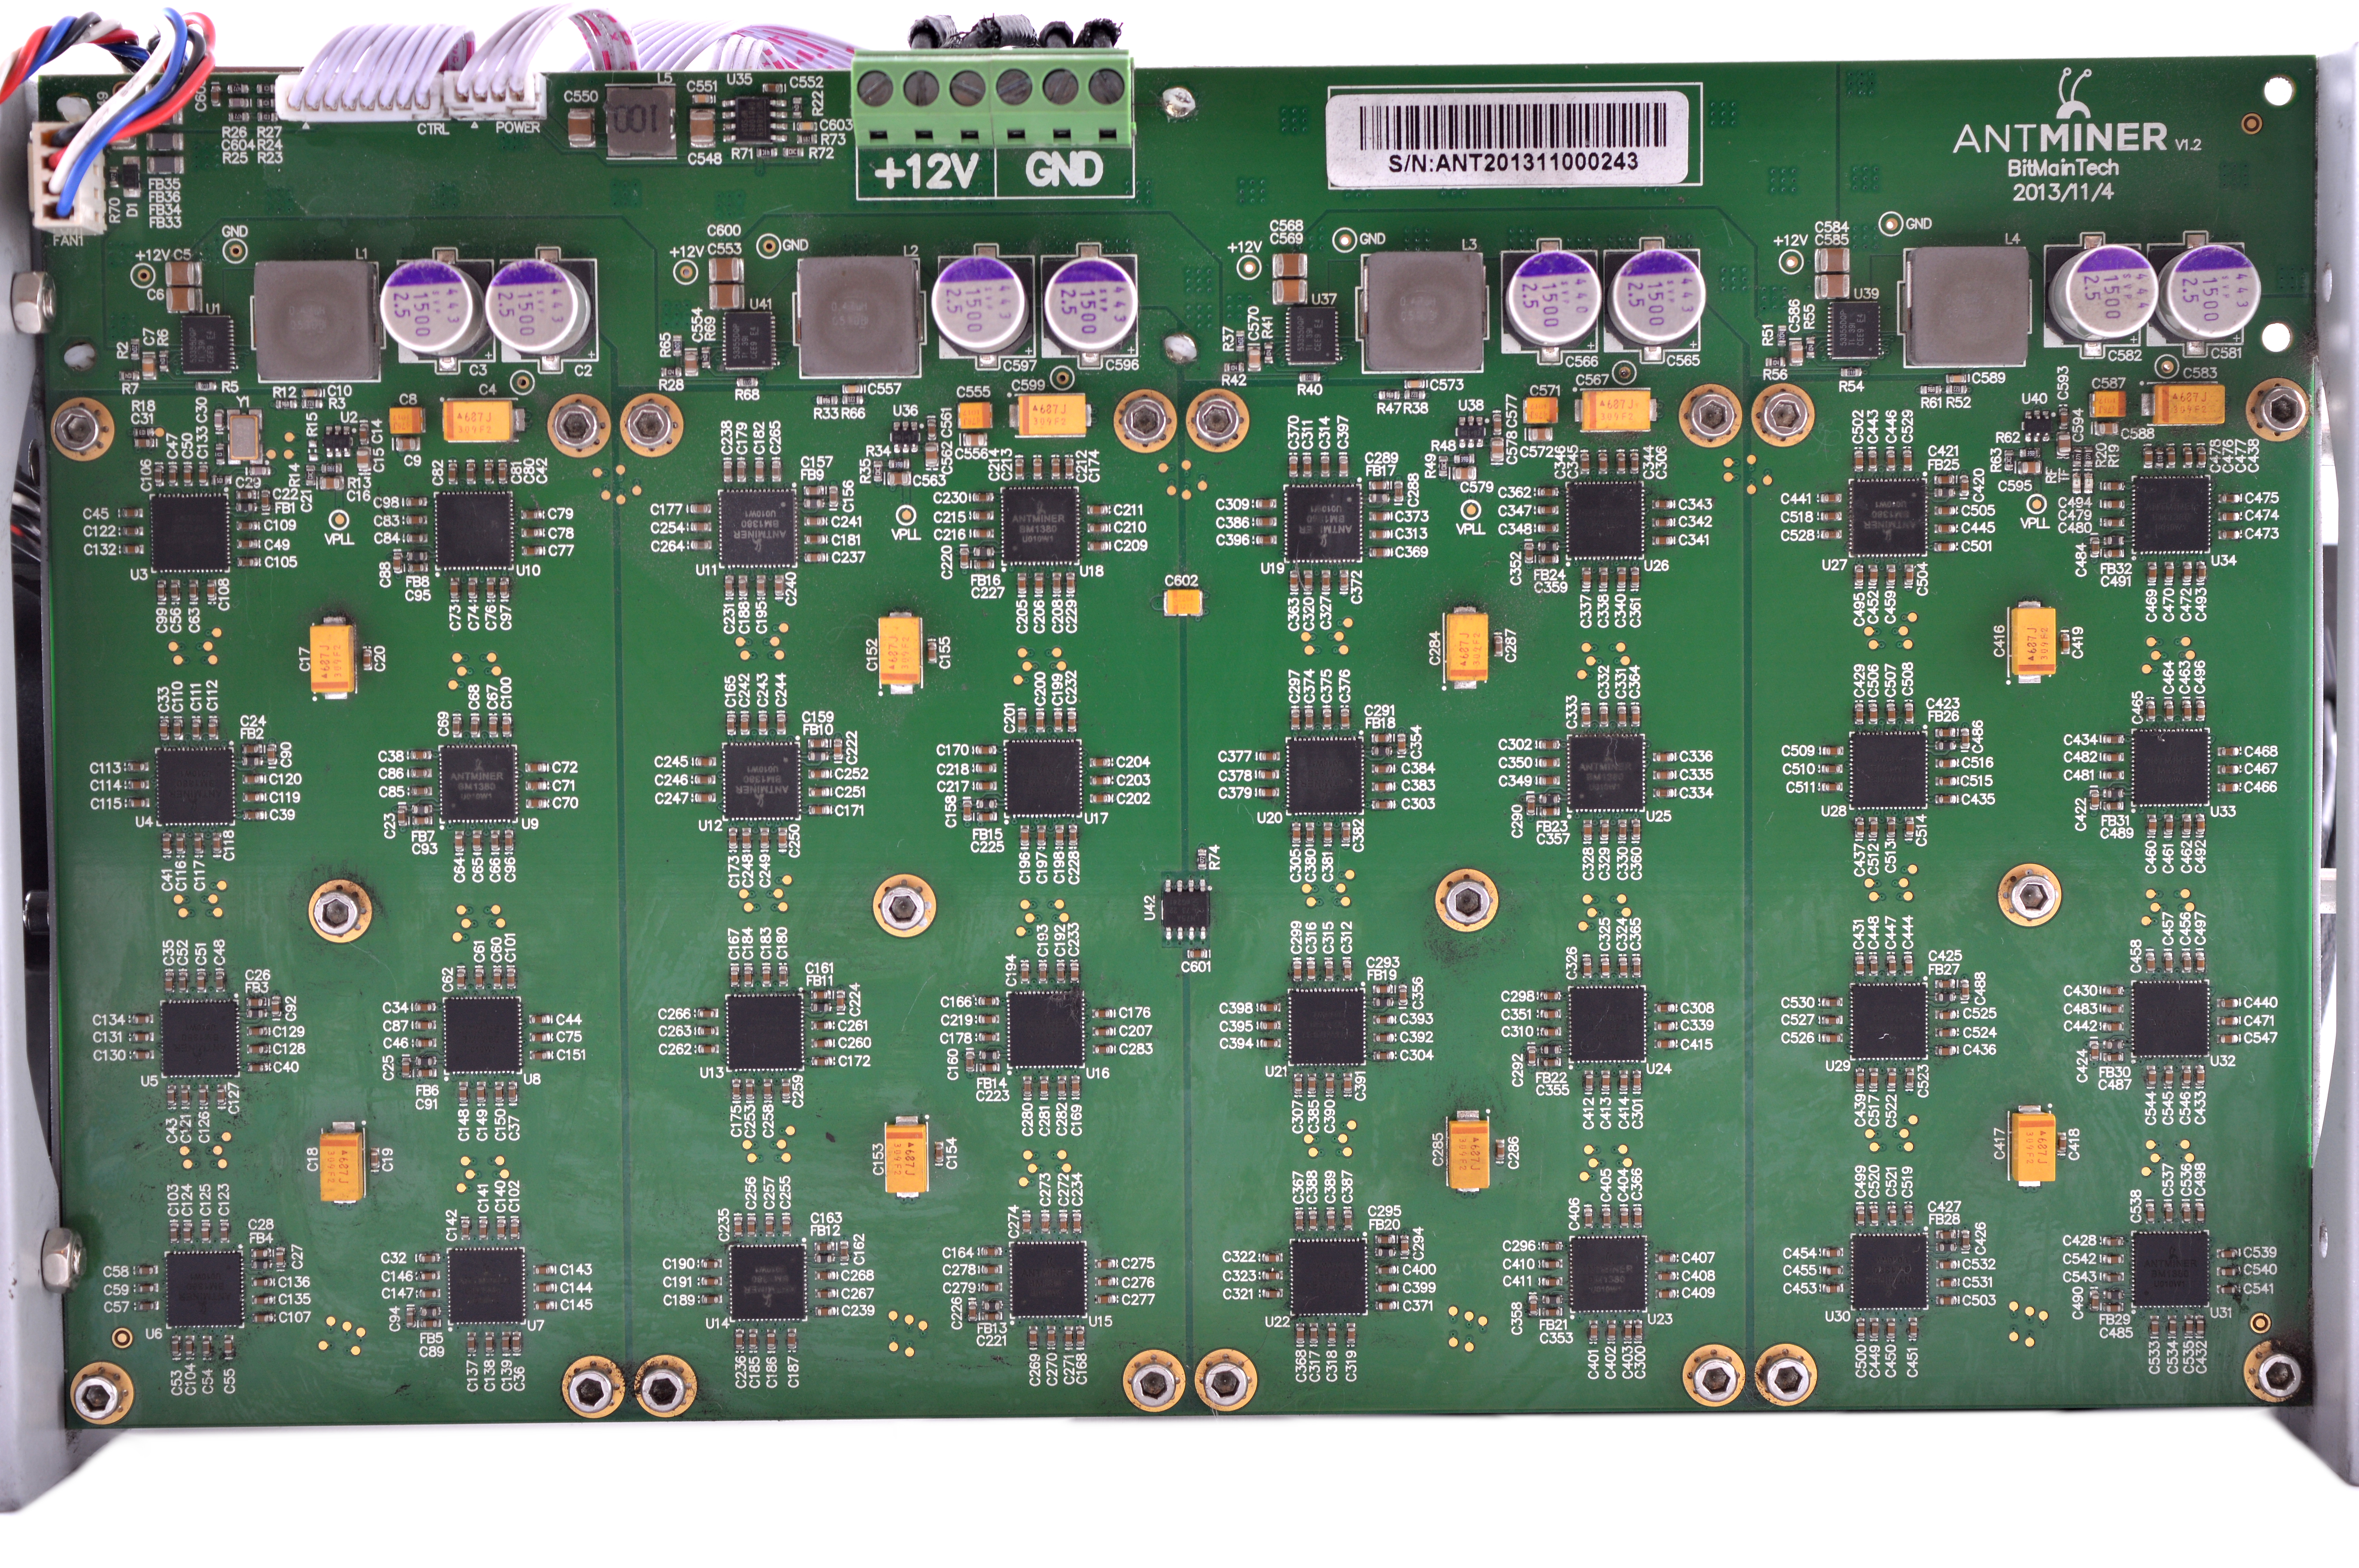
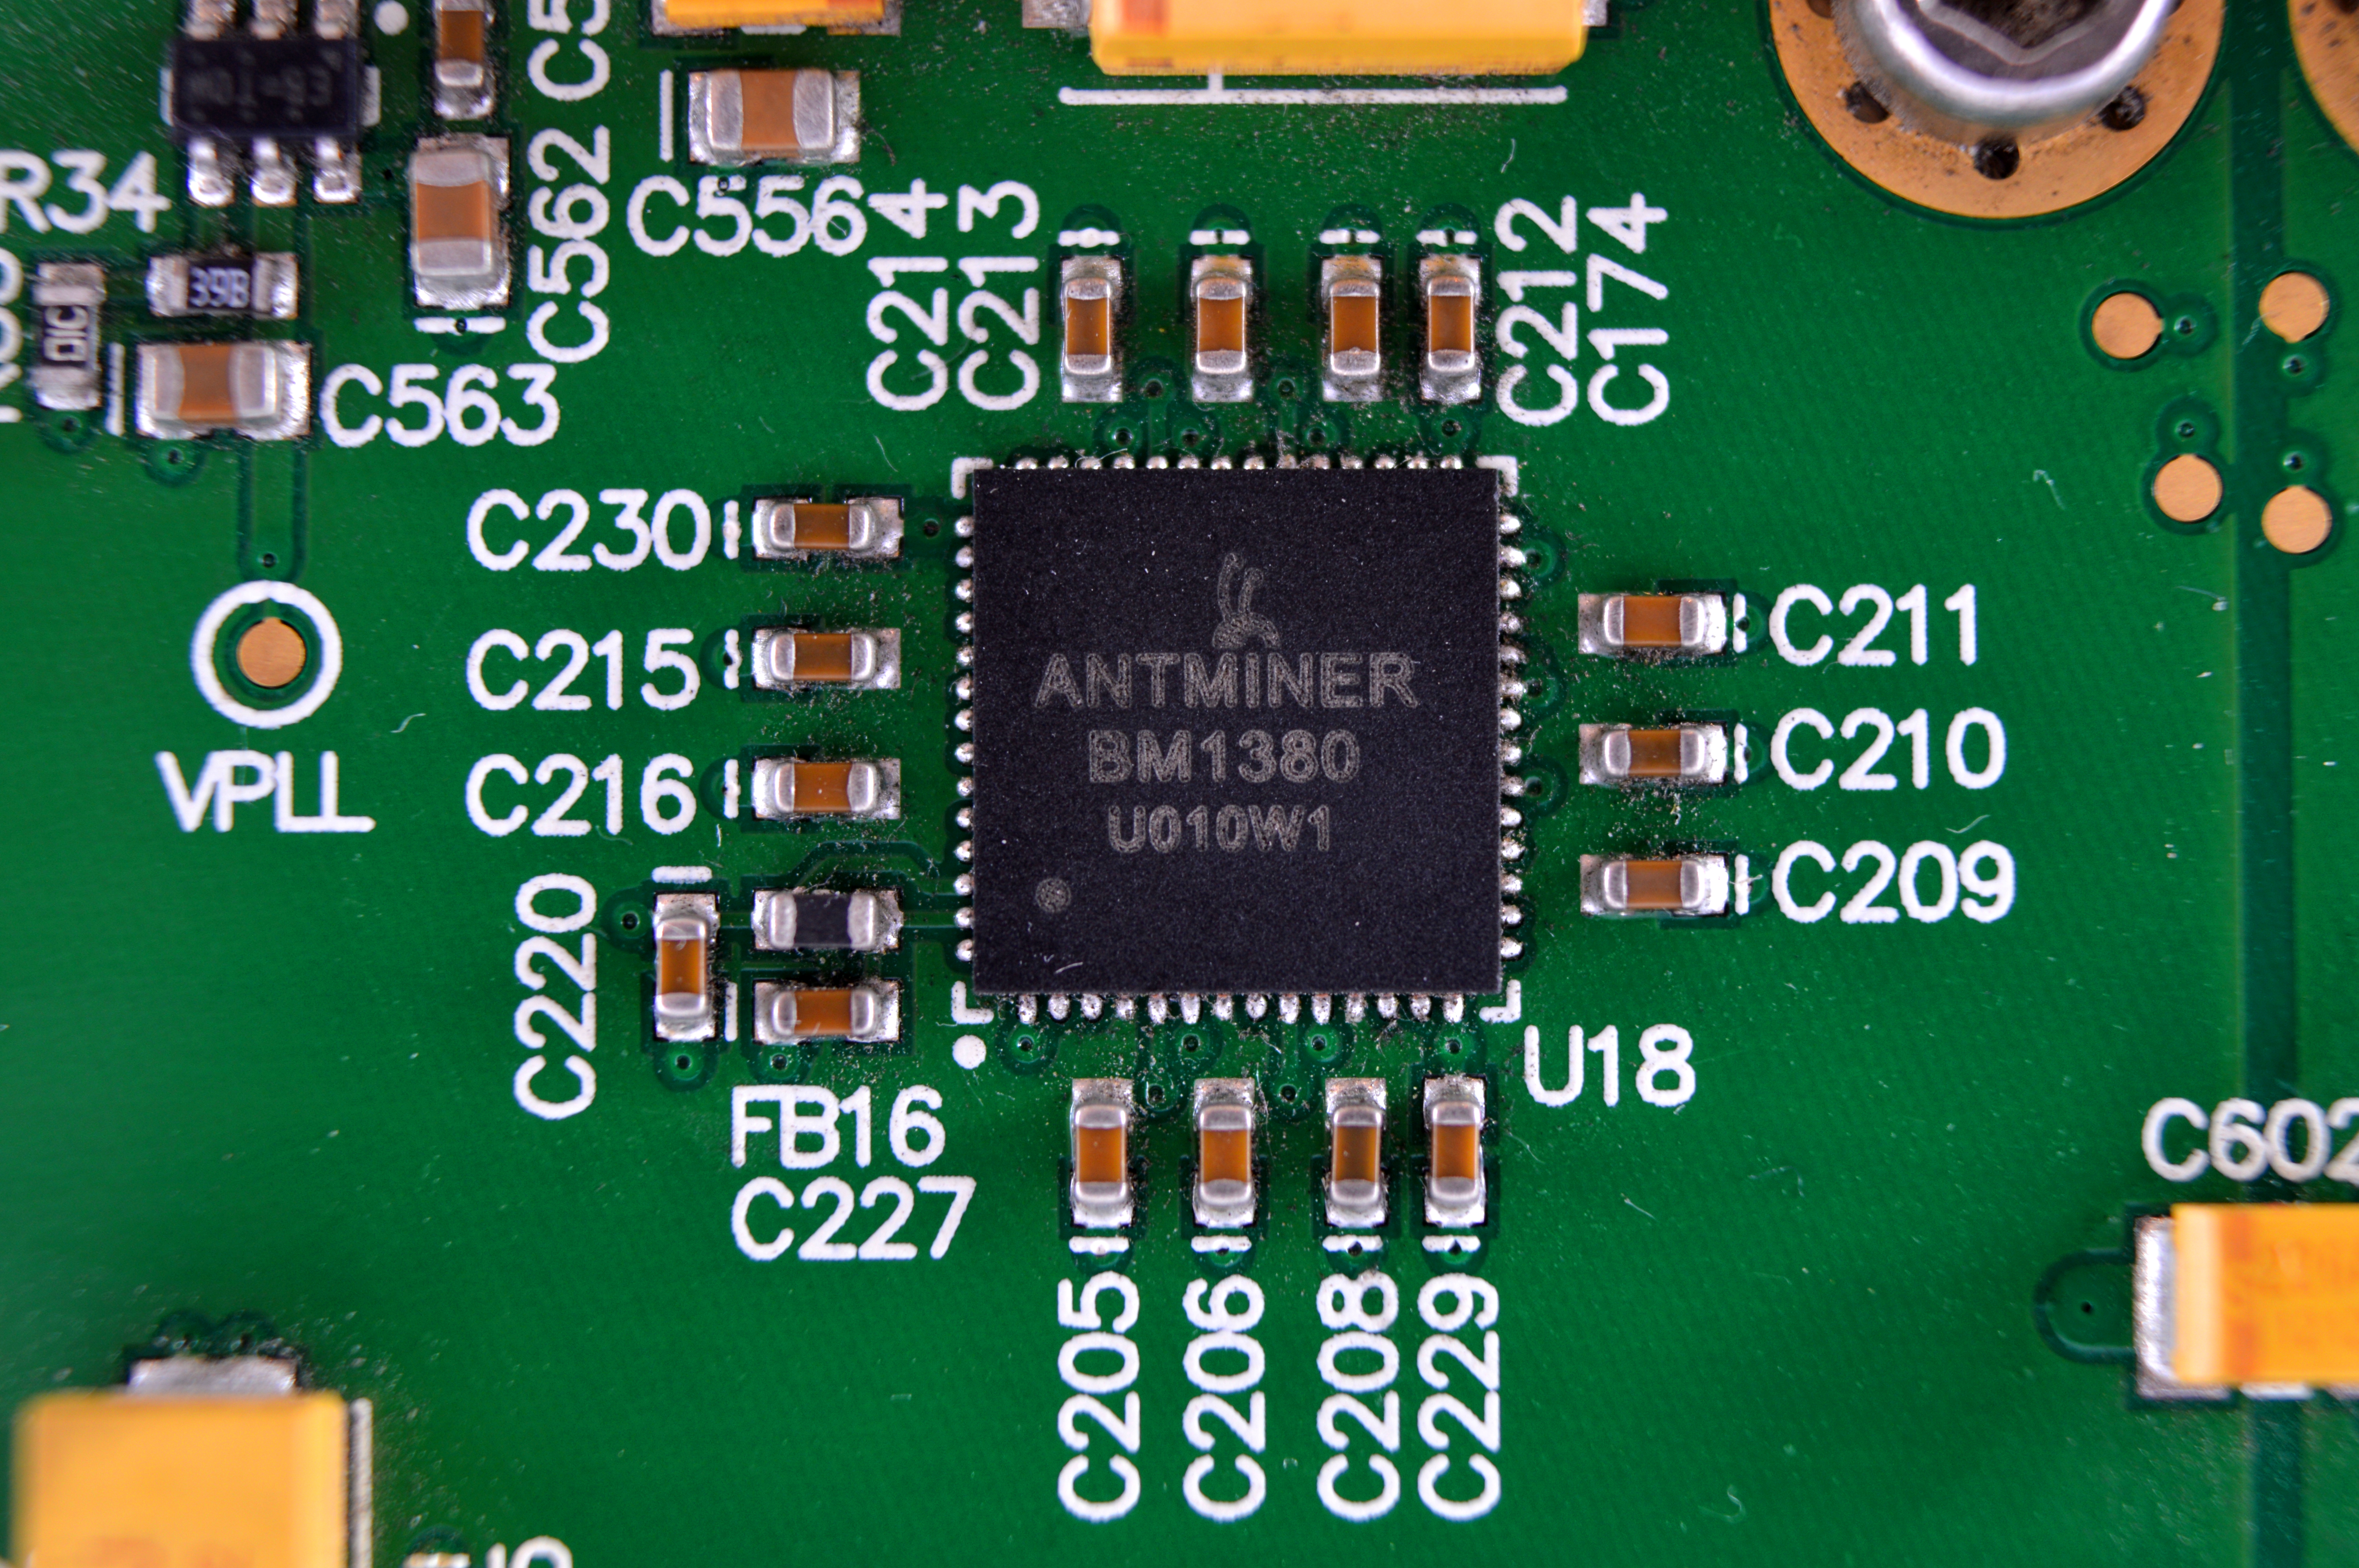
| Chips | 64x Bitmain BM1380 Gen1 |
| Hashrate | ~180GH |
| Rated Voltage | 12V |
| Rated Current | 30A |
| Power.Consumption | 360W |
0b) What You Need (top)
You will need a few accessories and a power supply to get started.
Click your flag to find everything you need to get started at Amazon!


1) Powering (top)
S1's do not come with a power supply, and you will need a typical computer PSU with 2xPCI-E 6 pin power connectors. We also need to tell the PSU to
always be on, as there isn't a motherboard to do this. Cut a paper clip into a U and insert it into the
green wire and either black wire to the side of the green wire. Tape it up for safety. The power supply
will now be controlled by its switch on the rear socket.

Note: Those with newer AntMiners that come with 2x PCI-E connectors attached can skip to step 2.
Then, we have a few options for cable choice. The preferred option is an 8 pin PCI-E extension cable. Next is a 4 pin ATX connector, and finally TWO
molex connectors via a molex splitter. Regardless with what you go with, the wire preparation below is the same.
Cut the black [ground] and yellow [12V] cables at the end of each split, then tape the connectors with remaining red wire [5V] together or remove
entirely*. Only required for molex connectors, the rest do not have 5V cables. Strip back about 0.5cm from each cable end, with wire strippers or otherwise.
I just use typical scissors, seem to do the job fine.
Then we will screw them in to the connector provided with the AntMiner. The polarity is drawn on the side of the PCB, the black cables are grounds (-ve),
the yellow is (12V +ve). There are 3 of each and I would recommend populating as many as possible.
Wire prep for 4 pin ATX connectors:


You can do the same process with 6/8 pin PCI-E extenders or 4 pin molex connectors. *These pictures are for an ASICMiner blade who's screw terminal
is only 4 pin:


Finished wiring:

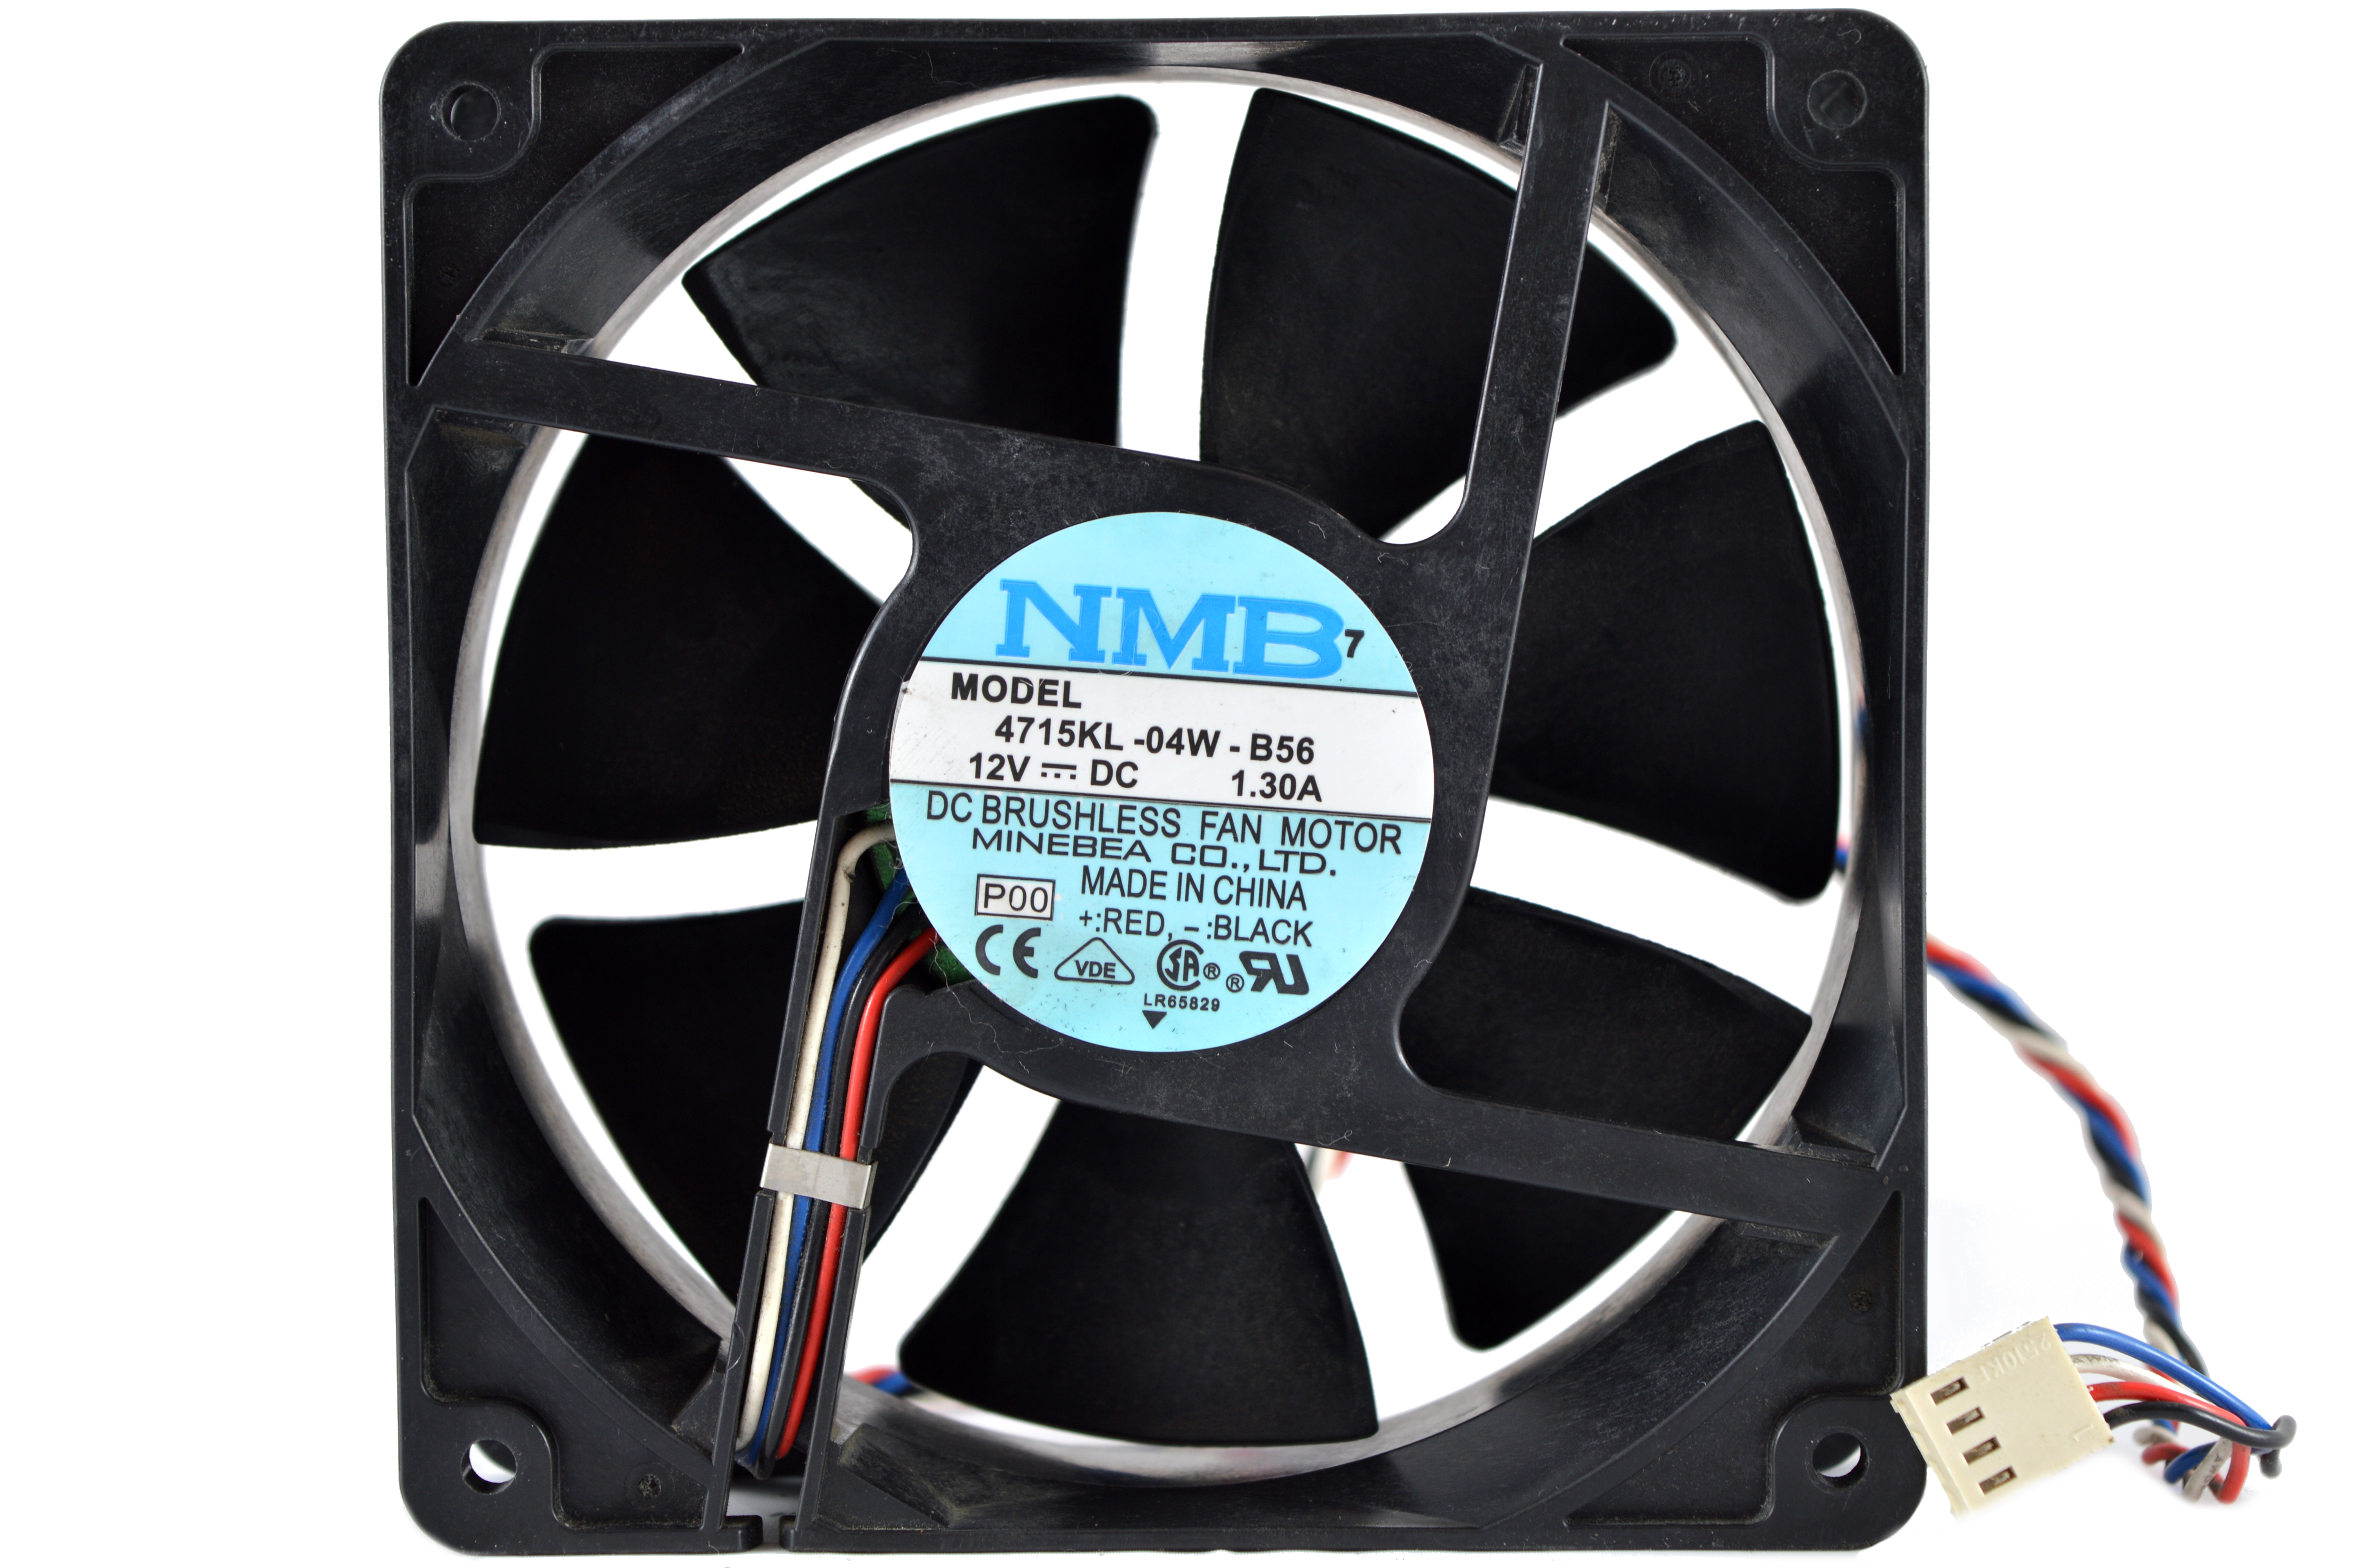
2) Cooling (top)
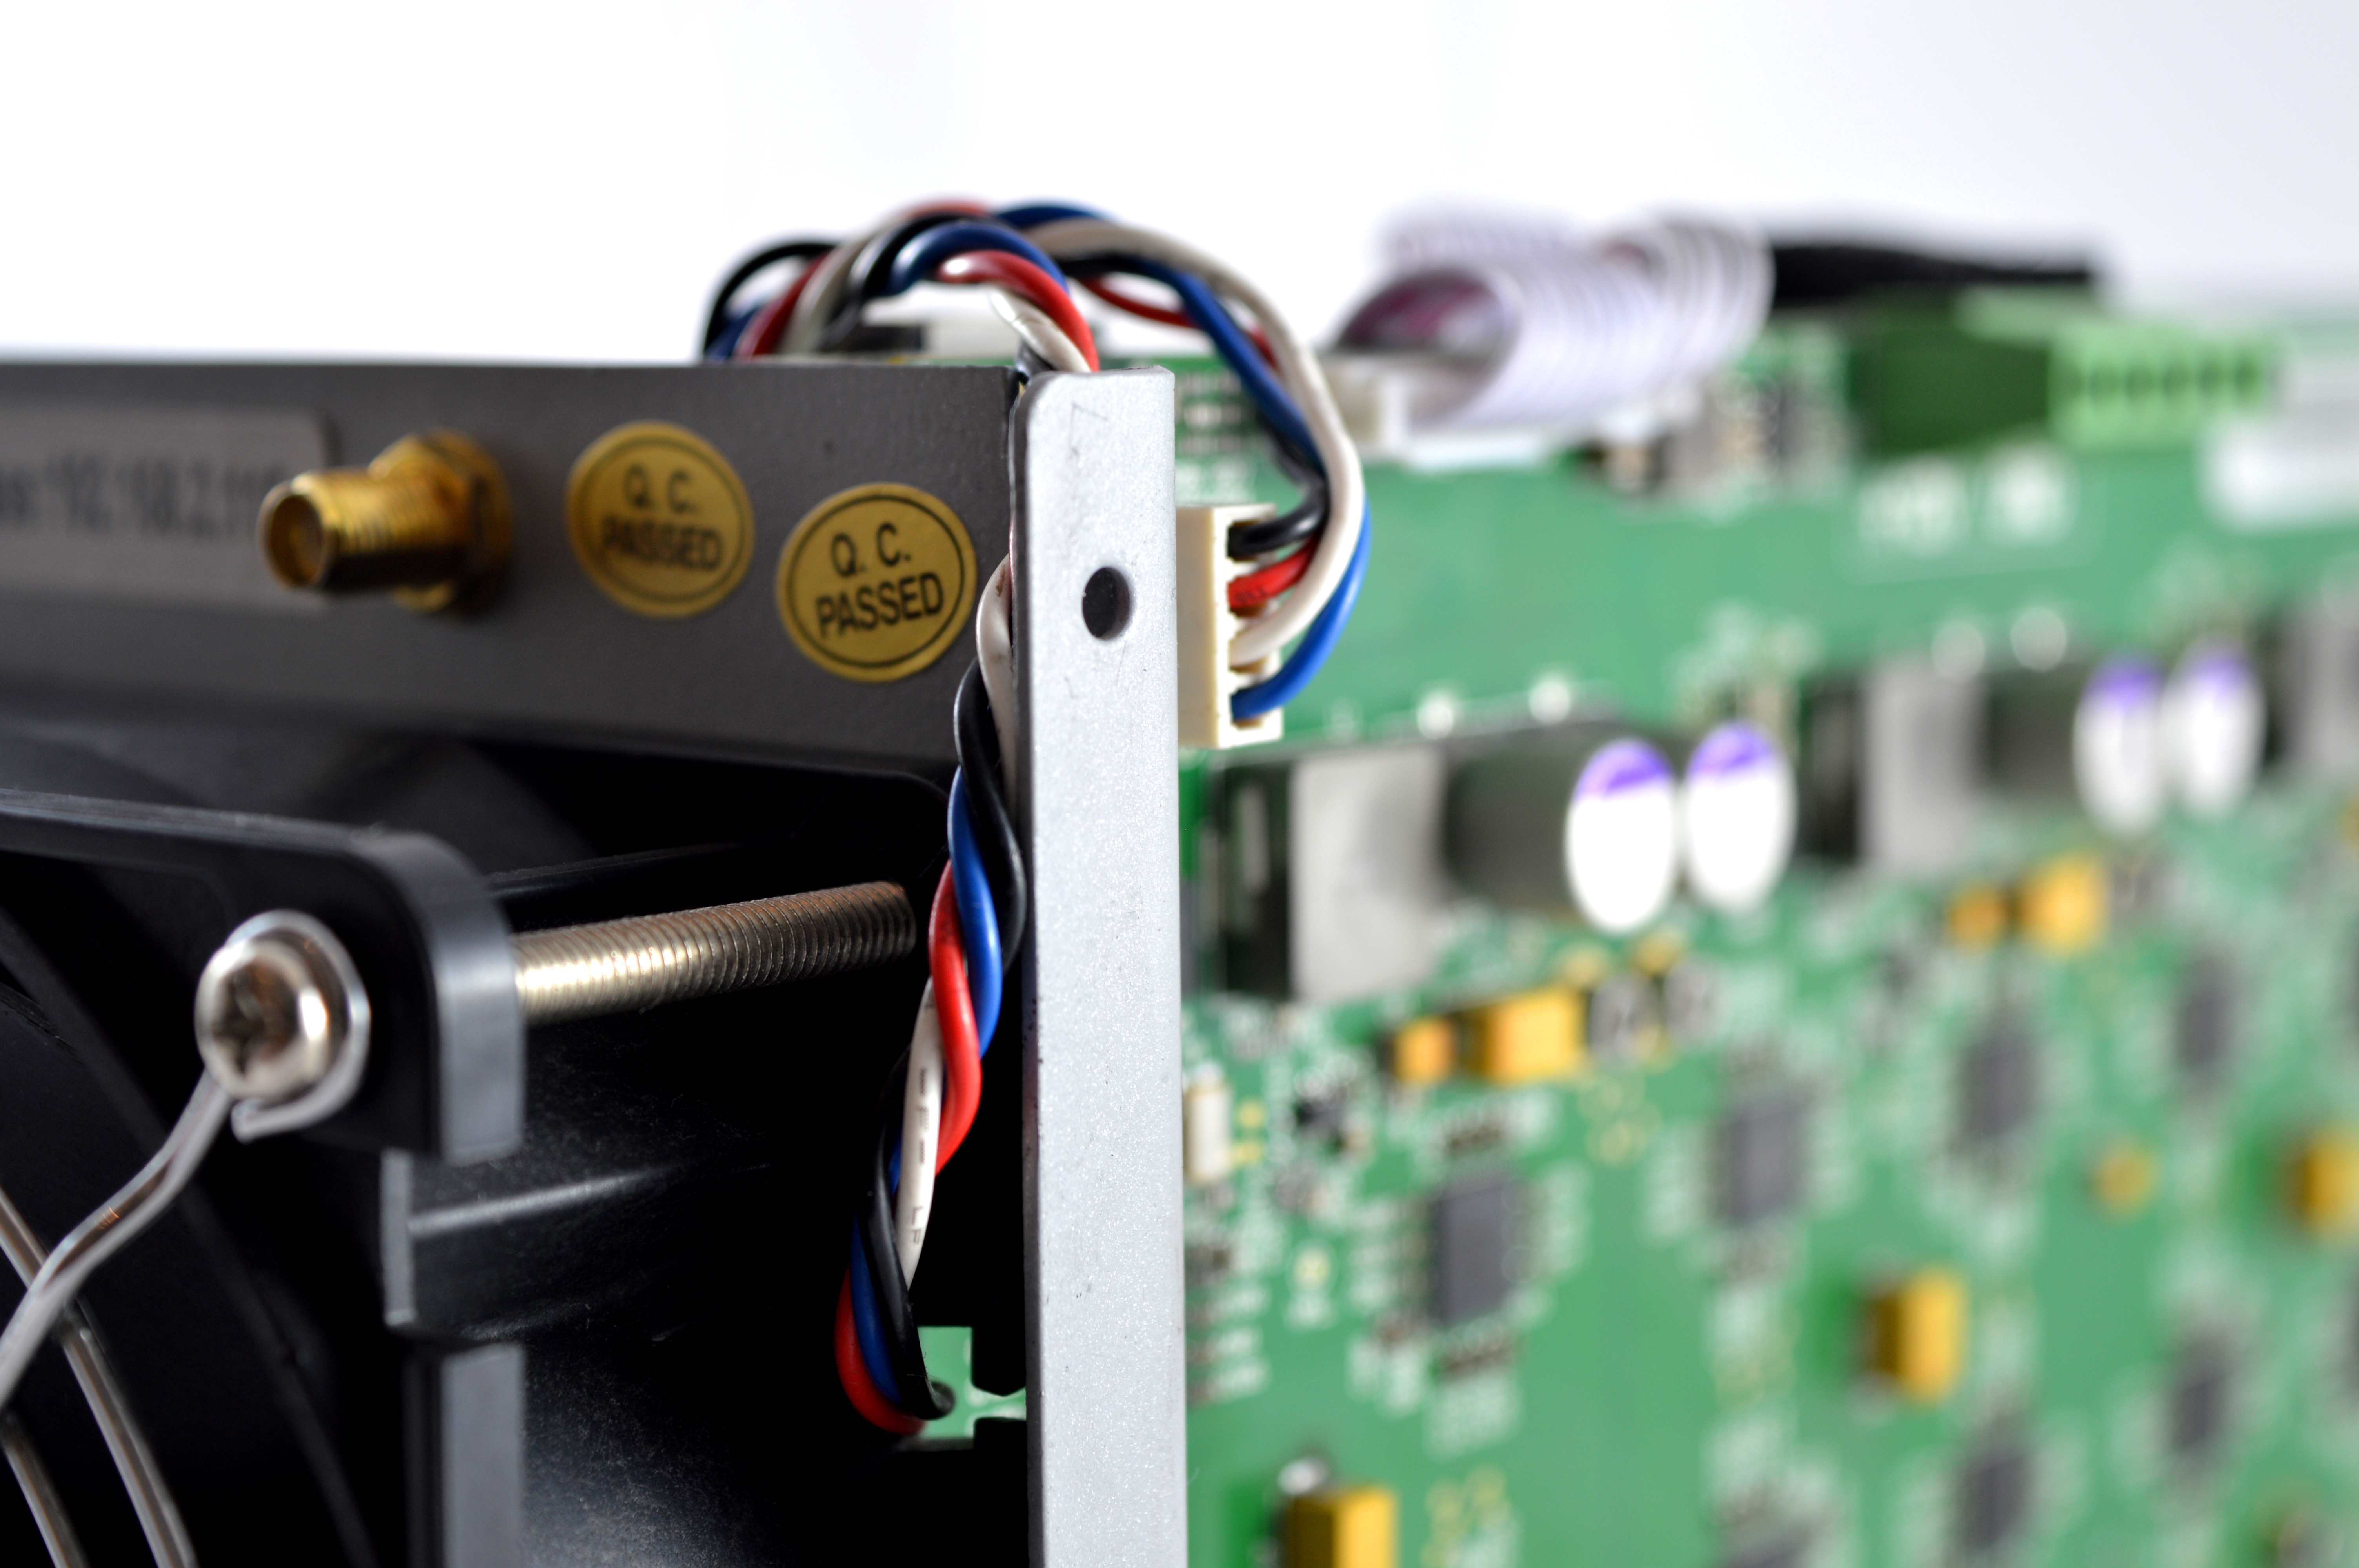
AntMiners come with a NMB 4715KL 120mm fan which can get quite loud above ~23C ambient and so I would recommend the addition of a second case
fan in push/pull configuration. This can be powered by the free 4 pin PWM connection on the second miner.
3) Case (top)
AntMiners are self standing and designed to be stackable. I would however recommend something rubbery to stand them on as they can vibrate against
surfaces at higher fan RPMs. Dimensions are 135 mm x 155 mm x 300 mm.
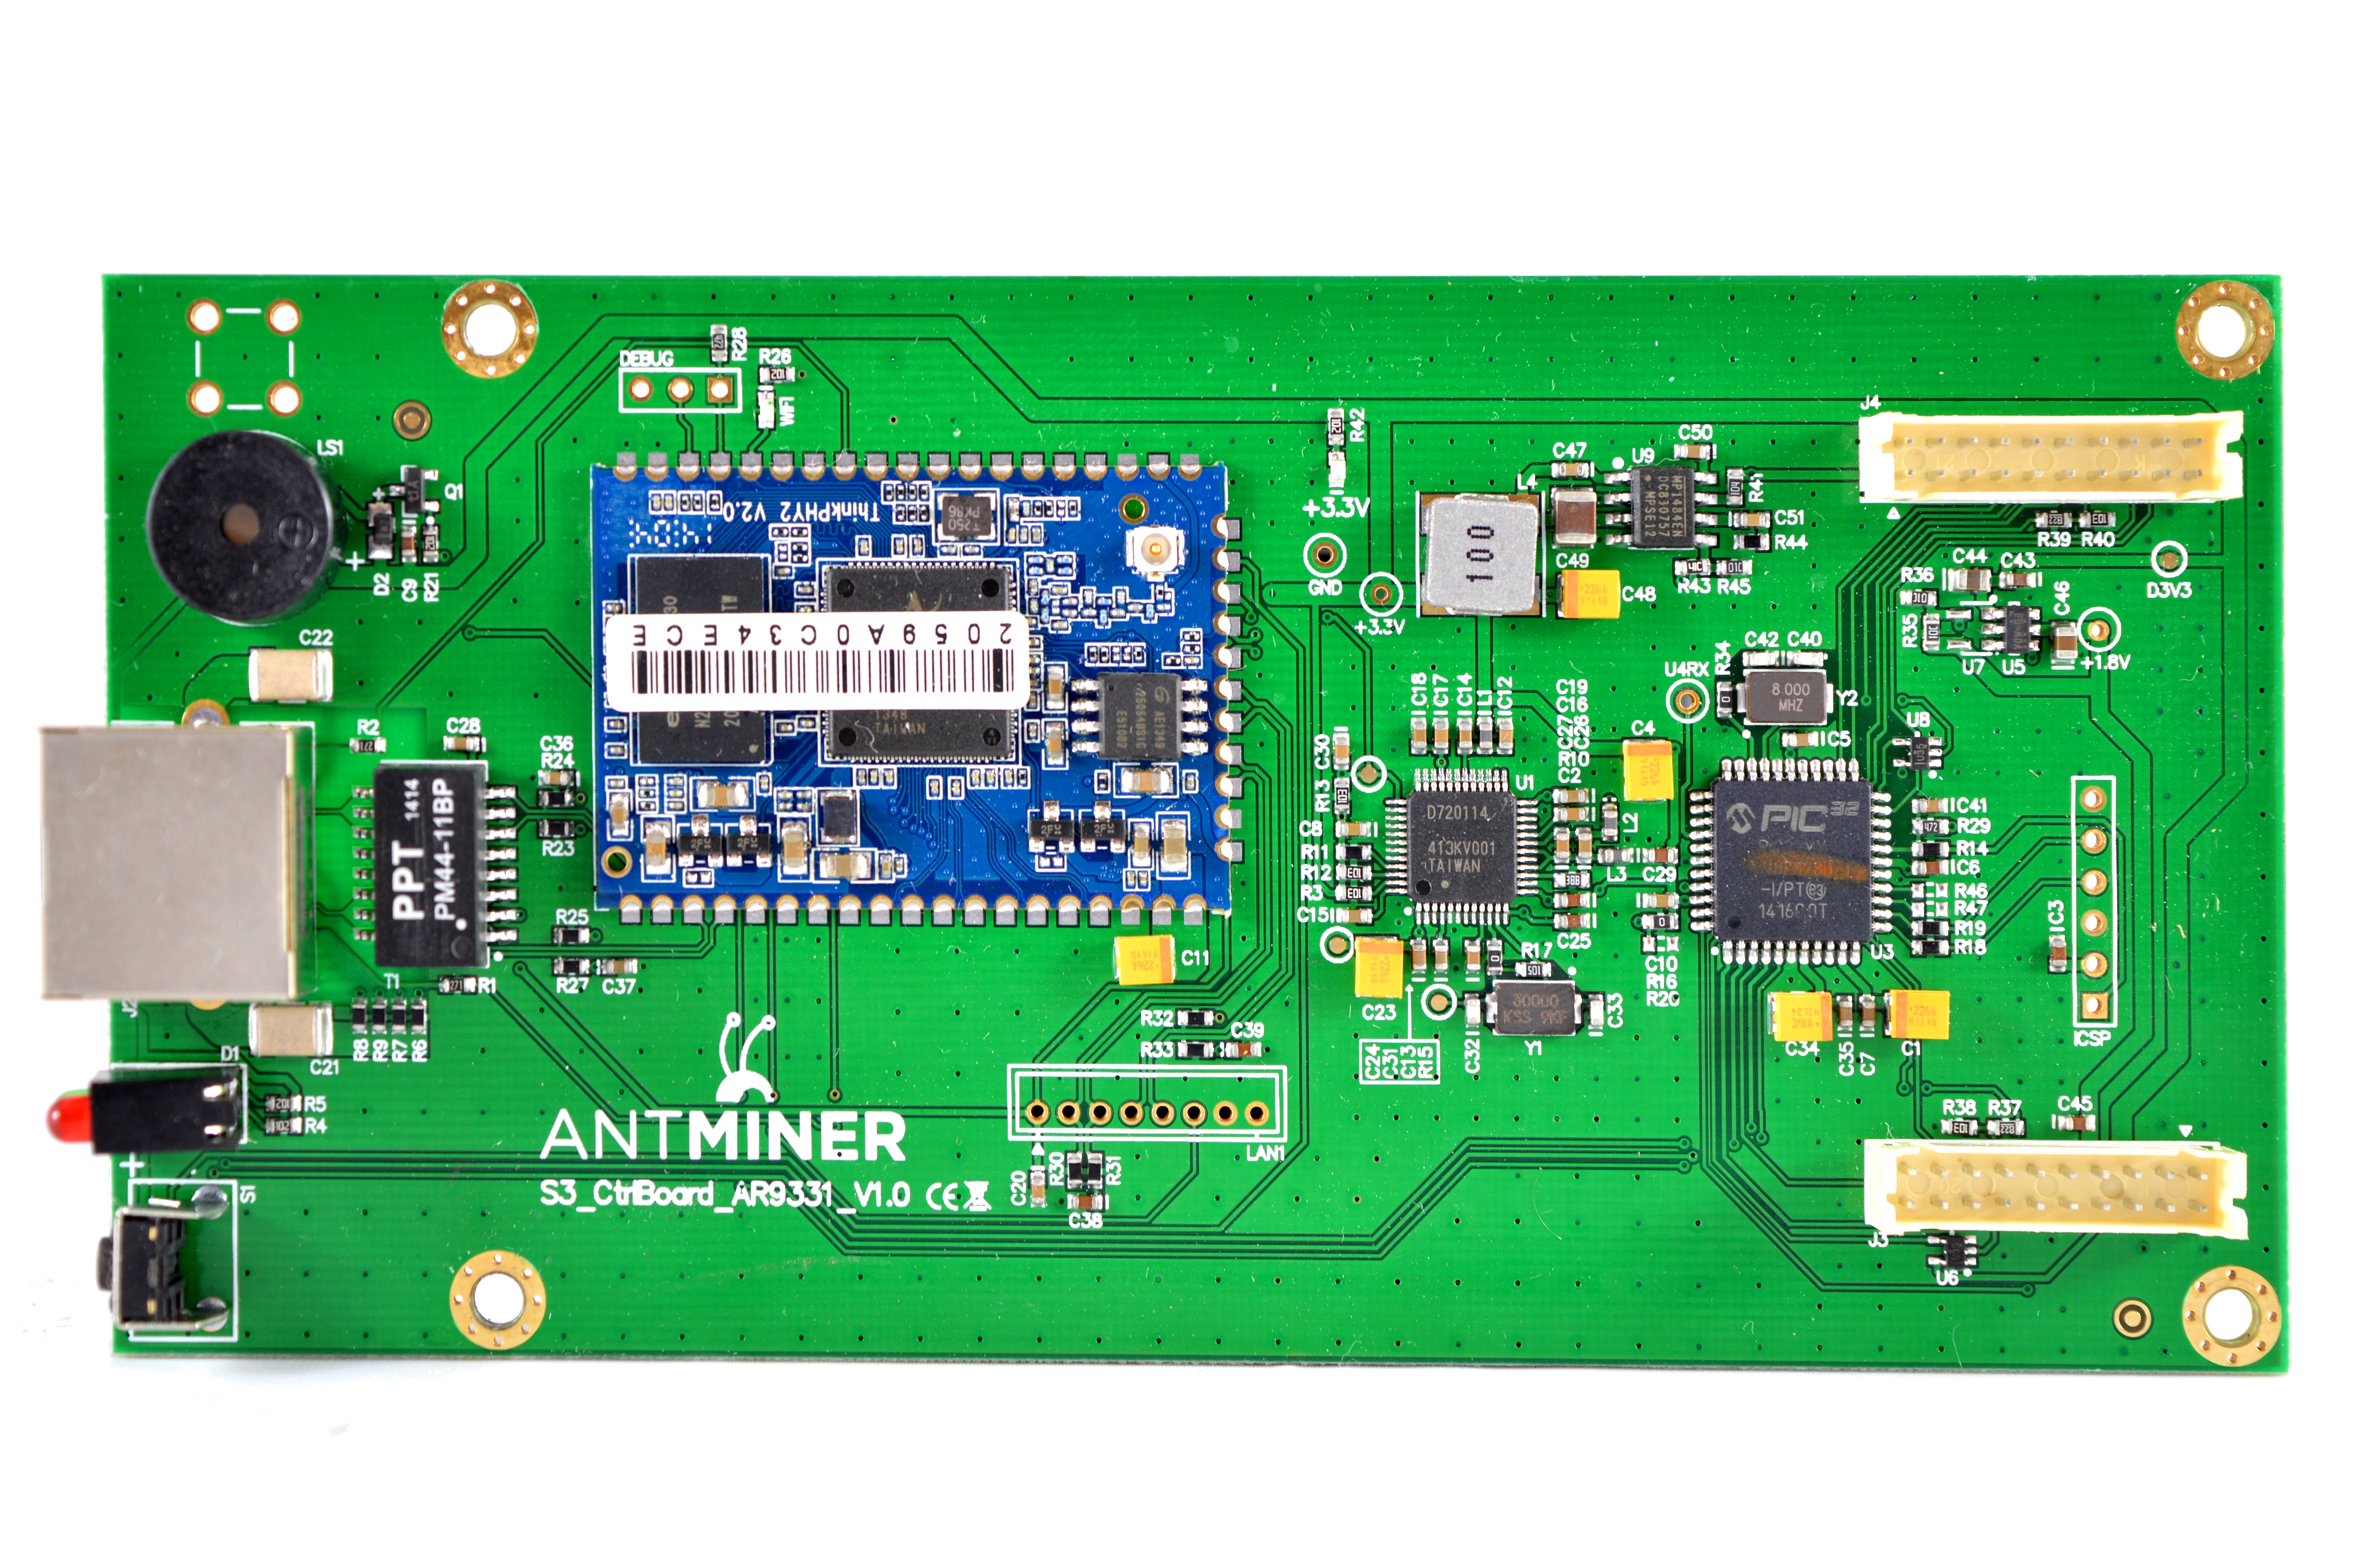
4) Configuration (top)
The S1 is standalone and does not require an external controller.
Wiring:
- Prepare the paper clip for the PSU's 24 pin connector.
- Prepare the screw terminal / Plug in the two PCI-E cables to the miner.
- Plug in an ethernet cable from the AntMiner to you router.
Configuration:
- Power on as above.
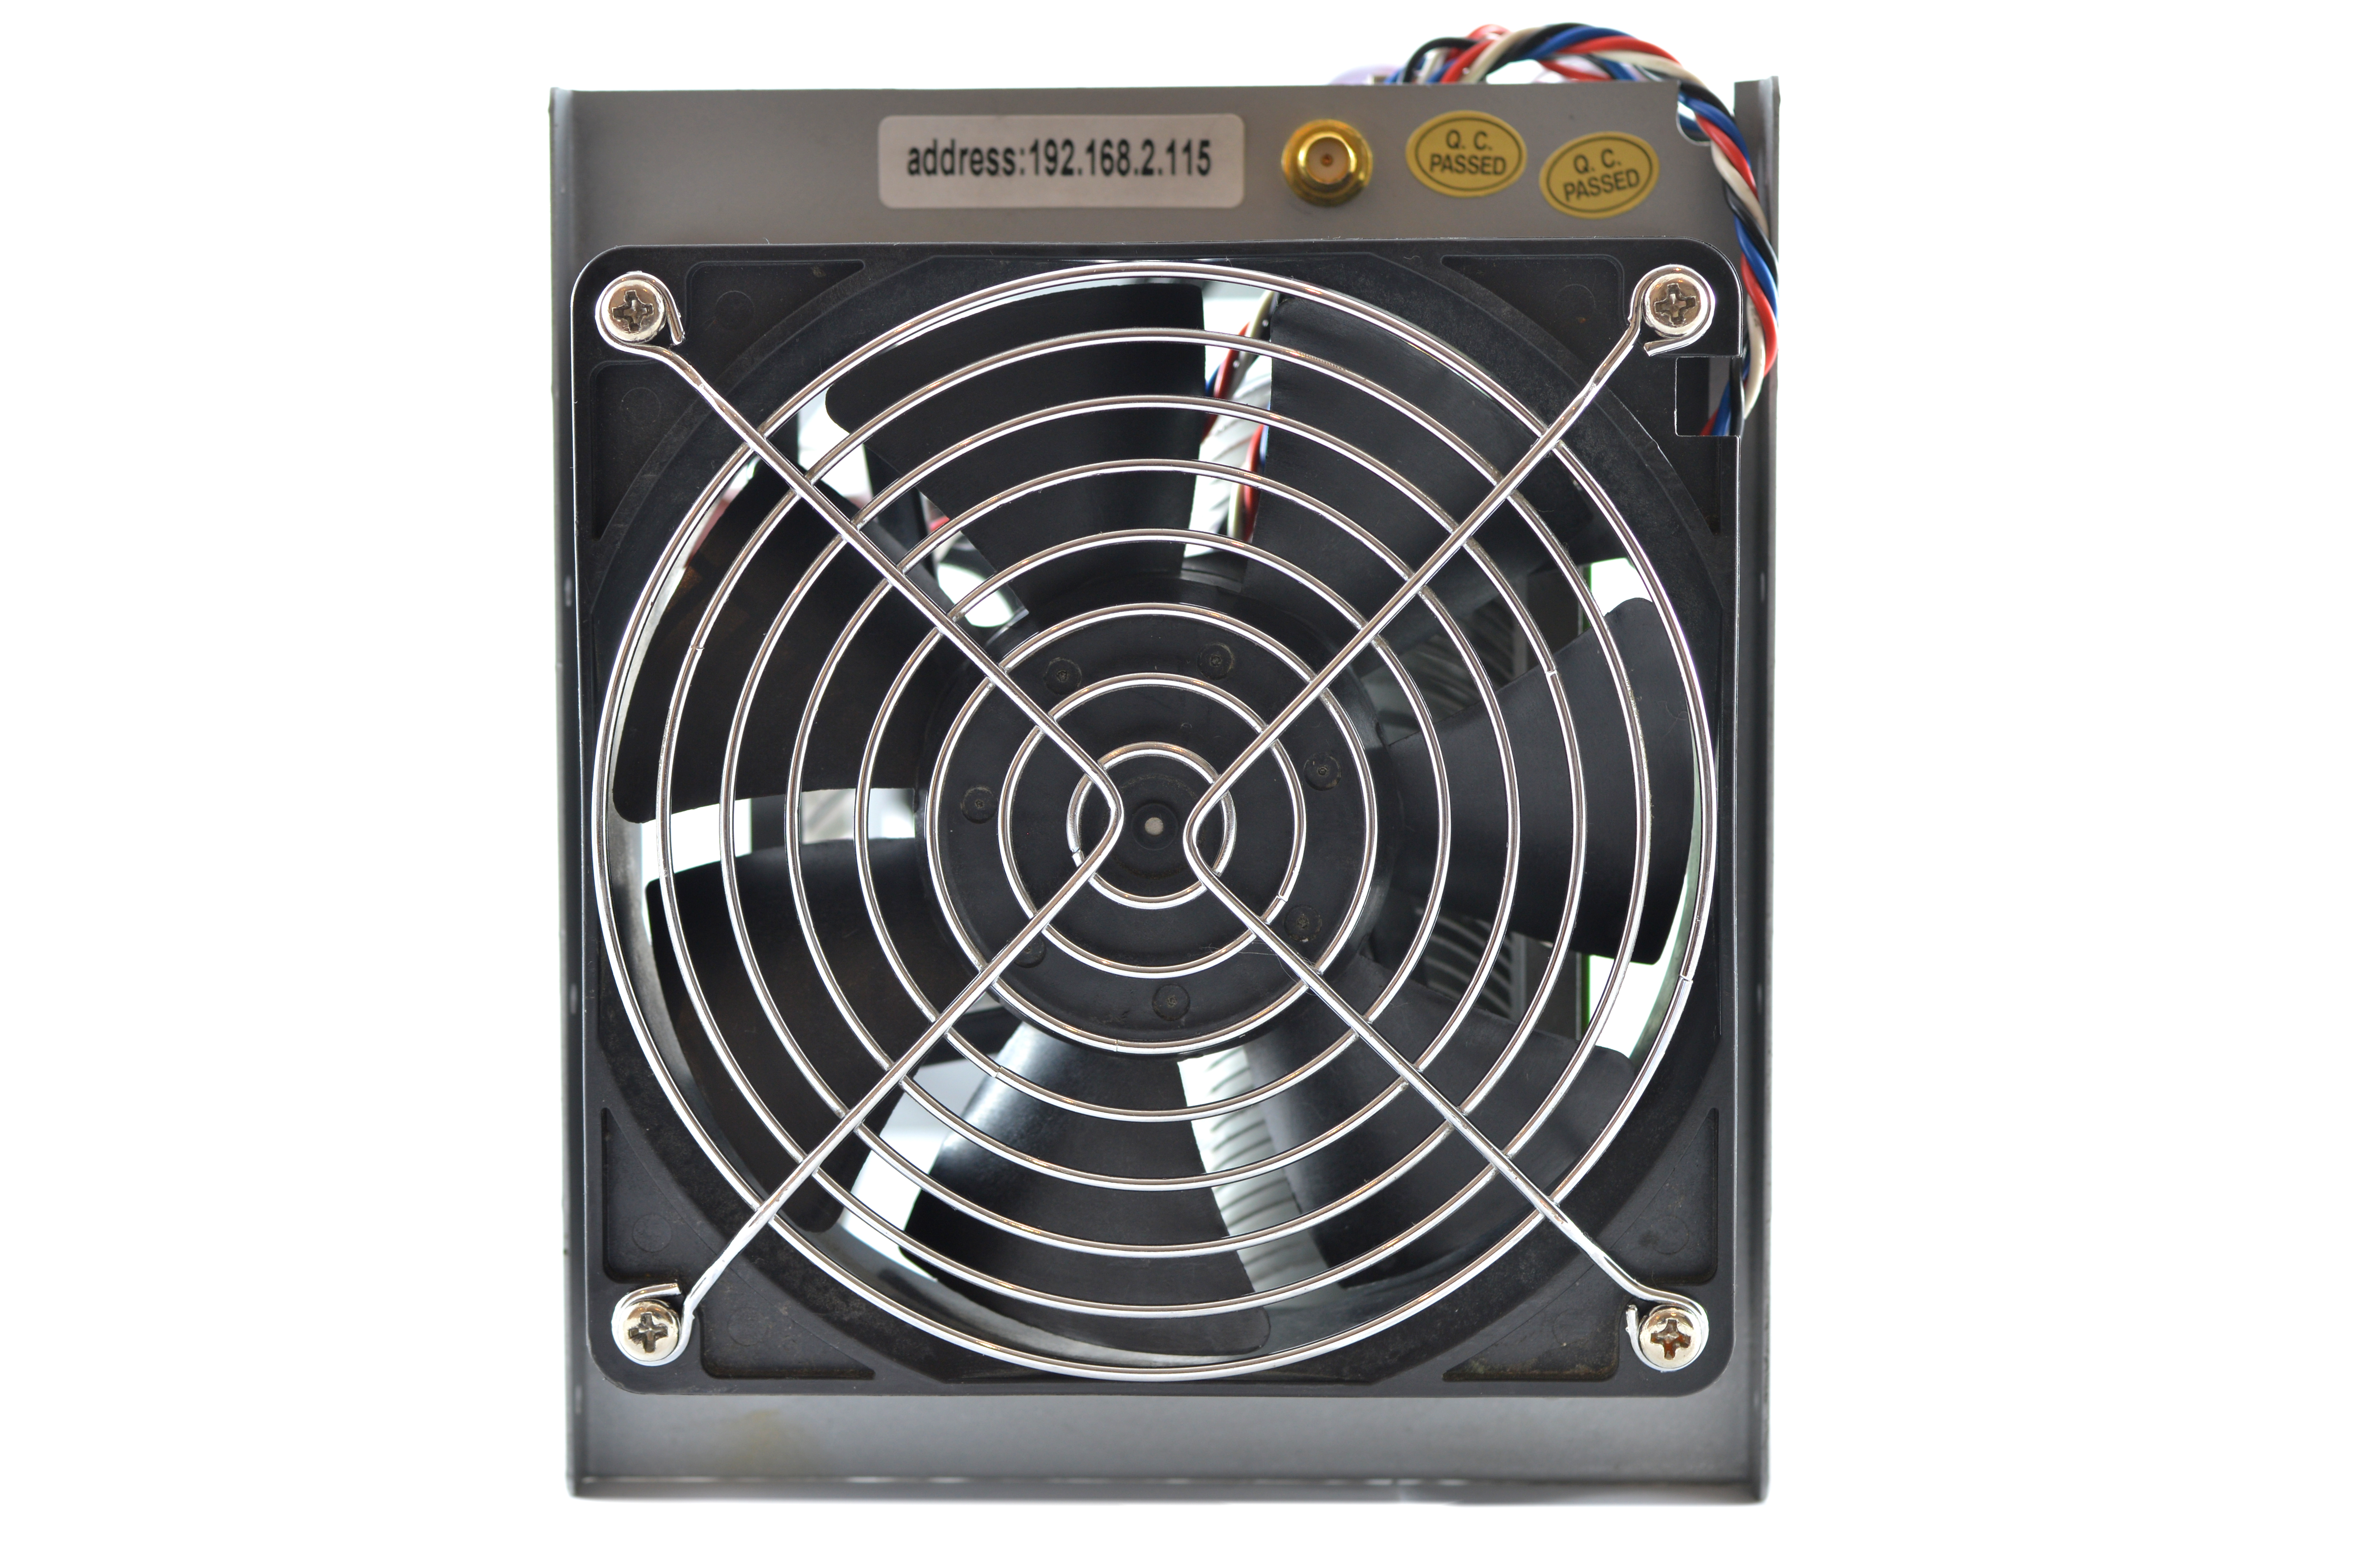
- Make sure that your router's subnet is 2, ie 192.168.2.x. If not then change it to 2, this is just temporary. ***If this is not possible, see below***
- Using a browser, navigate to the IP address on the side of your AntMiner. This goes to the AntMiner's configuration page.
- Login using 'root' as both the user and password.
- Navigate to Network -> Interfaces -> Lan -> Edit
- Change protocol to DHCP client. Save and apply. This step will allow the S1 to accept an assigned IP address as controlled by your router.
- Navigate to your router and look up list of clients. Find the IP the AntMiner has now been assigned and navigate to that.
- Navigate to Network -> Interfaces -> wifi -> Add your wifi network if you have attached an antenna. It may work within a small range without one.
- Navigate to Status -> Miner Configuration and enter pool information in the below format. Click save and apply.
- You can then change your router subnet back to whatever you are used to using.
Alternative Subnet Change:
- Unplug your computer from all internet sources.
- Plug in an ethernet cable from the AntMiner to your computer.
- Navigate to Control Panel -> Network and Sharing Centre -> Change Adapter Settings.
- Right click on your ethernet adapter -> Properties.
- Click on "Internet Protocol Version 4" and click properties.
- Select "Use the following IP address" and enter the following:
- IP Address: 192.168.2.1, Subnet Mask: 255.255.255.0, Default Gateway: 192.168.2.100.
- Plug in an ethernet cable from the AntMiner to you router.
- Restart the configuration instructions as above.
Antpool Register!
Code:
Servers : stratum+tcp://stratum.antpool.com:3333
User    : username.worker or username_worker - auto creates workers!
Password: anypassword
Code:
Servers : stratum+tcp://stratum.btcguild.com:3333
User    : username_worker
Password: anypassword
Code:
Servers : stratum+tcp://us1.ghash.io:3333
User    : username.worker  - auto creates workers!
Password: anypassword
5) Troubleshooting (top)
"I can hear clicking": Your AntMiner is not connected to the internet - check your connection and network setup.
| Problem | Solution |
| "x".in.a.row.on.miner.configuration.page | - There is a faulty chip - nothing we can do. Hash rate will be affected by ~3%. |
| Almost all "x" on one row of "Chips" | - A hashing board may be mispowered or faulty. Recheck your cabling and PSU. |
| How do I change the login password? | - Navigate to System -> Administration. Enter the current password and enter your new one twice. |
| What is the SSH login? | - Username is "root", password is "root". |
| I can connect to the AntMiner but its not hashing? | - Set the protocol to DHCP via Navigate to Network -> Interfaces -> Lan -> Edit. |
| Where can I get the latest firmware? | - Download from Bitmain's site. |
| How can I tell what firmware version I have now? | - Navigate to System -> Overview and look at "File System Version". |
| How do I install the latest firmware? | - Download firmware as above. Navigate to System -> Upgrade and click "browse". Select the downloaded file and click "Flash image". Do NOT interrupt this process or you will brick the unit. |
| How do I reset settings to default? | - Use a paper clip to press the reset button - located next to the ethernet connector - down for 5-10 seconds. The miner will then reset with stock settings. |
| My.power.supply's.cables.are.braided.or.aren't.color.coded | - See below diagram for pin-outs. |


Legal disclaimer: This information is for general guidance and does not constitute expert advice. We are not responsible if you, your property or a third
party is injured or damaged as a result of any interaction with this information, and no warranty is provided. All text and images are covered by copyright.
6) Where to buy (top)