


Nicely formatted version available at dogiecoin.com!


Contents:
0a) What to Expect
0b) What You Need
1) Powering
2) Cooling
3) Case
4) Configuration
5) Troubleshooting
6) Where to buy
0a) What to Expect (top)
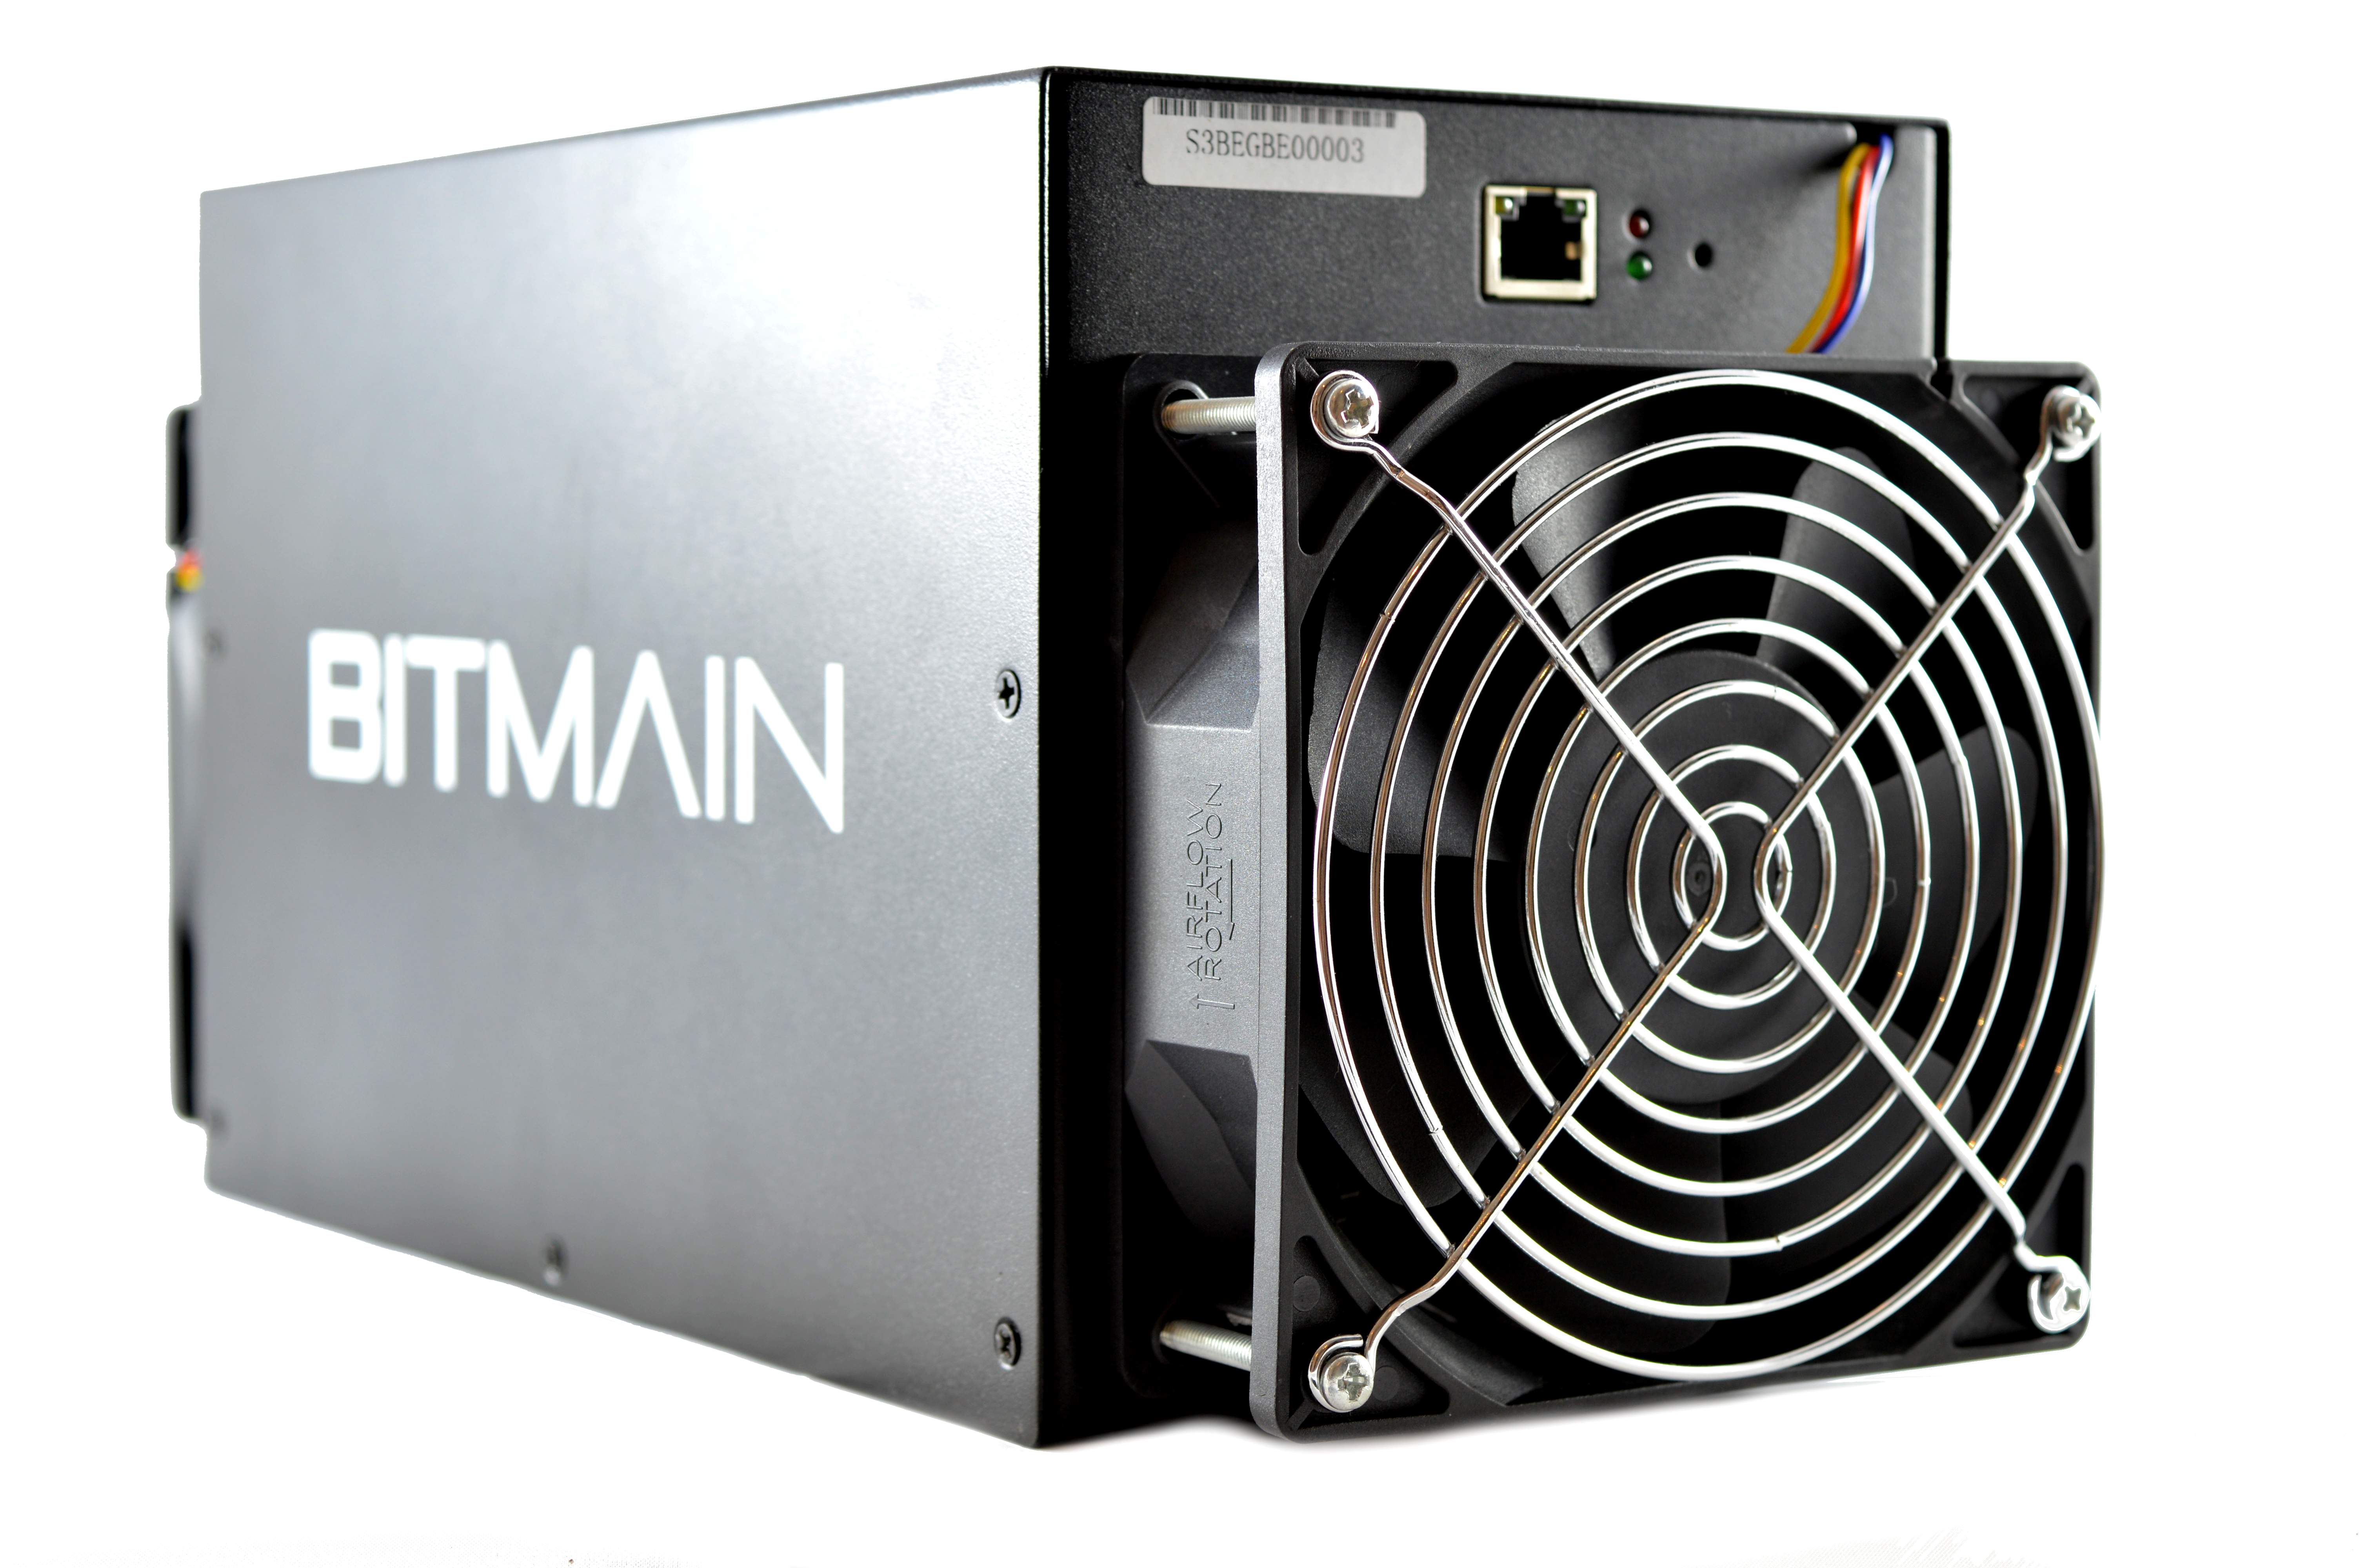
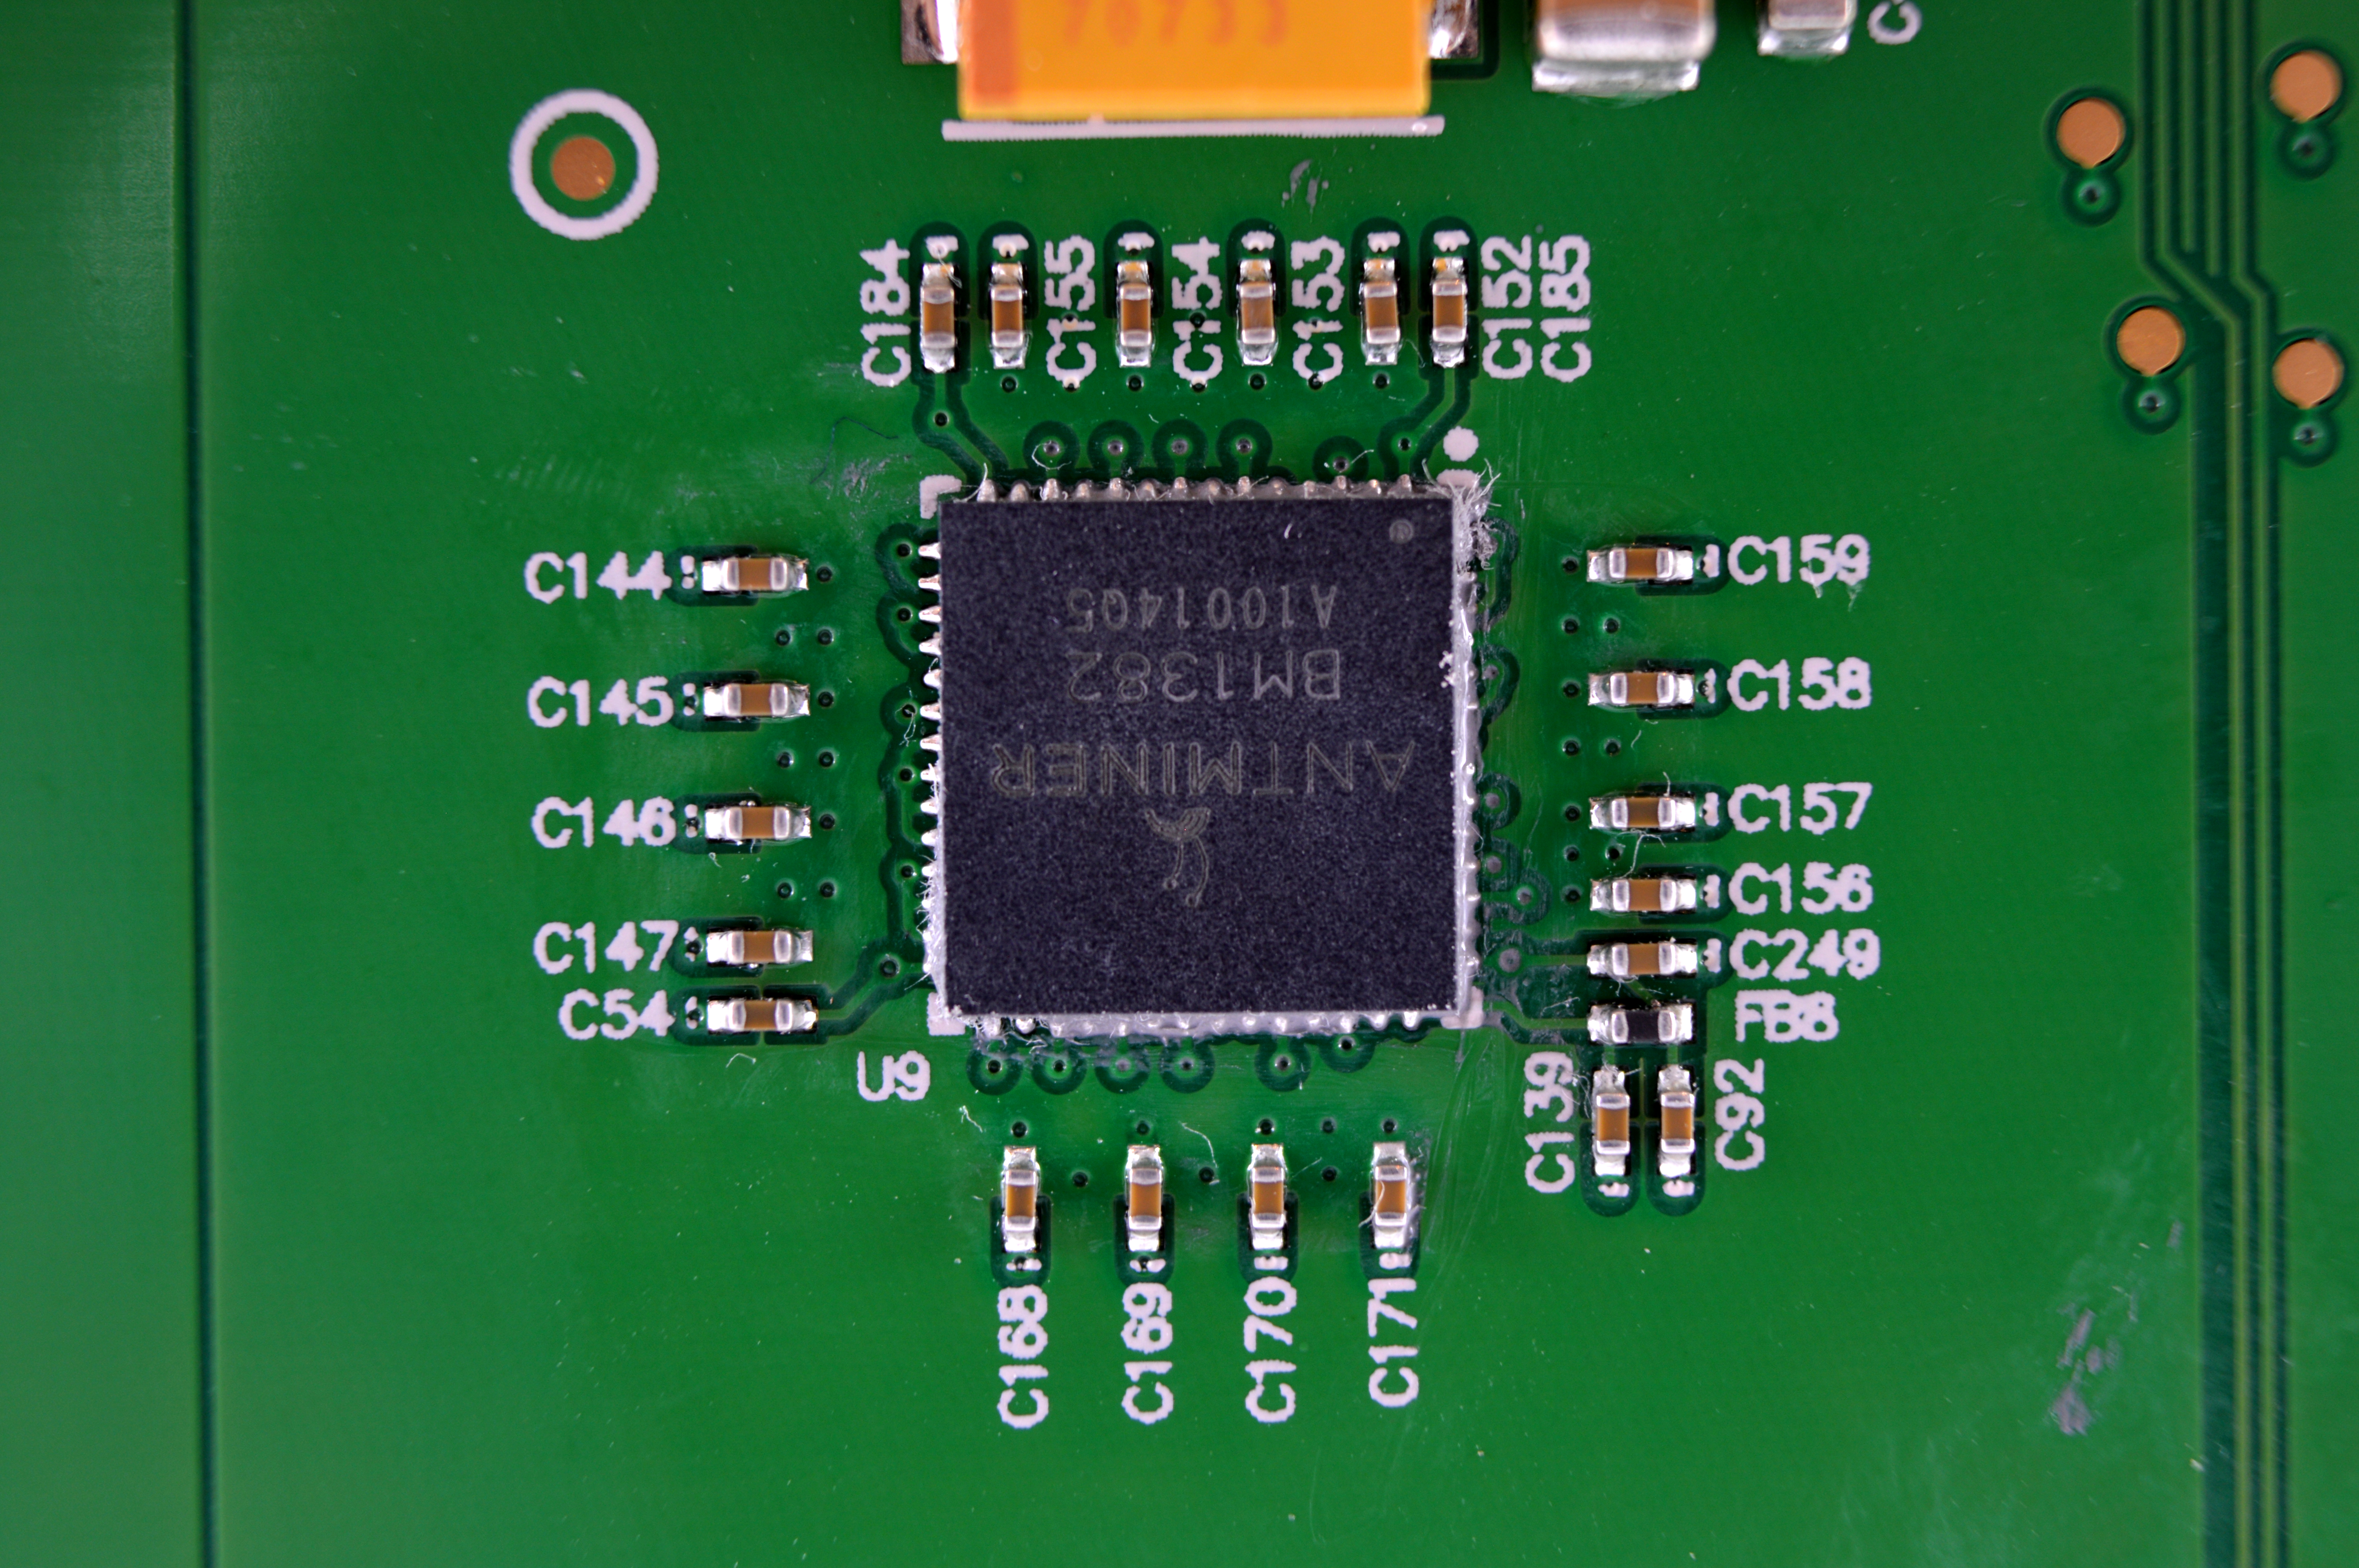
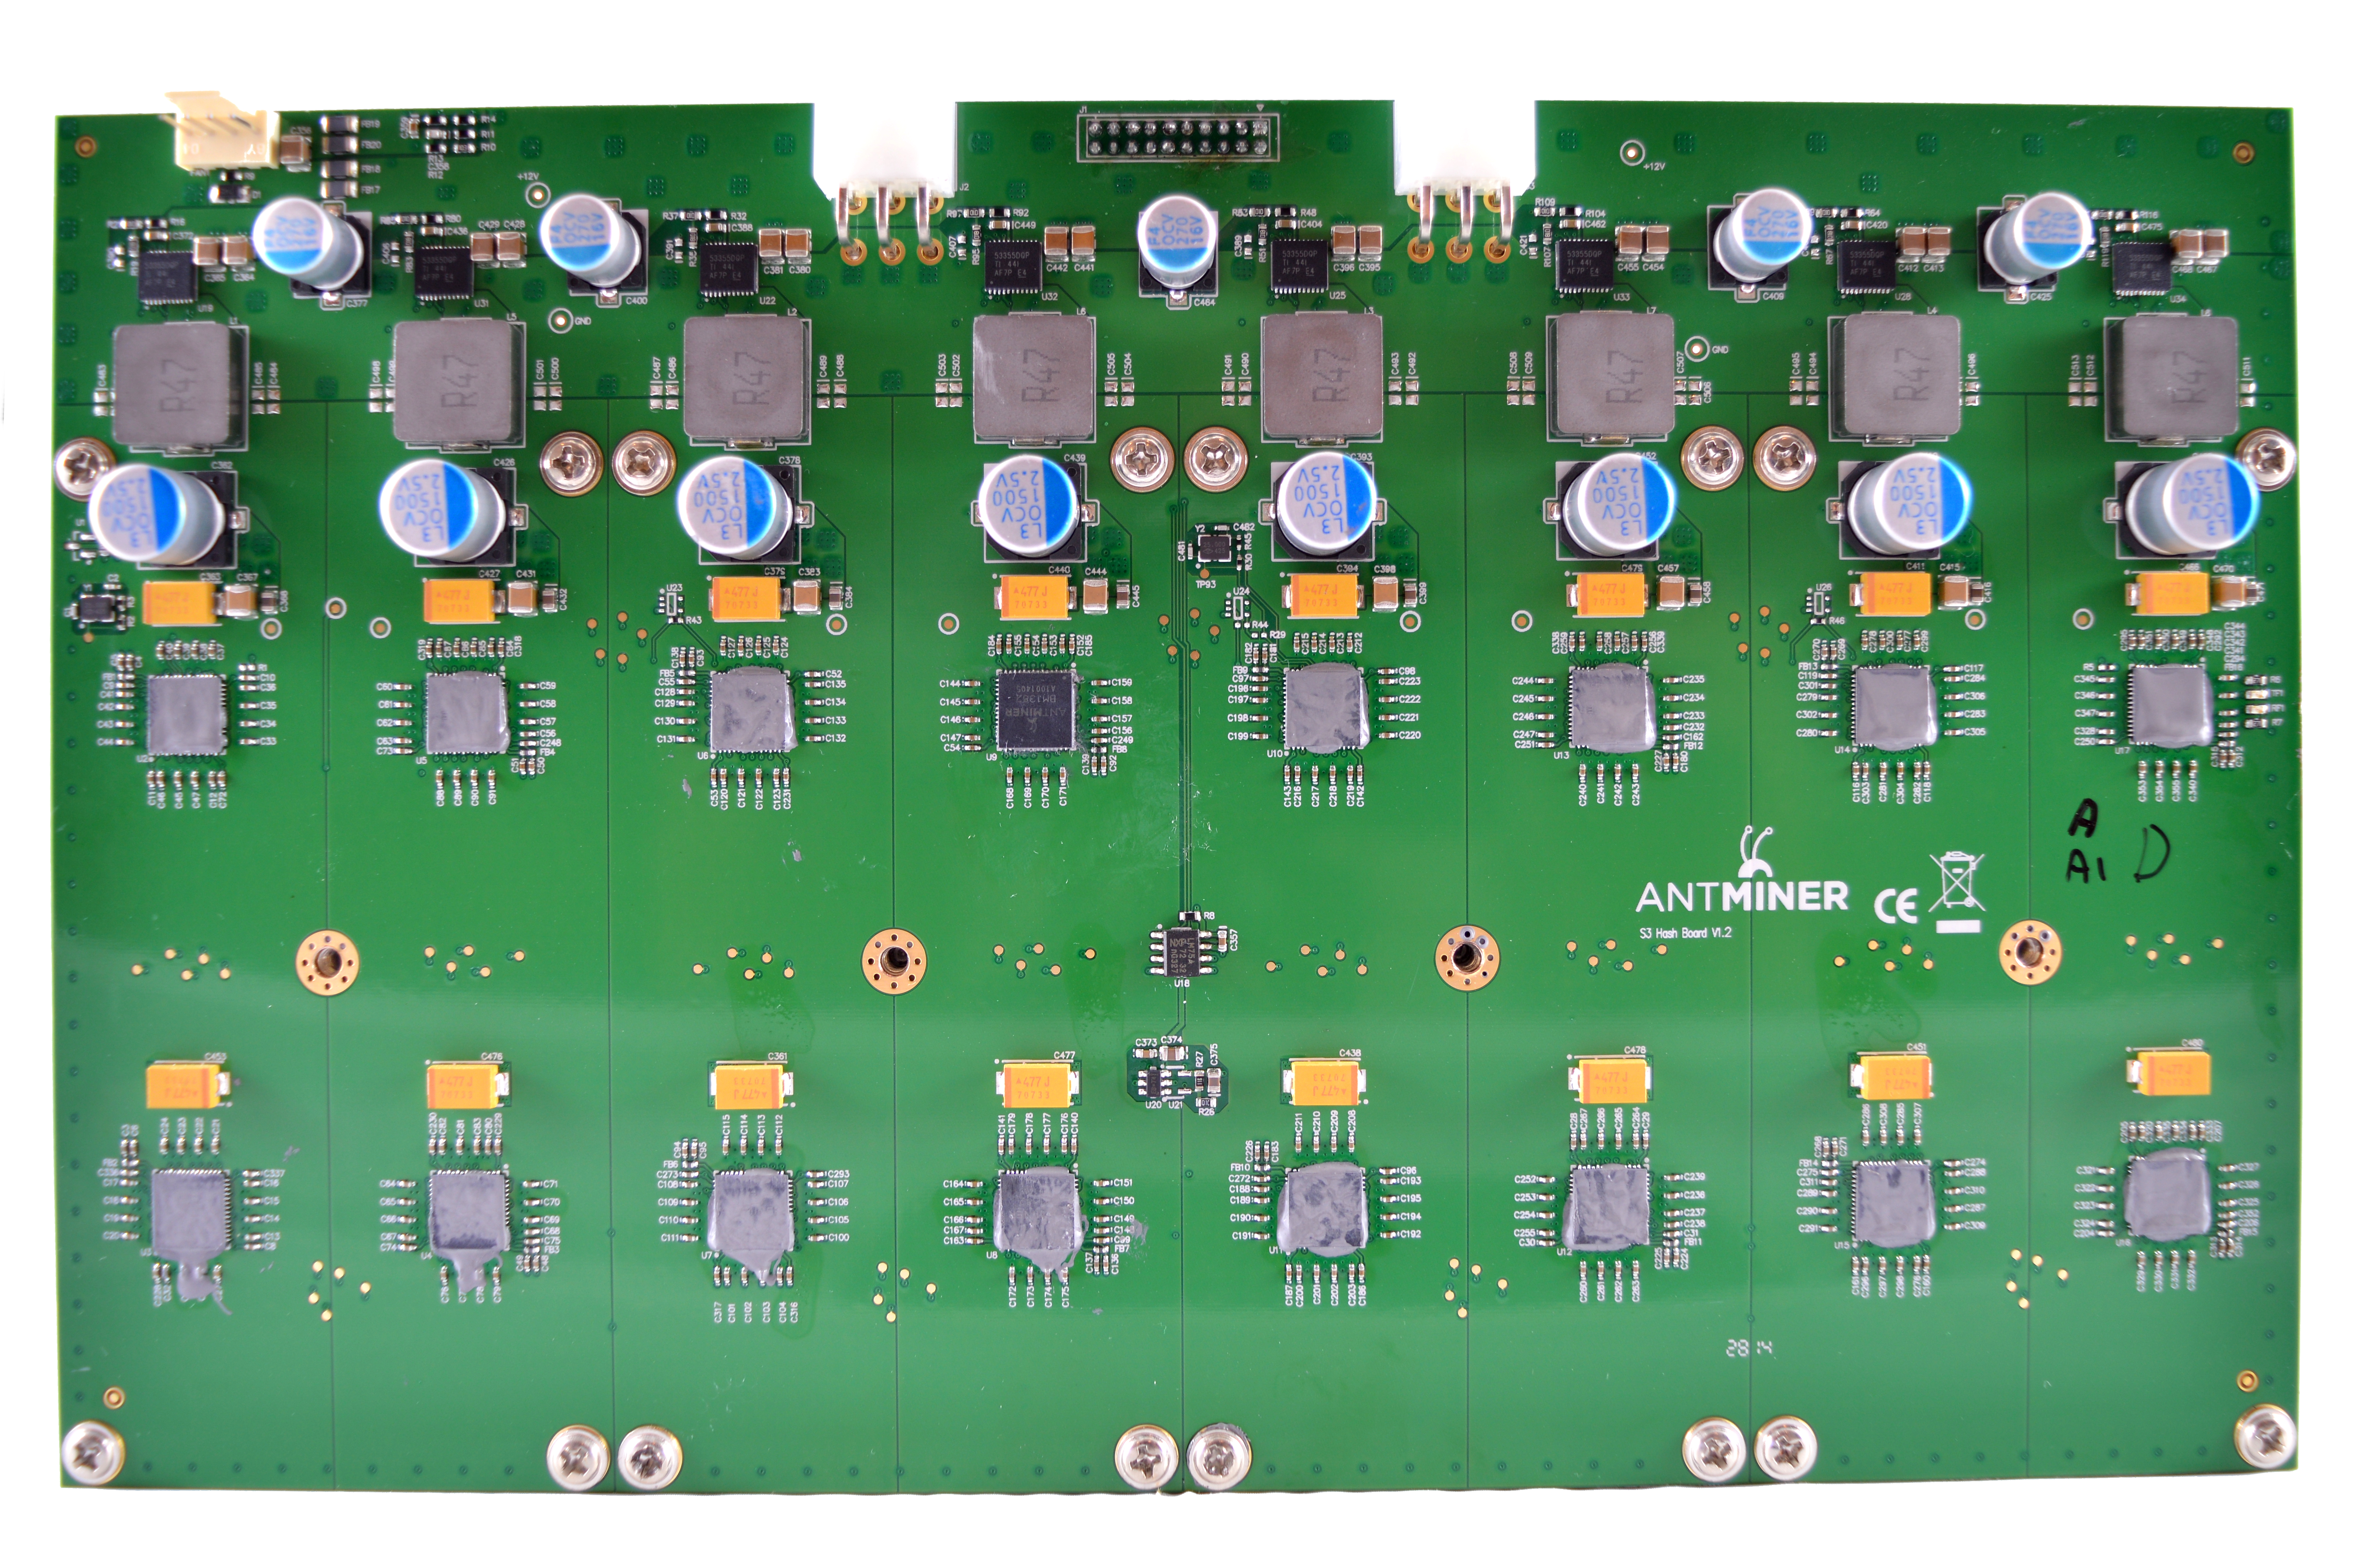
Bitmain's AntMiner S3 is one of the most important releases this summer and is designed to be a network dominator. It features 32 of their latest 28nm
BM1382 chips arranged in a similar formfactor to the S1. The refinement and evolution of design is staggering however, and the S3 is improved in every way.
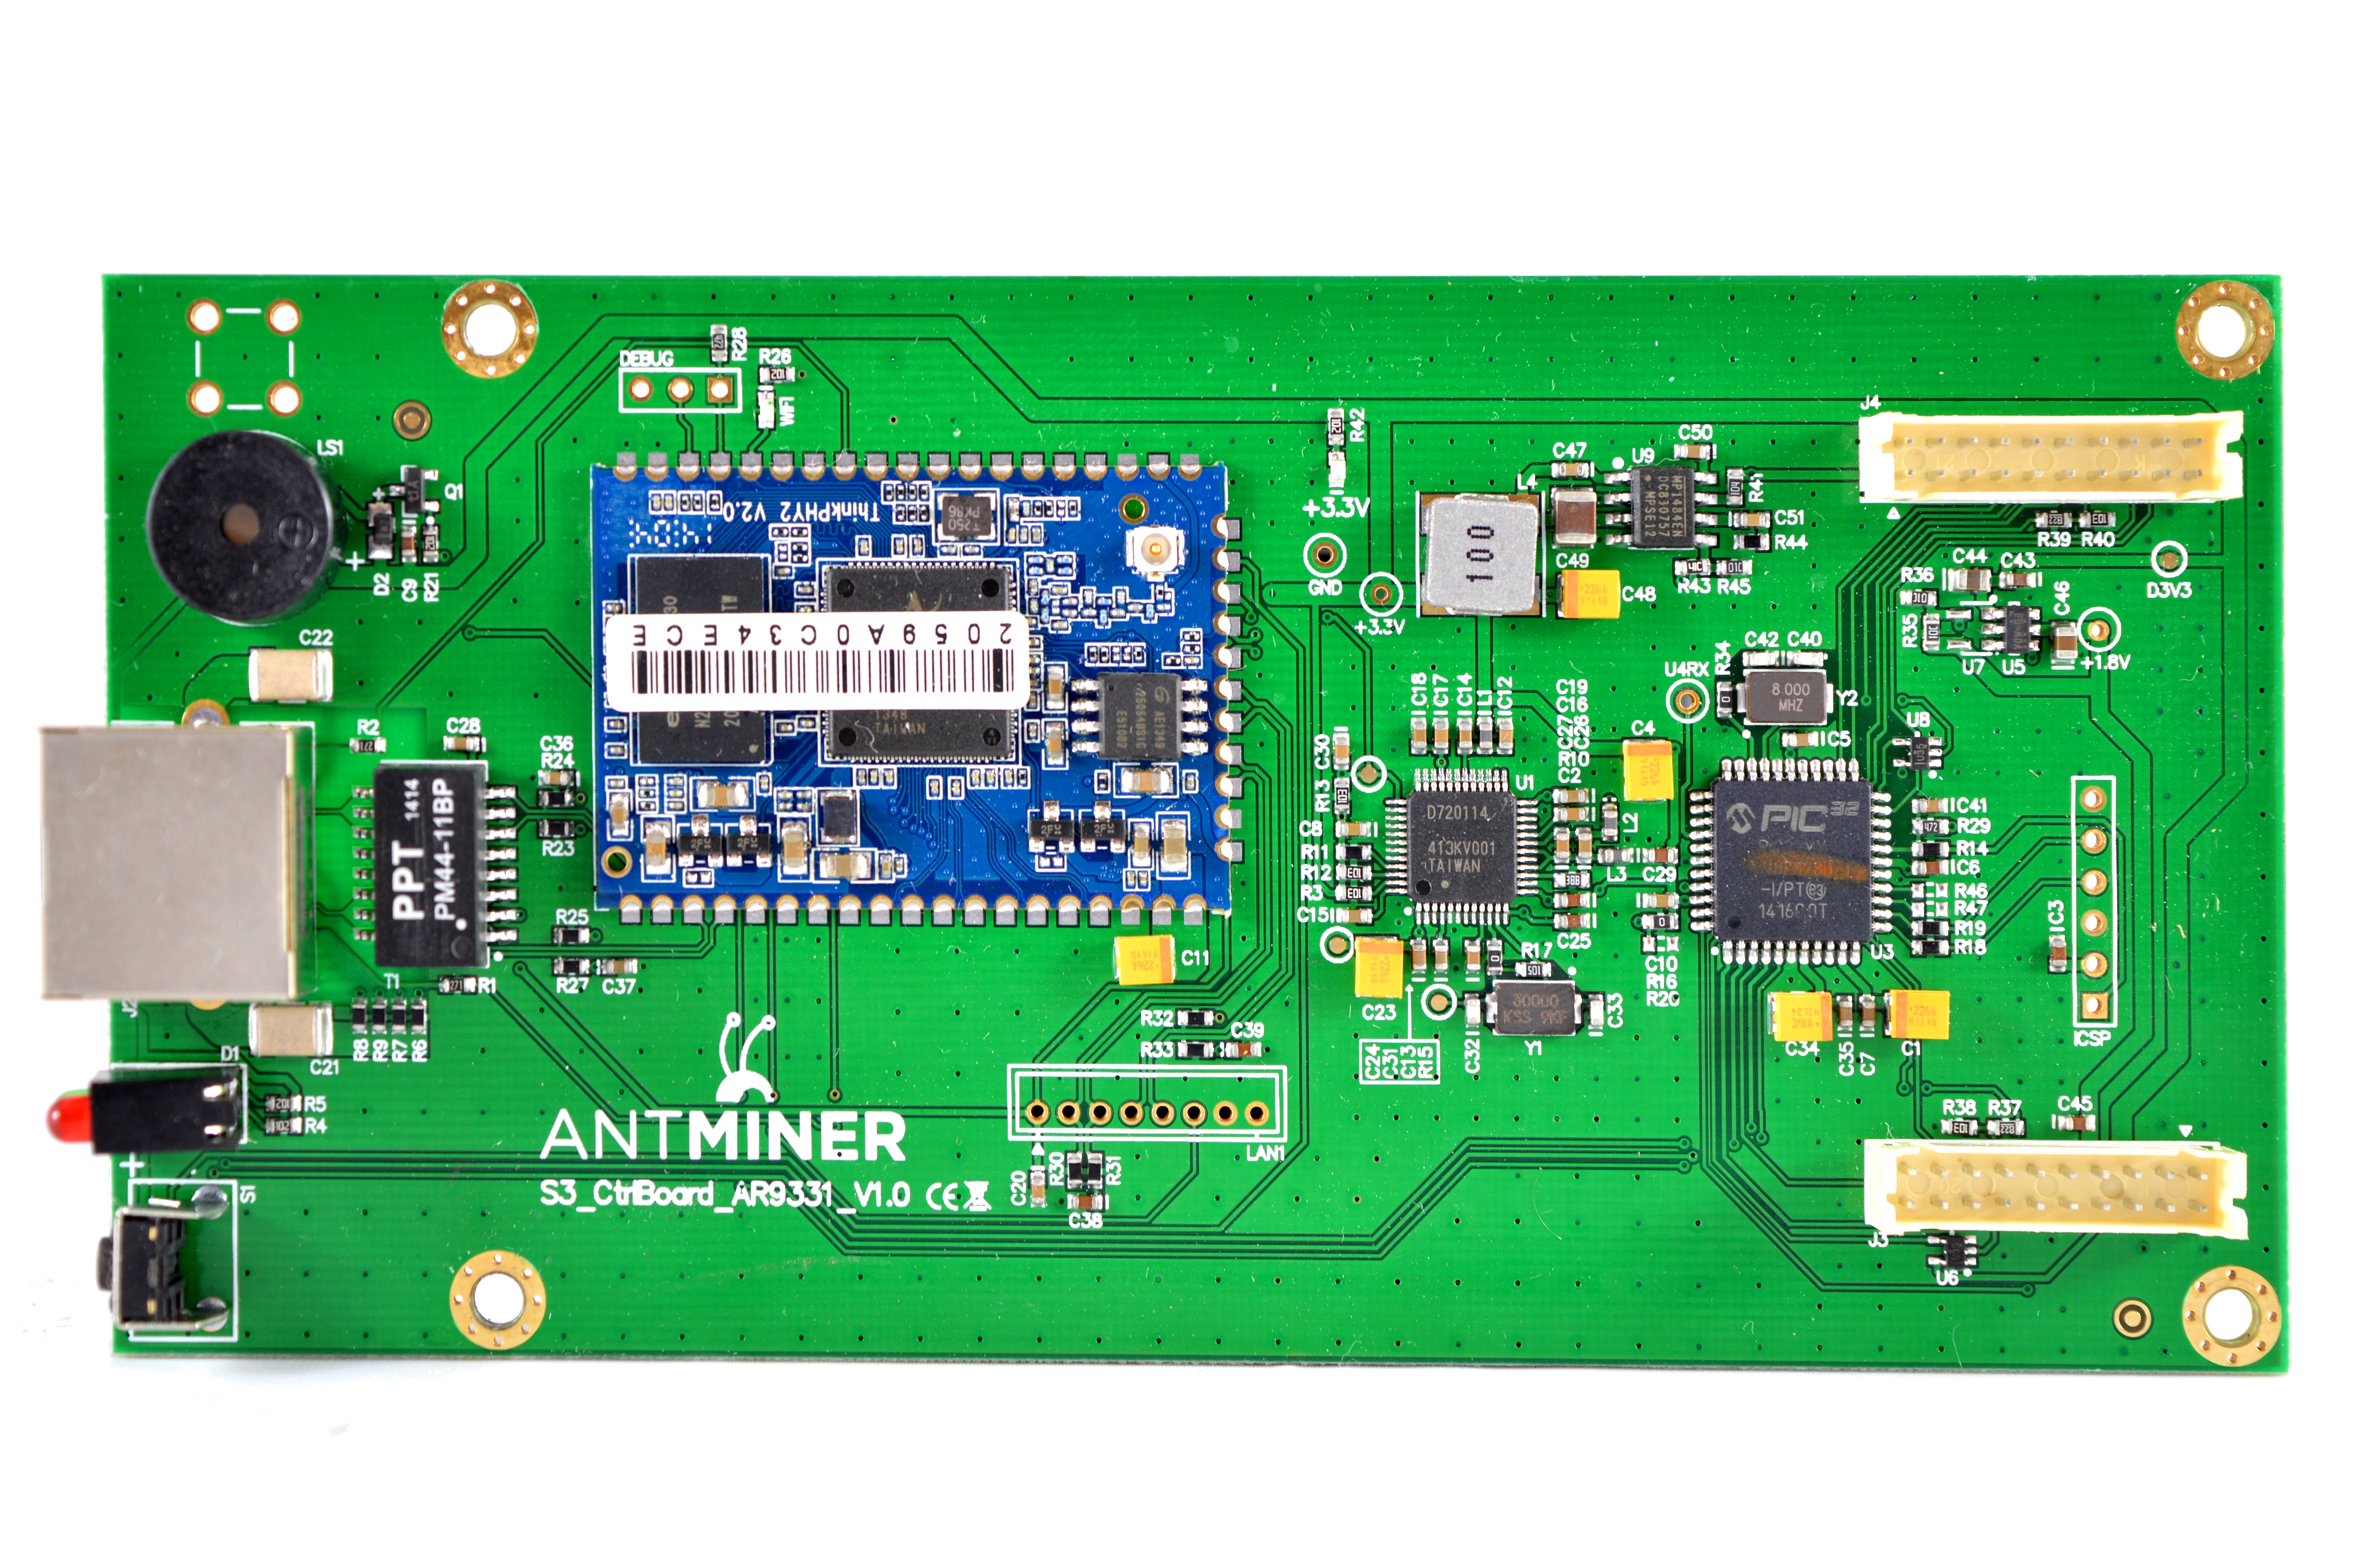
The S3 is standalone and does not require an external controller.
| Chips | 32x Bitmain BM1382 Gen2 |
| Hashrate | ~440GH |
| Rated Voltage | 12V |
| Rated Current | 28A |
| Power.Consumption | 340W |

0b) What You Need (top)
You will need a few accessories and a power supply to get started.
Click your flag to find everything you need to get started at Amazon!


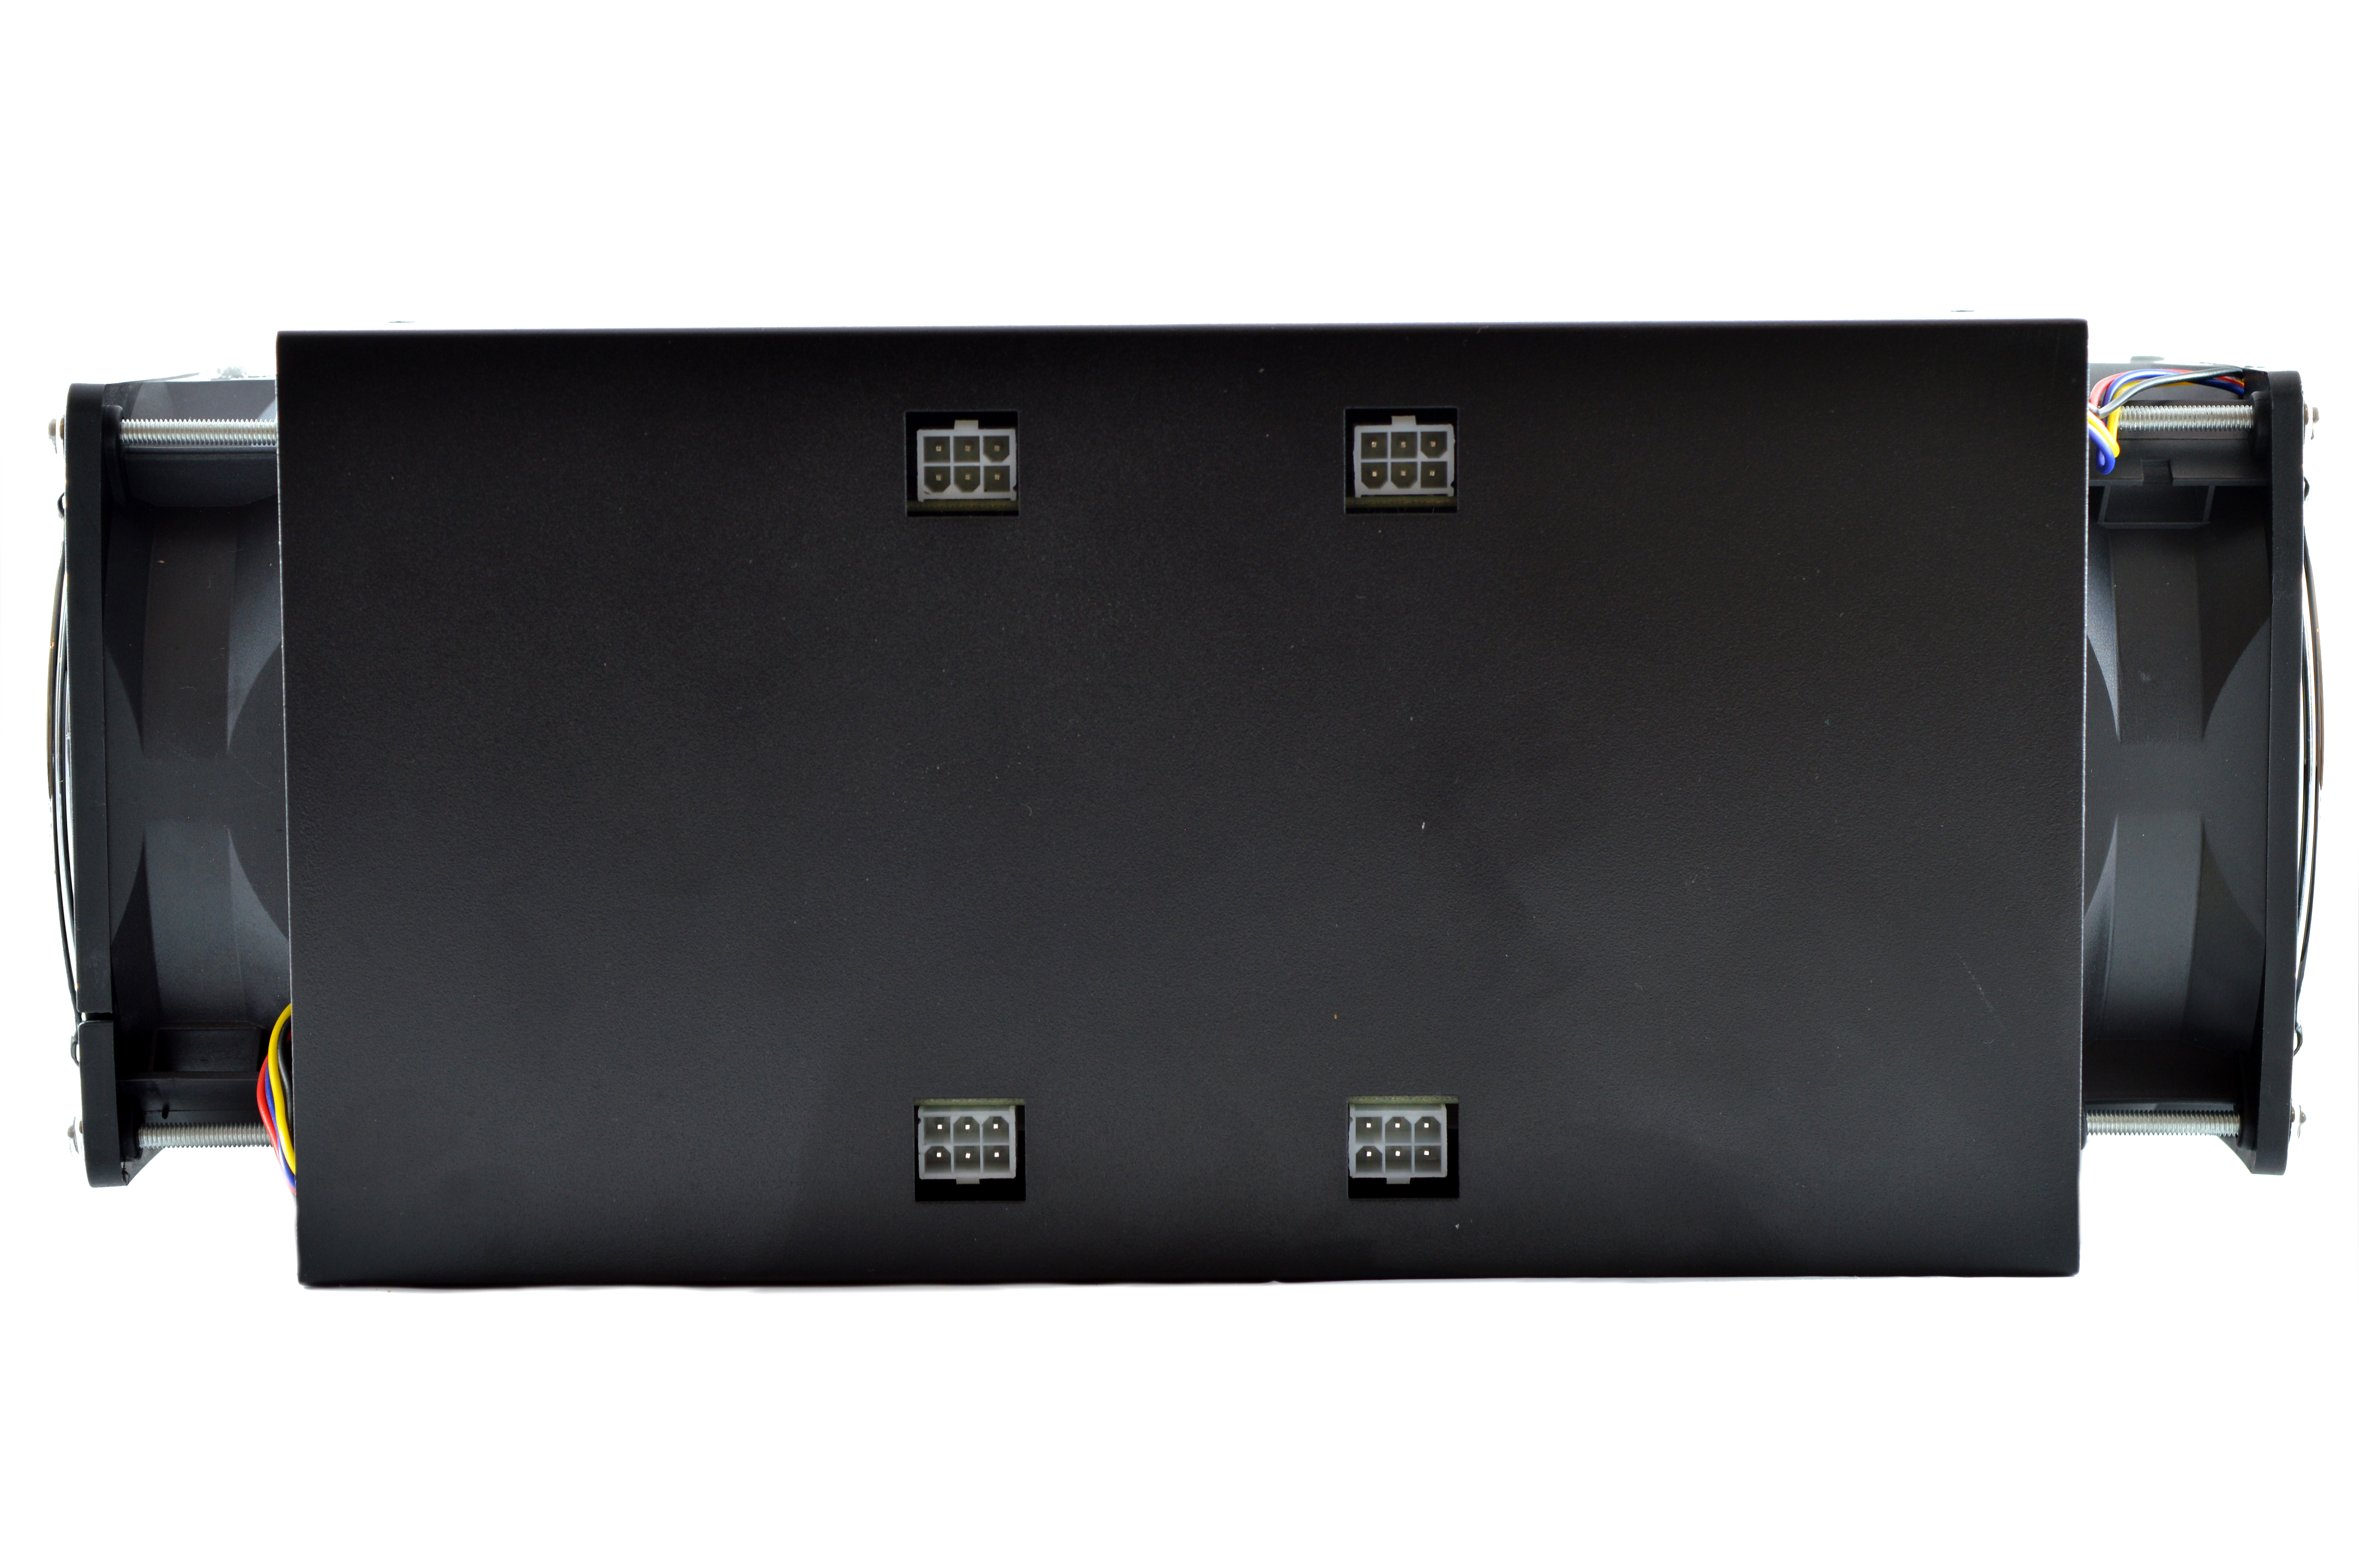
1) Powering (top)
S3's do not come with a power supply, and you will need a typical computer PSU with 4xPCI-E 6 pin power connectors. Strictly only 2 PCI-E connectors are
required at stock speeds, however it will reduce cable temperatures by utilising all 4. We also need to tell the PSU to always be on, as there isn't a motherboard
to do this. Cut a paper clip into a U and insert it into the green wire and either black wire to the side of the green wire. Tape it up for safety. The power supply
will now be controlled by its switch on the rear socket.

2) Cooling (top)
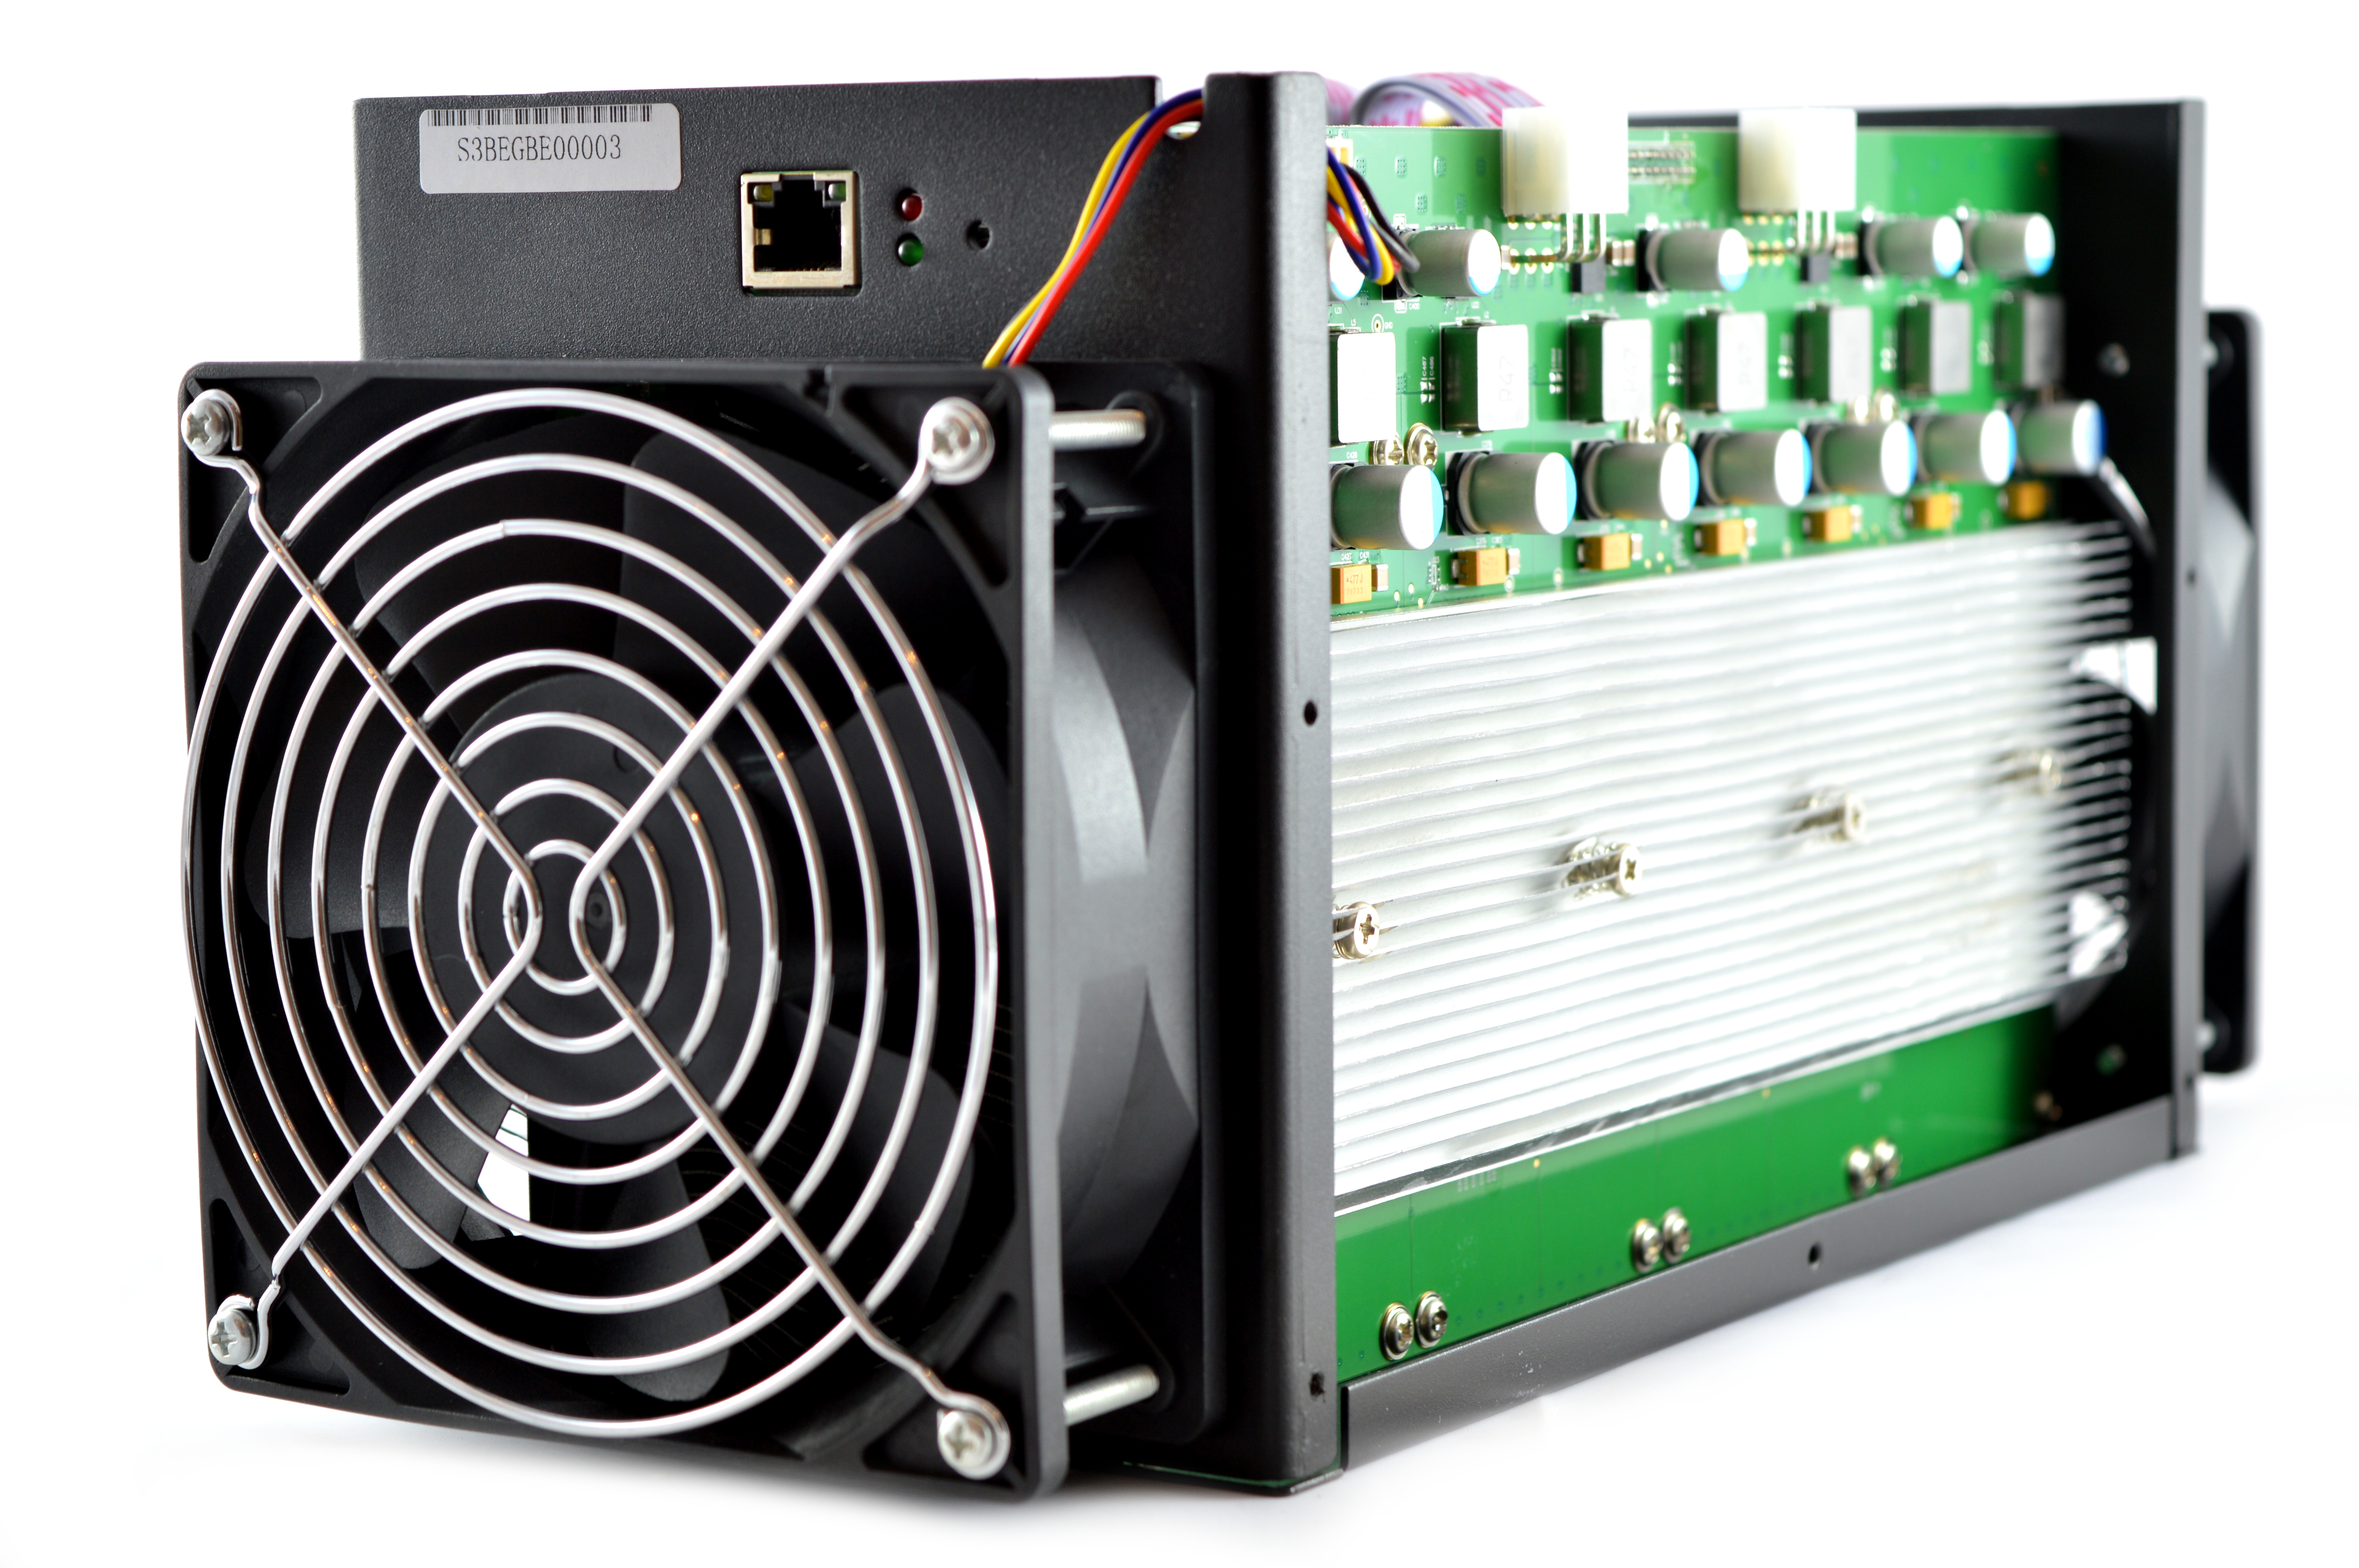
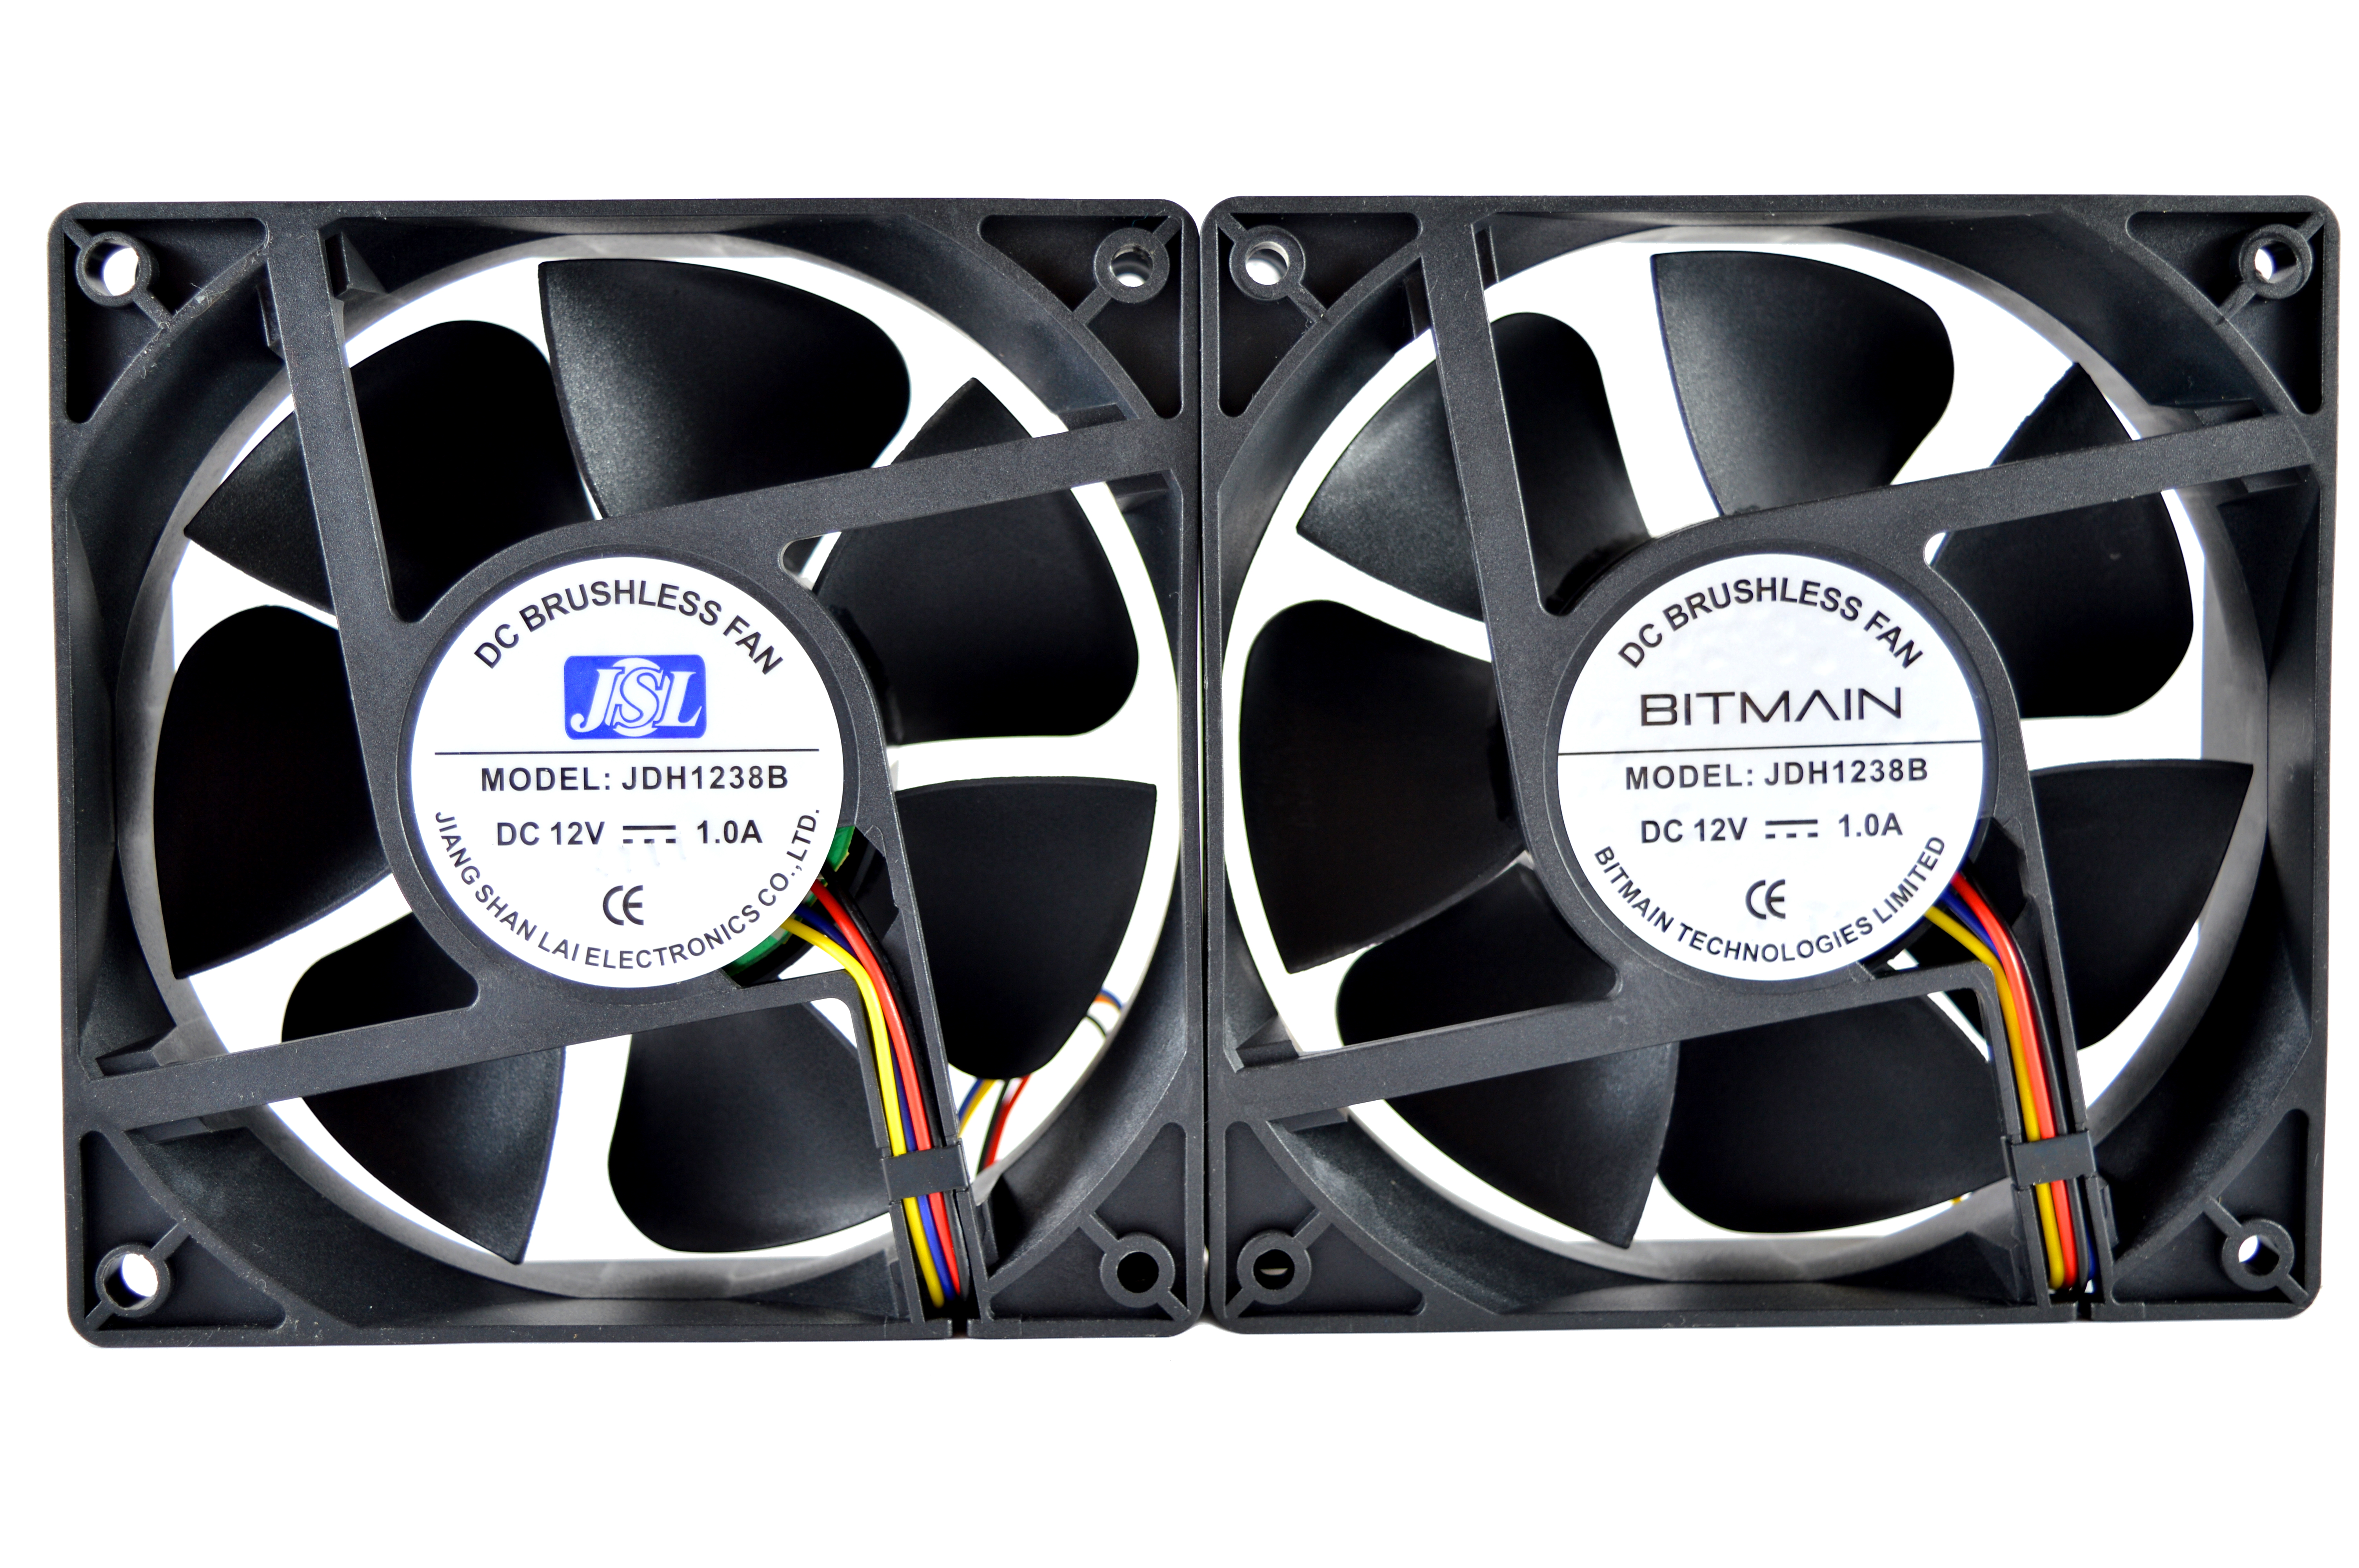
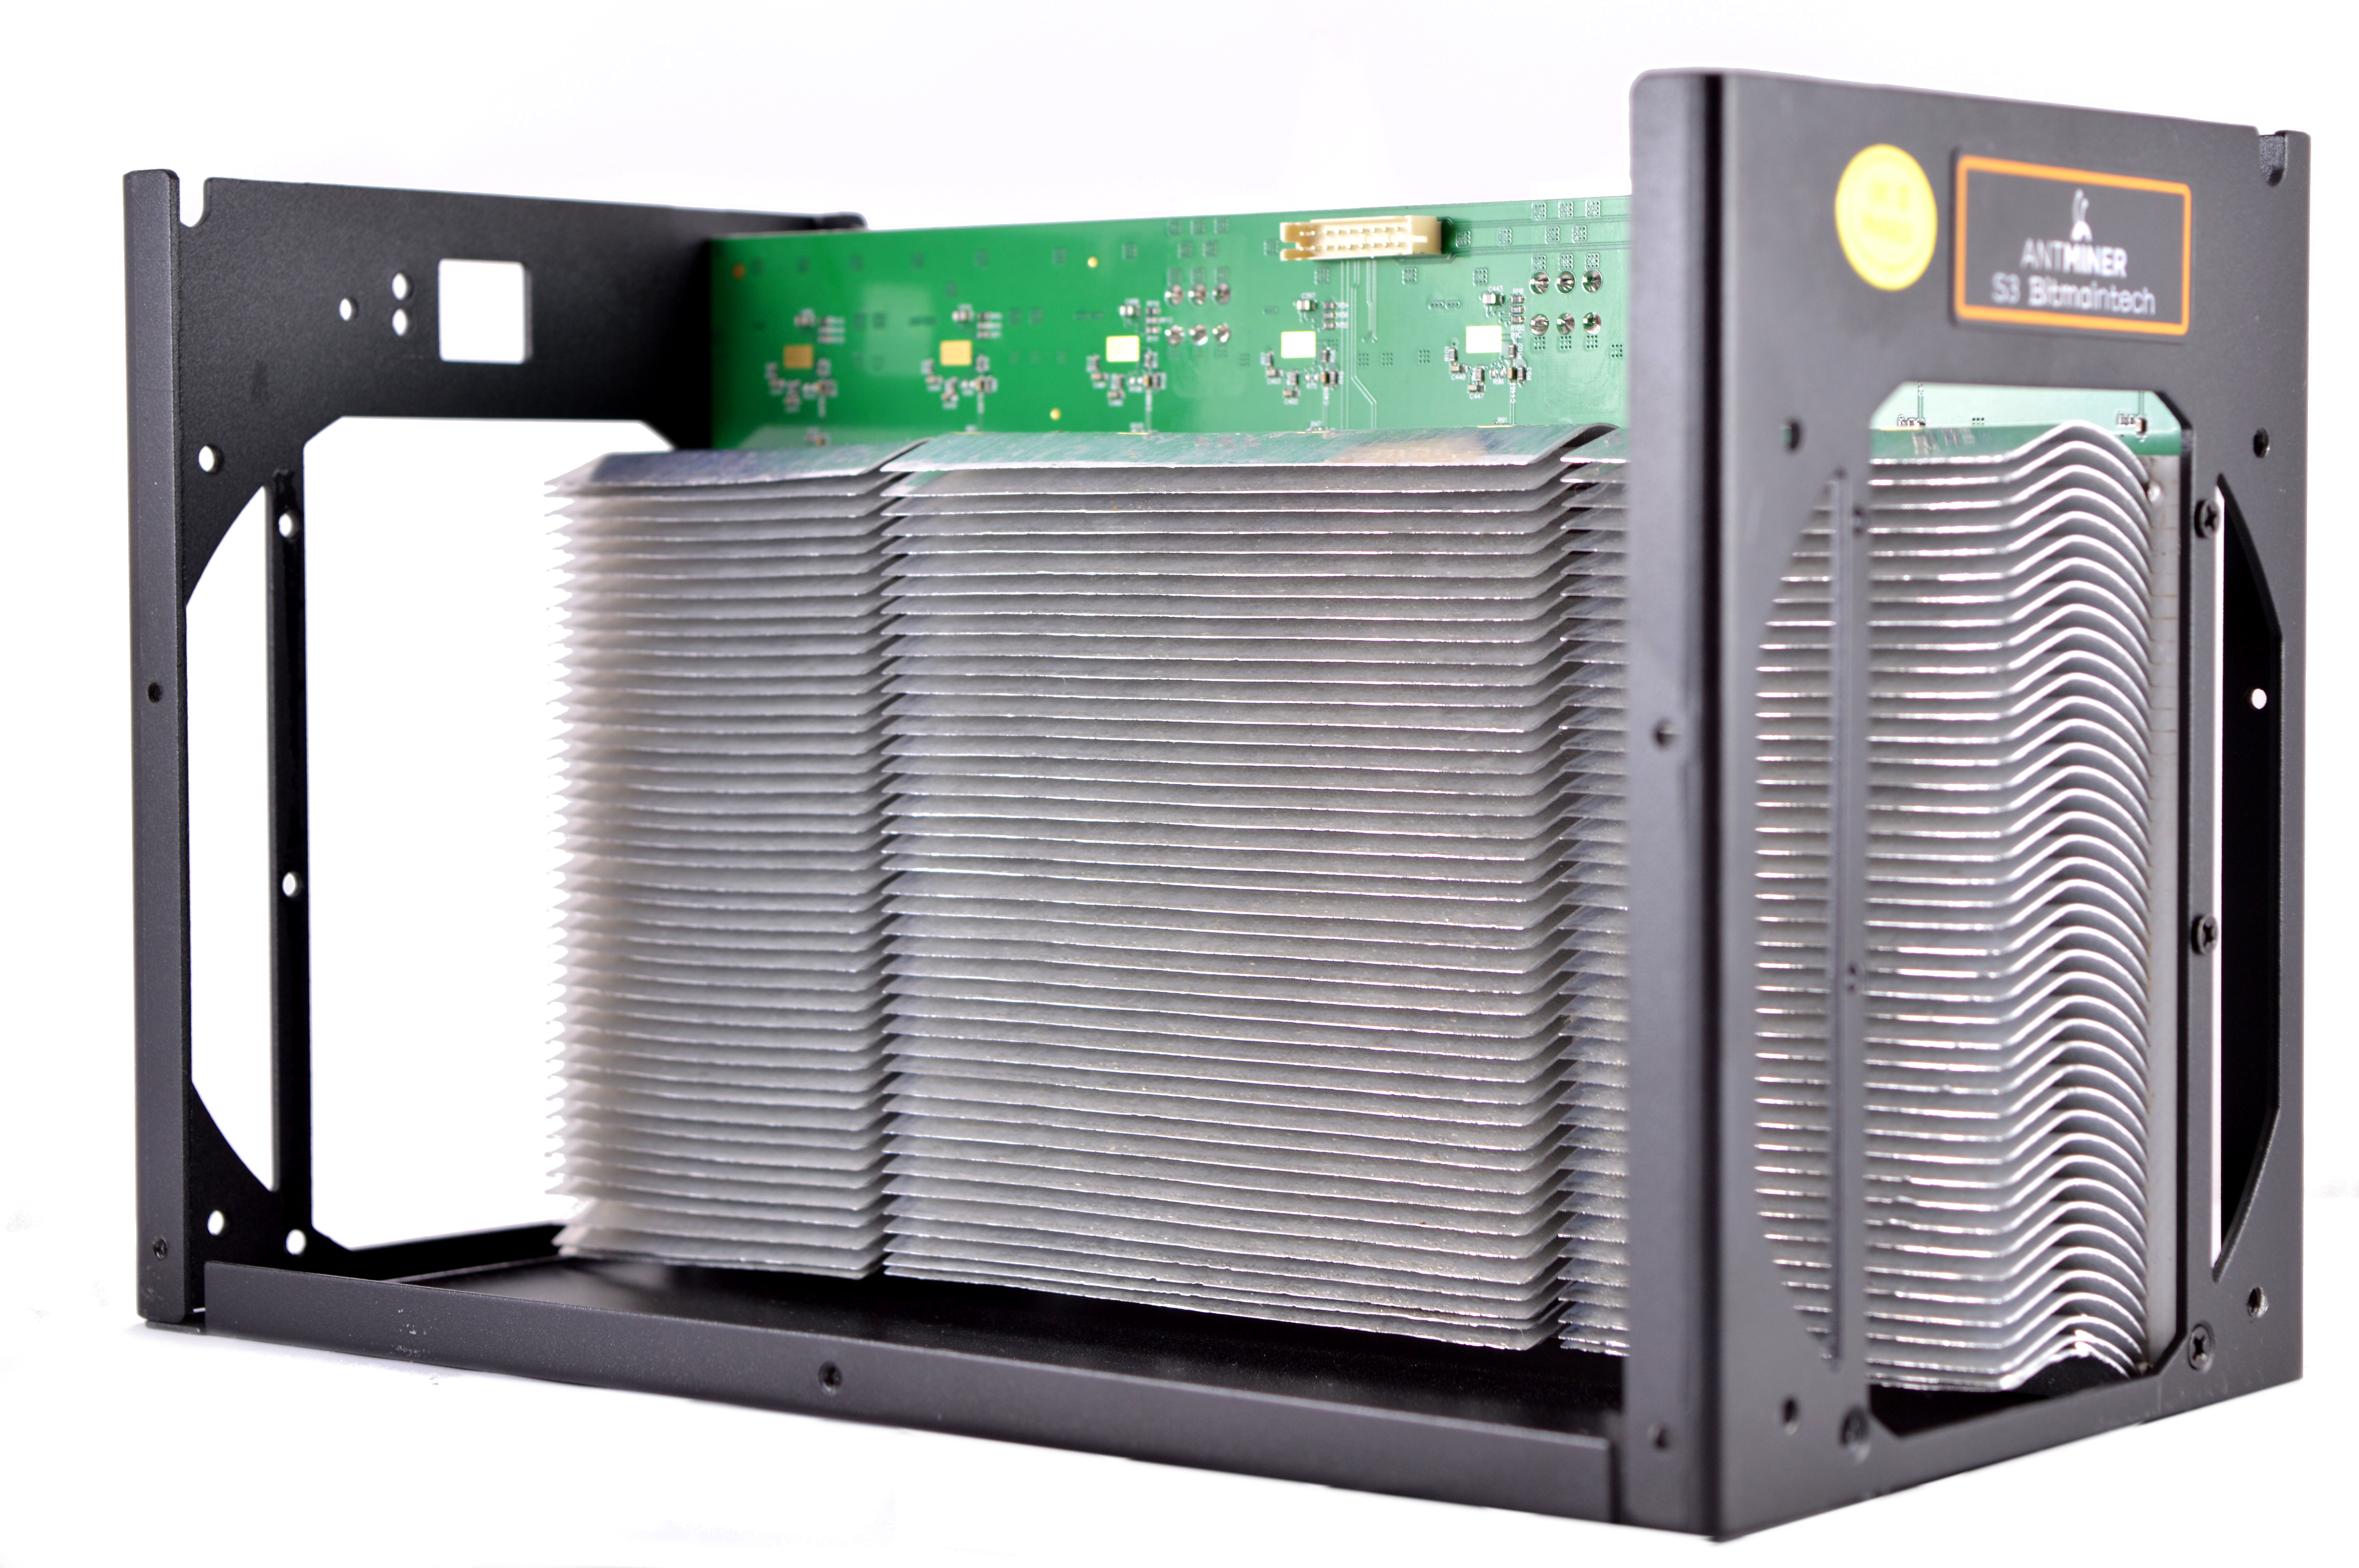
The S3 is self sufficient in cooling terms and utilises the optimal negative pressure tunnel cooling arrangement. Two 120mm JSL JDH1238B fans at each
end operate at ~1500-2500rpm almost silently, while keeping chip temperatures as low as 20C above ambient. Both are automatically controlled by the
software and react to increased temperatures.
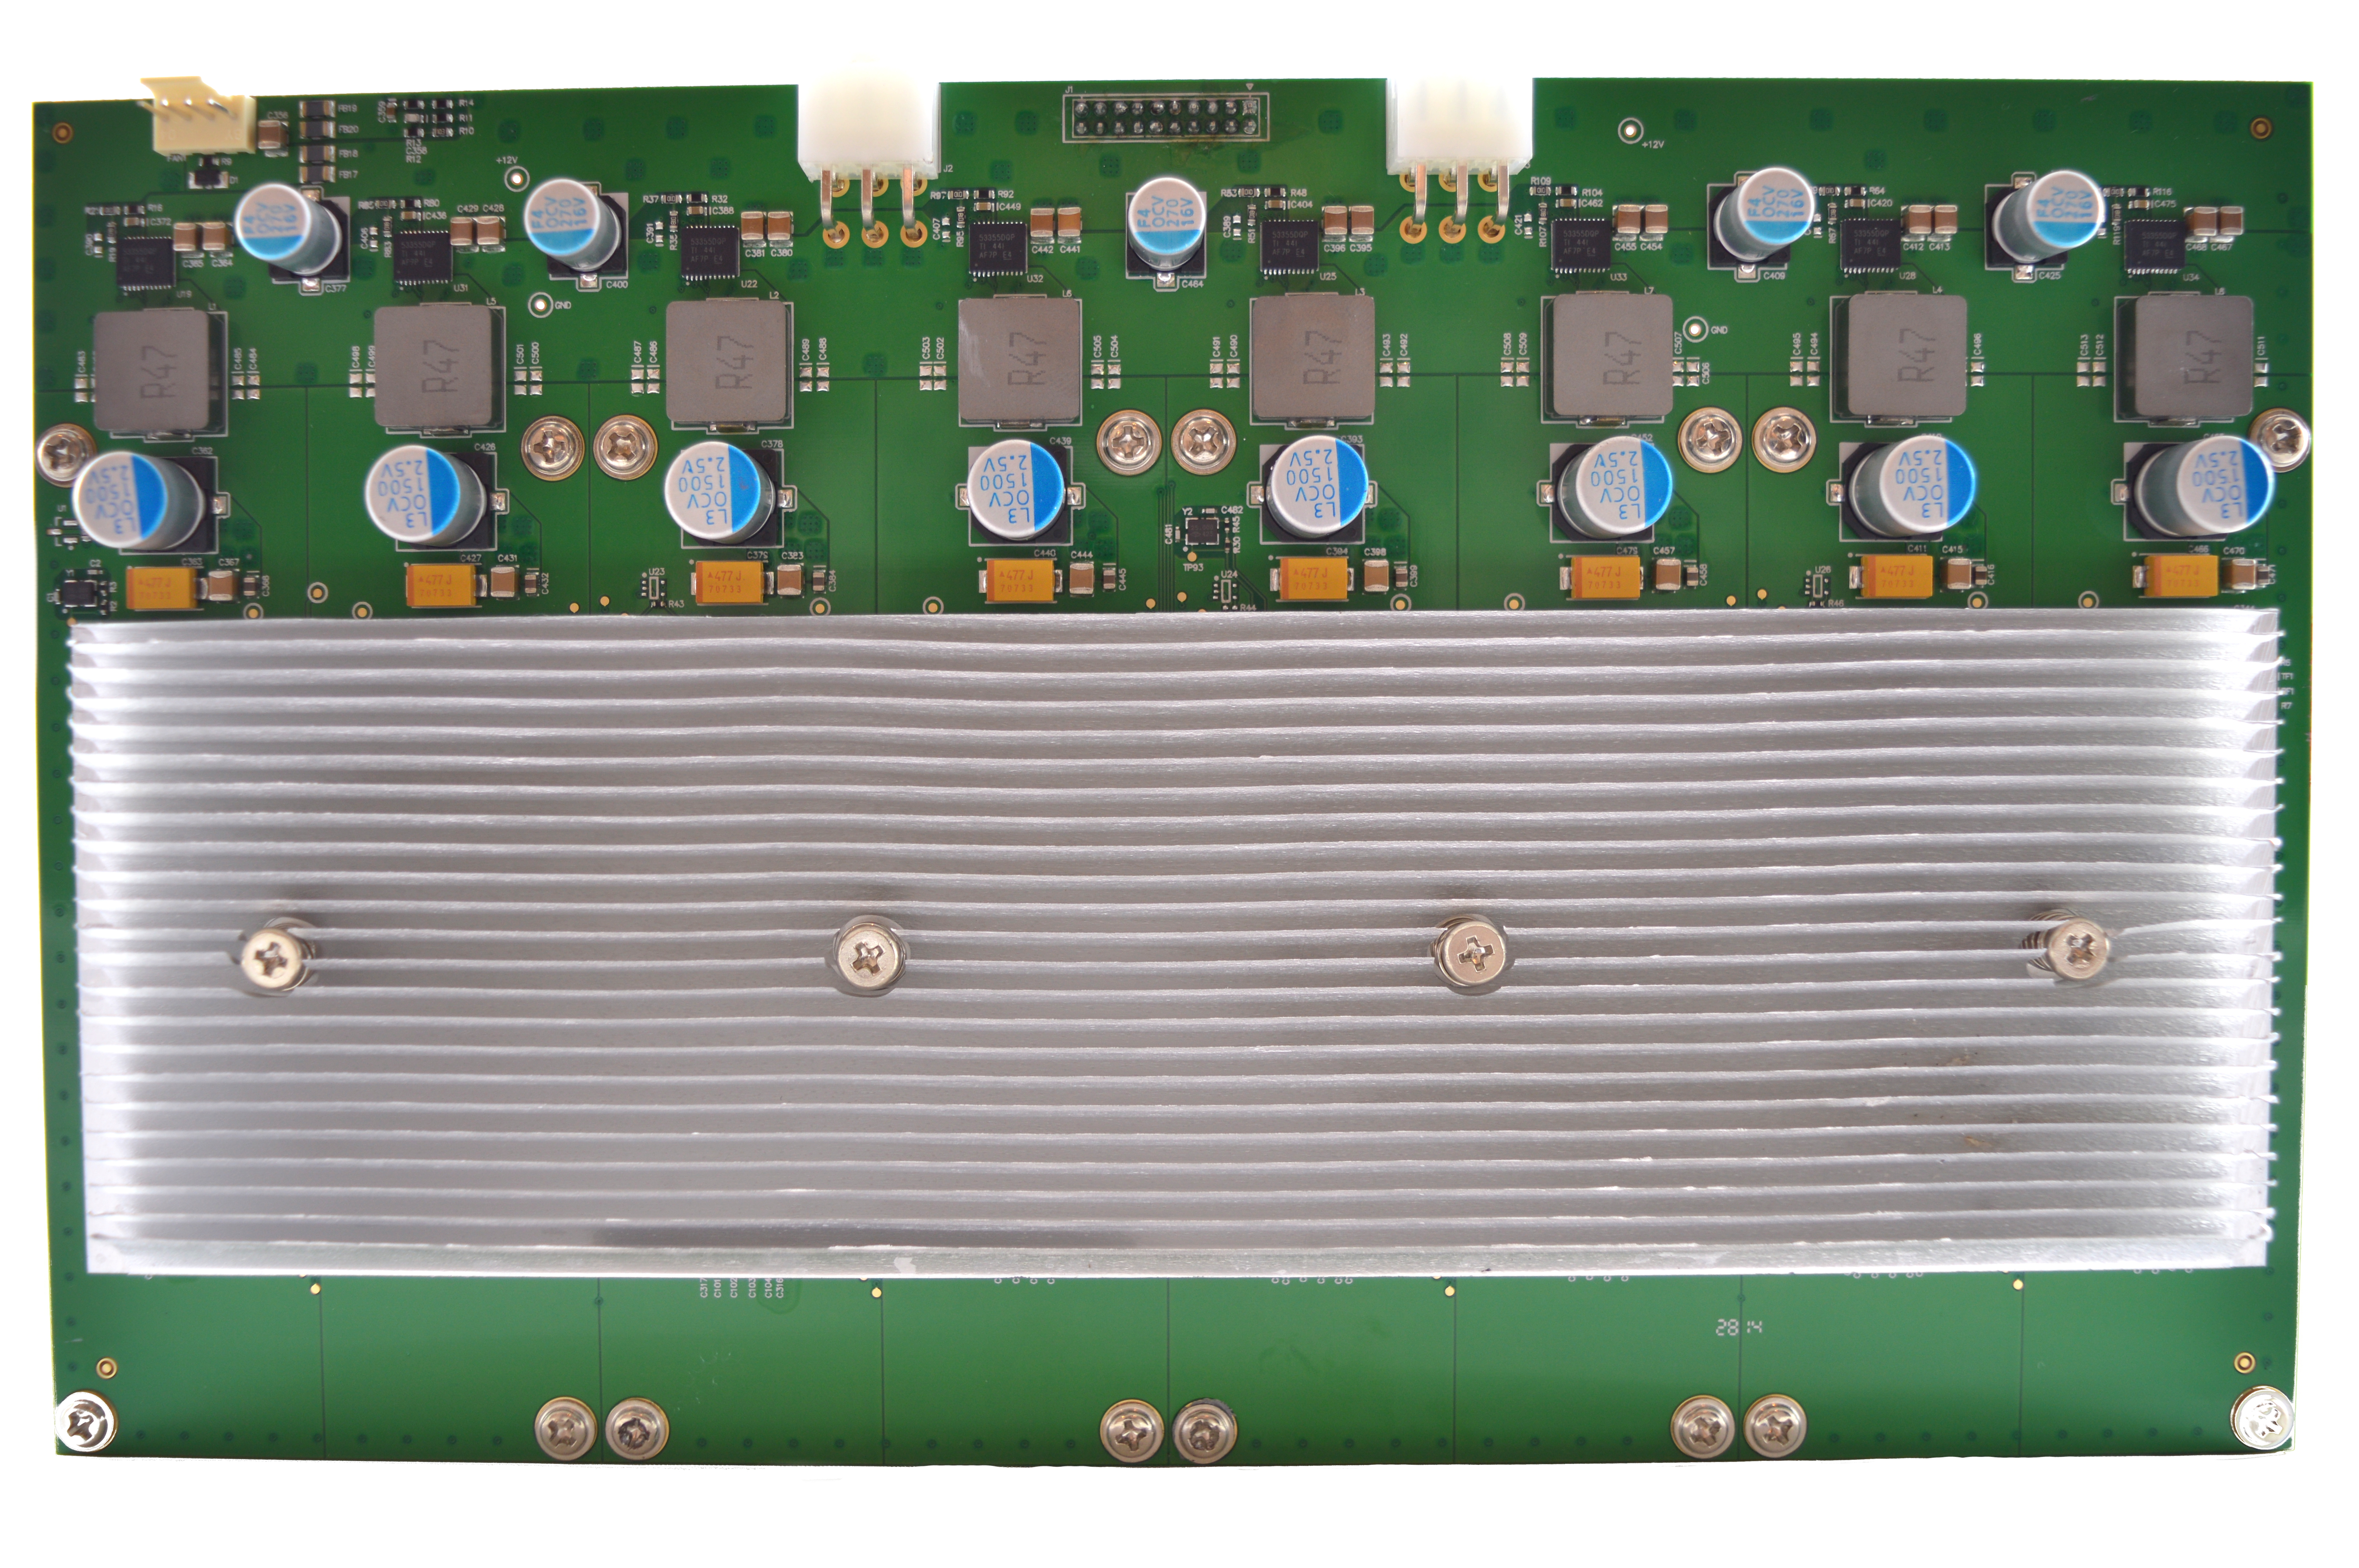
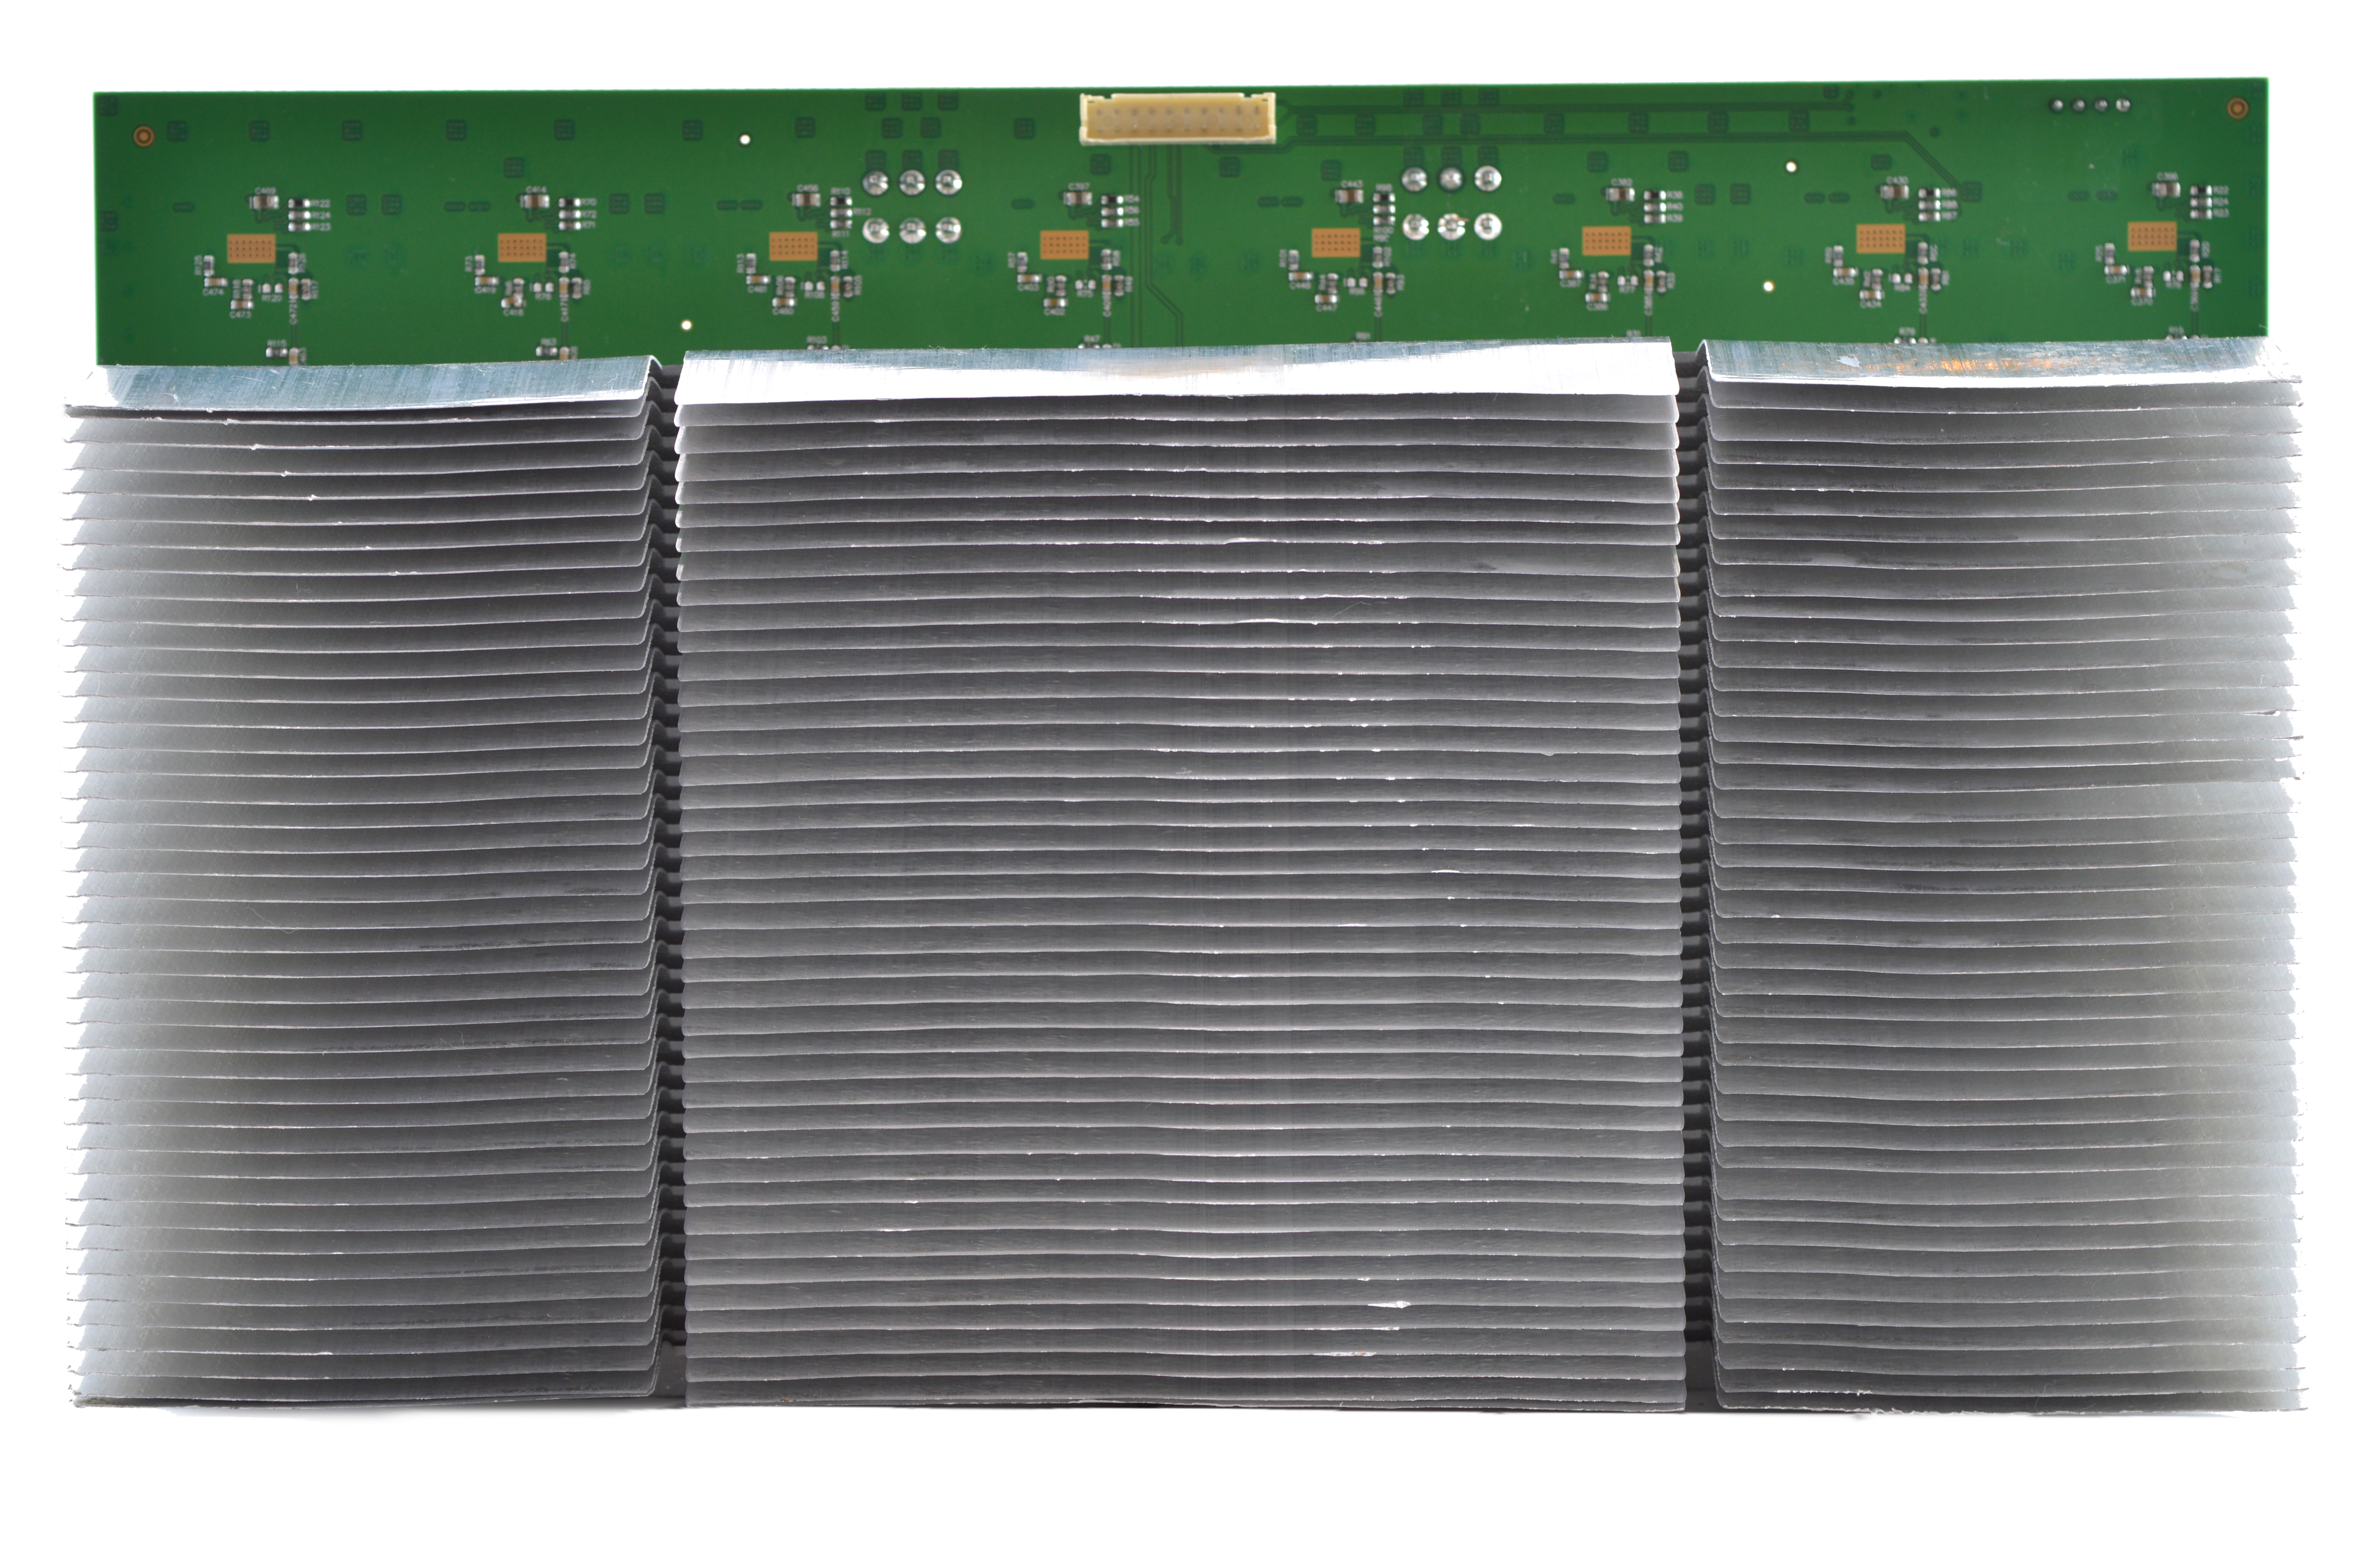
The backs of the mining boards are cooled by curved, full cover aluminium heatsinks and the fronts by smaller straight finned heatsinks. Both are attached
using compressive springs to avoid potential chip damage. Its worth noting the excellent and careful thermal compound placement on each individual chip,
something not usually seen in the mass market price point. Please be careful when handling these heatsinks, they are extremely sharp.
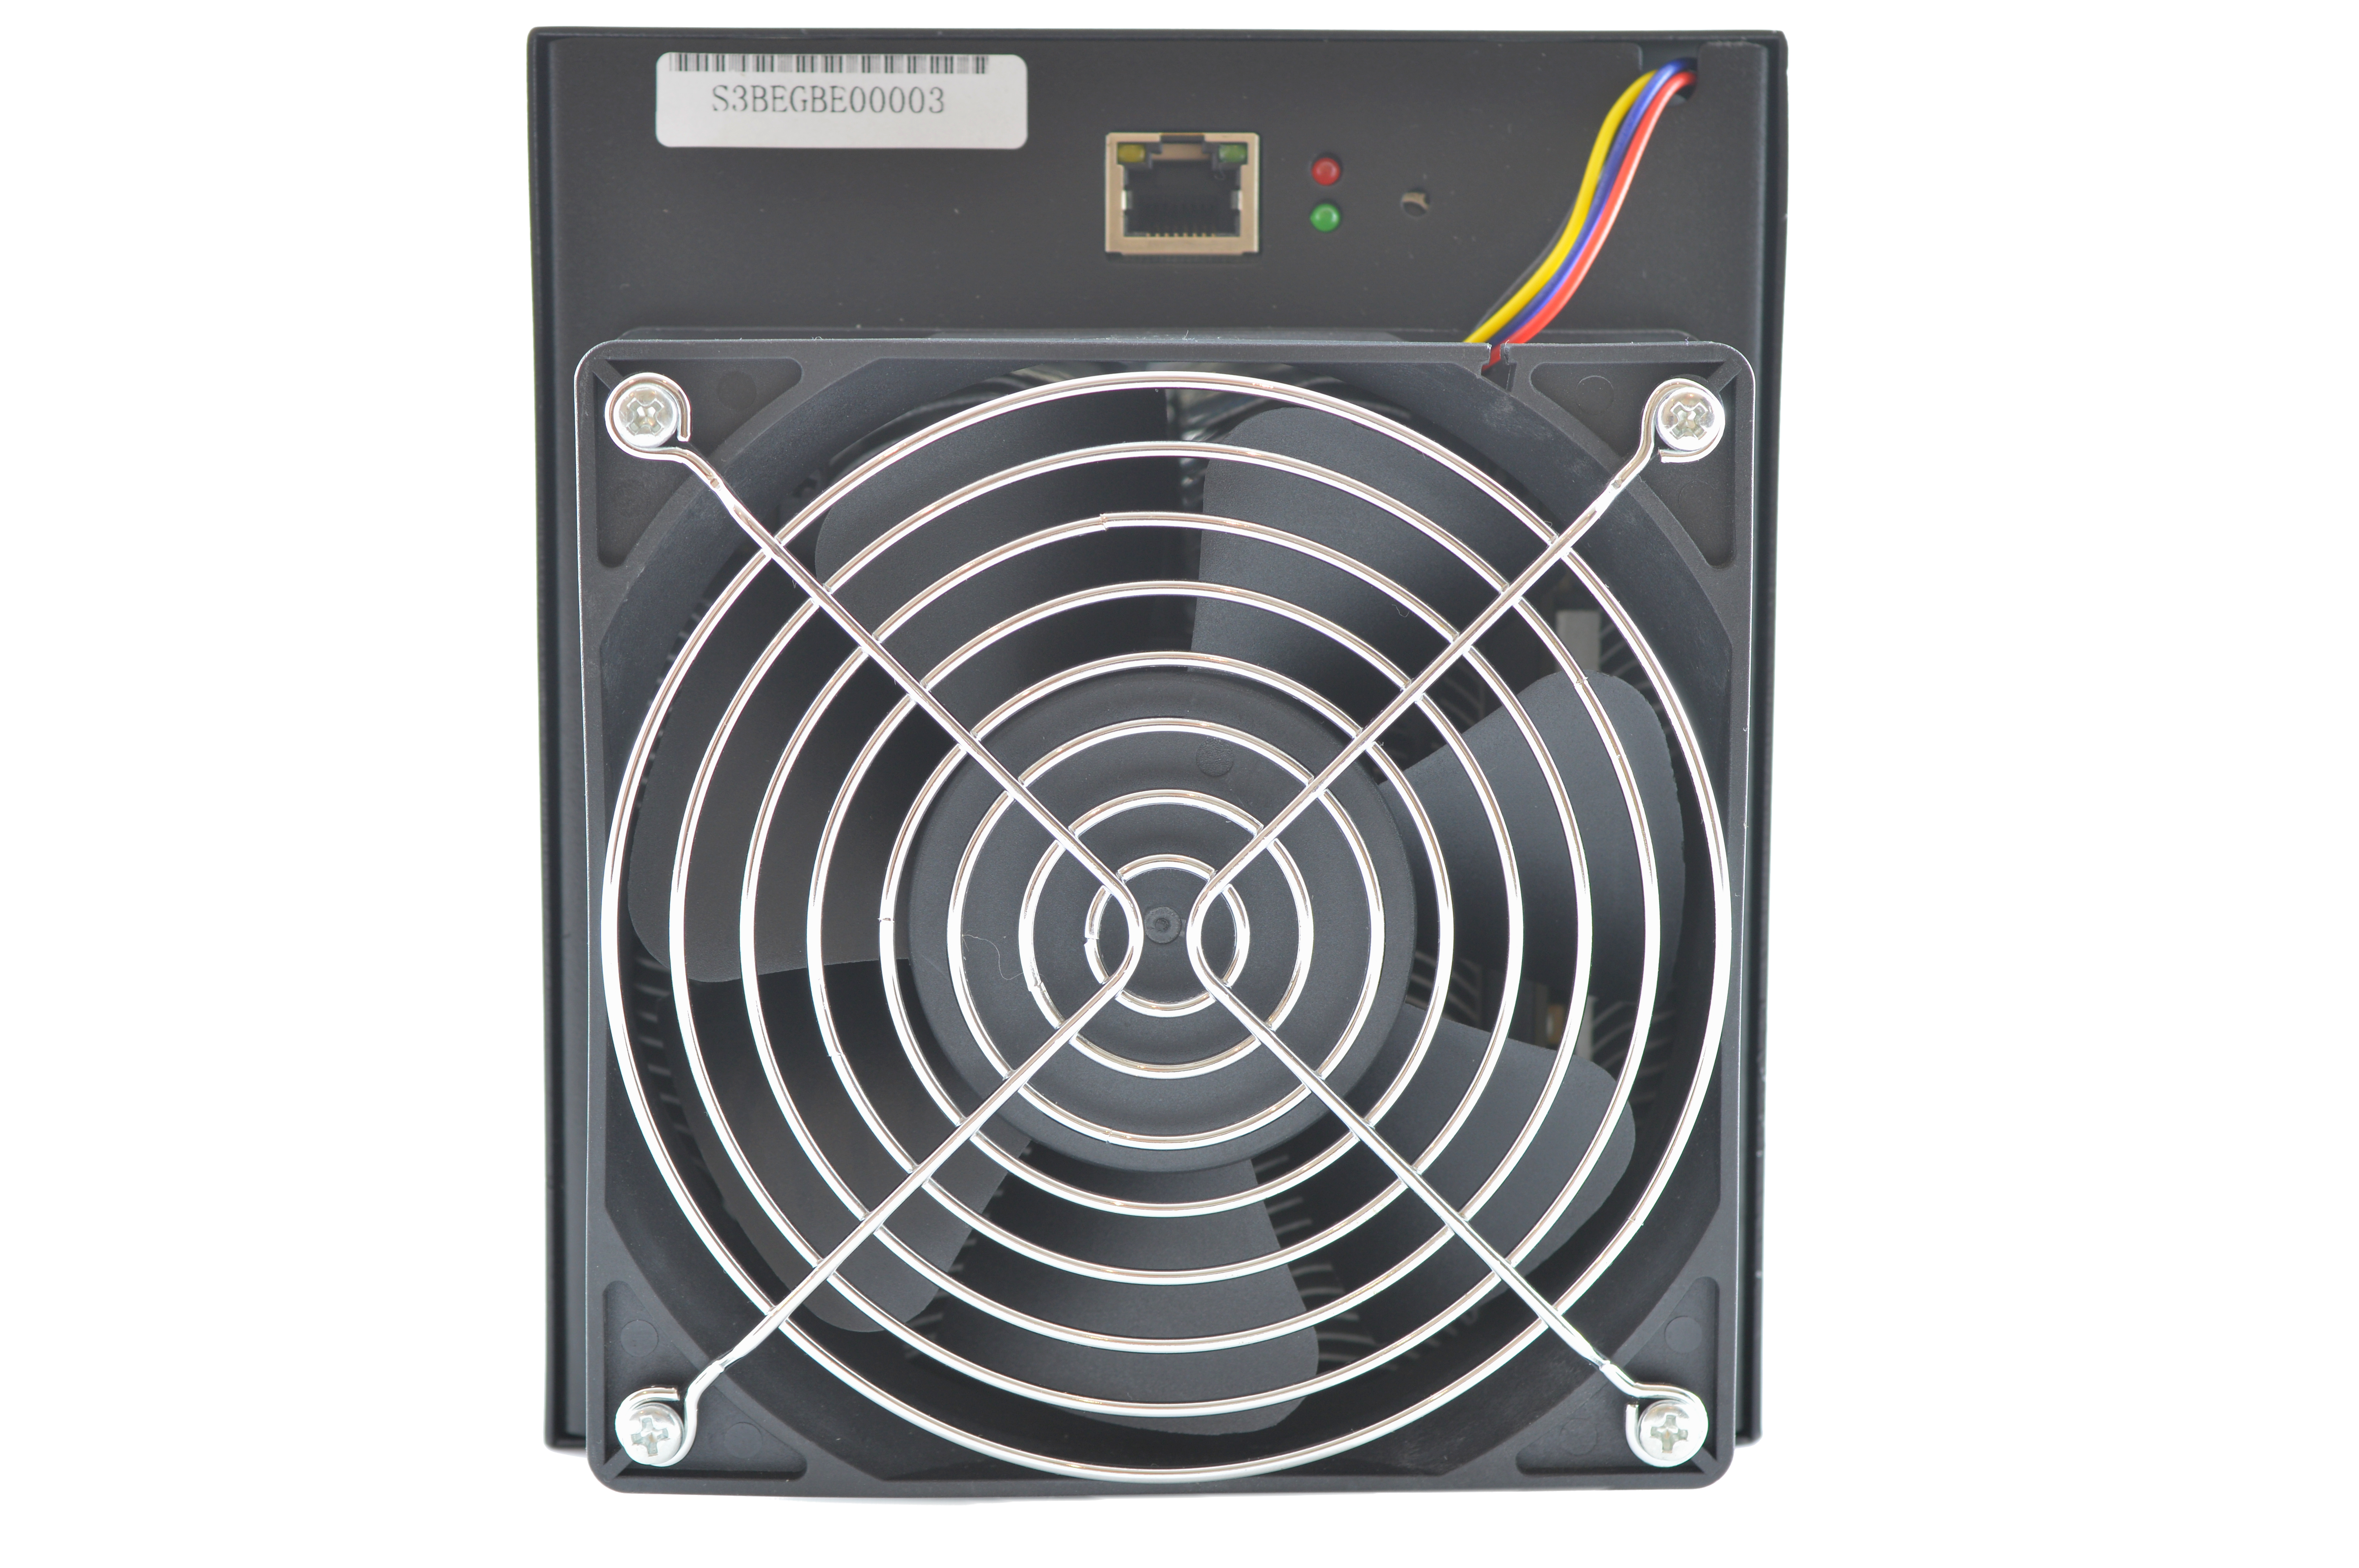
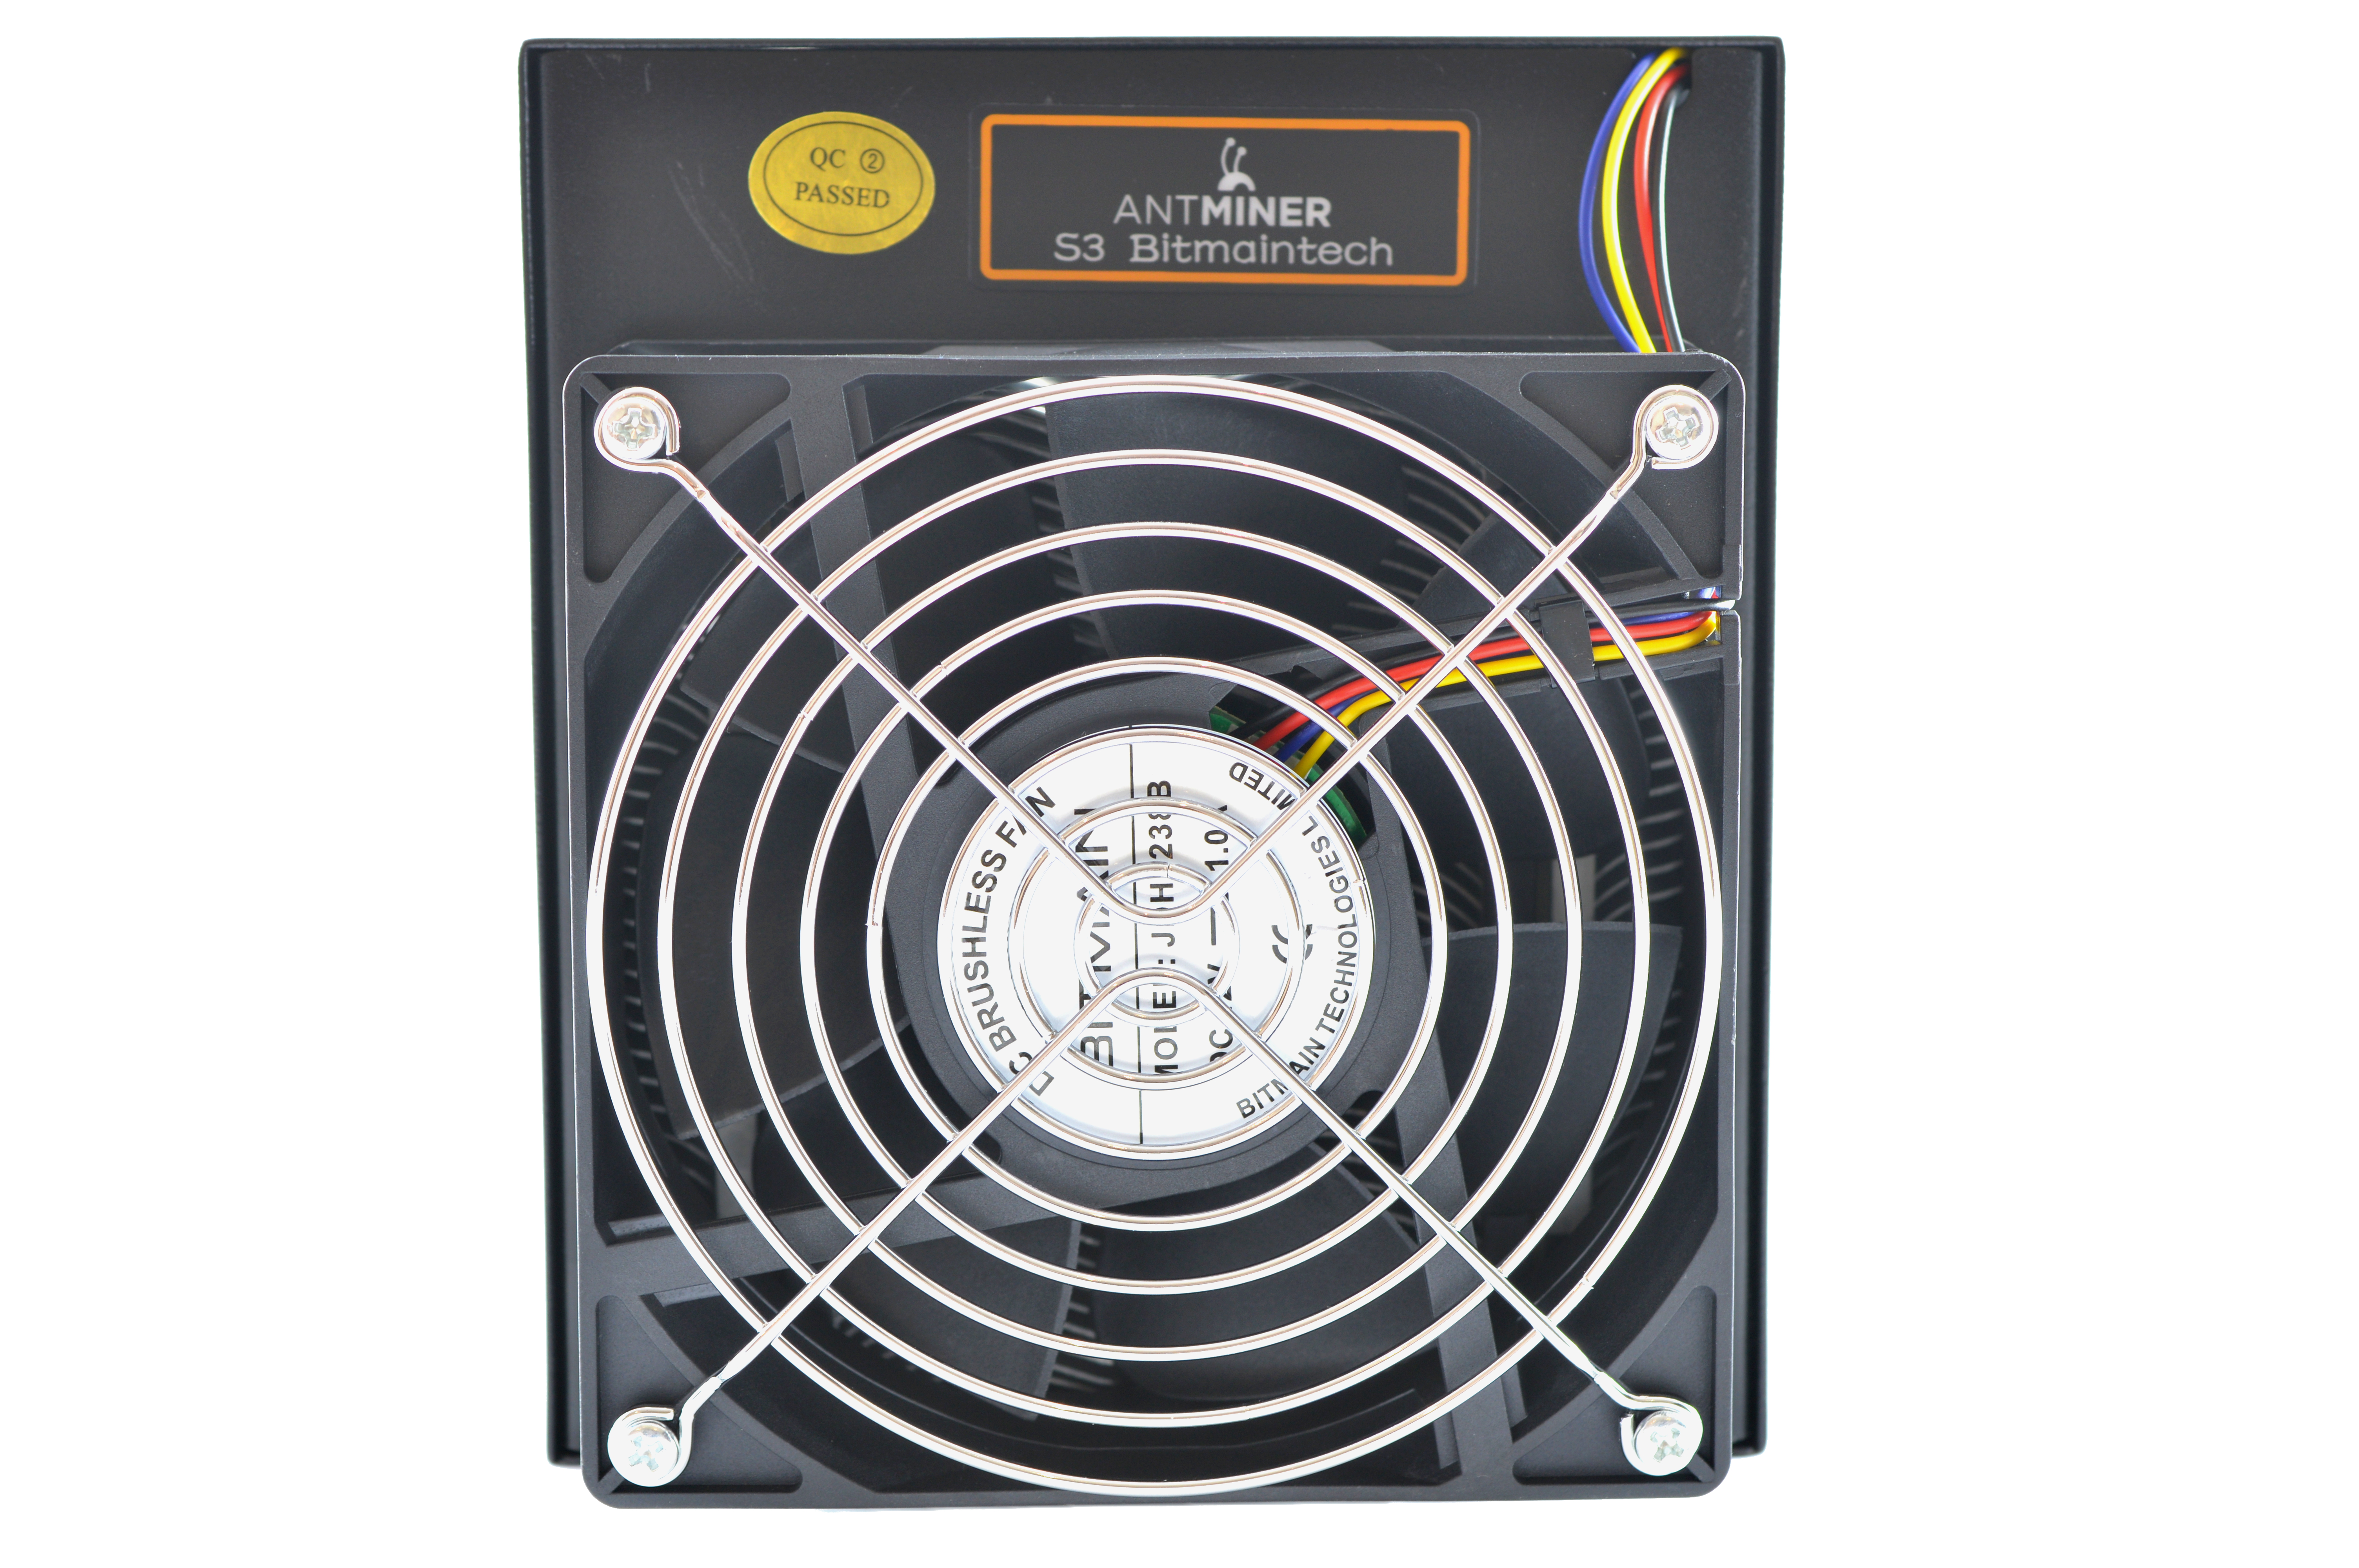
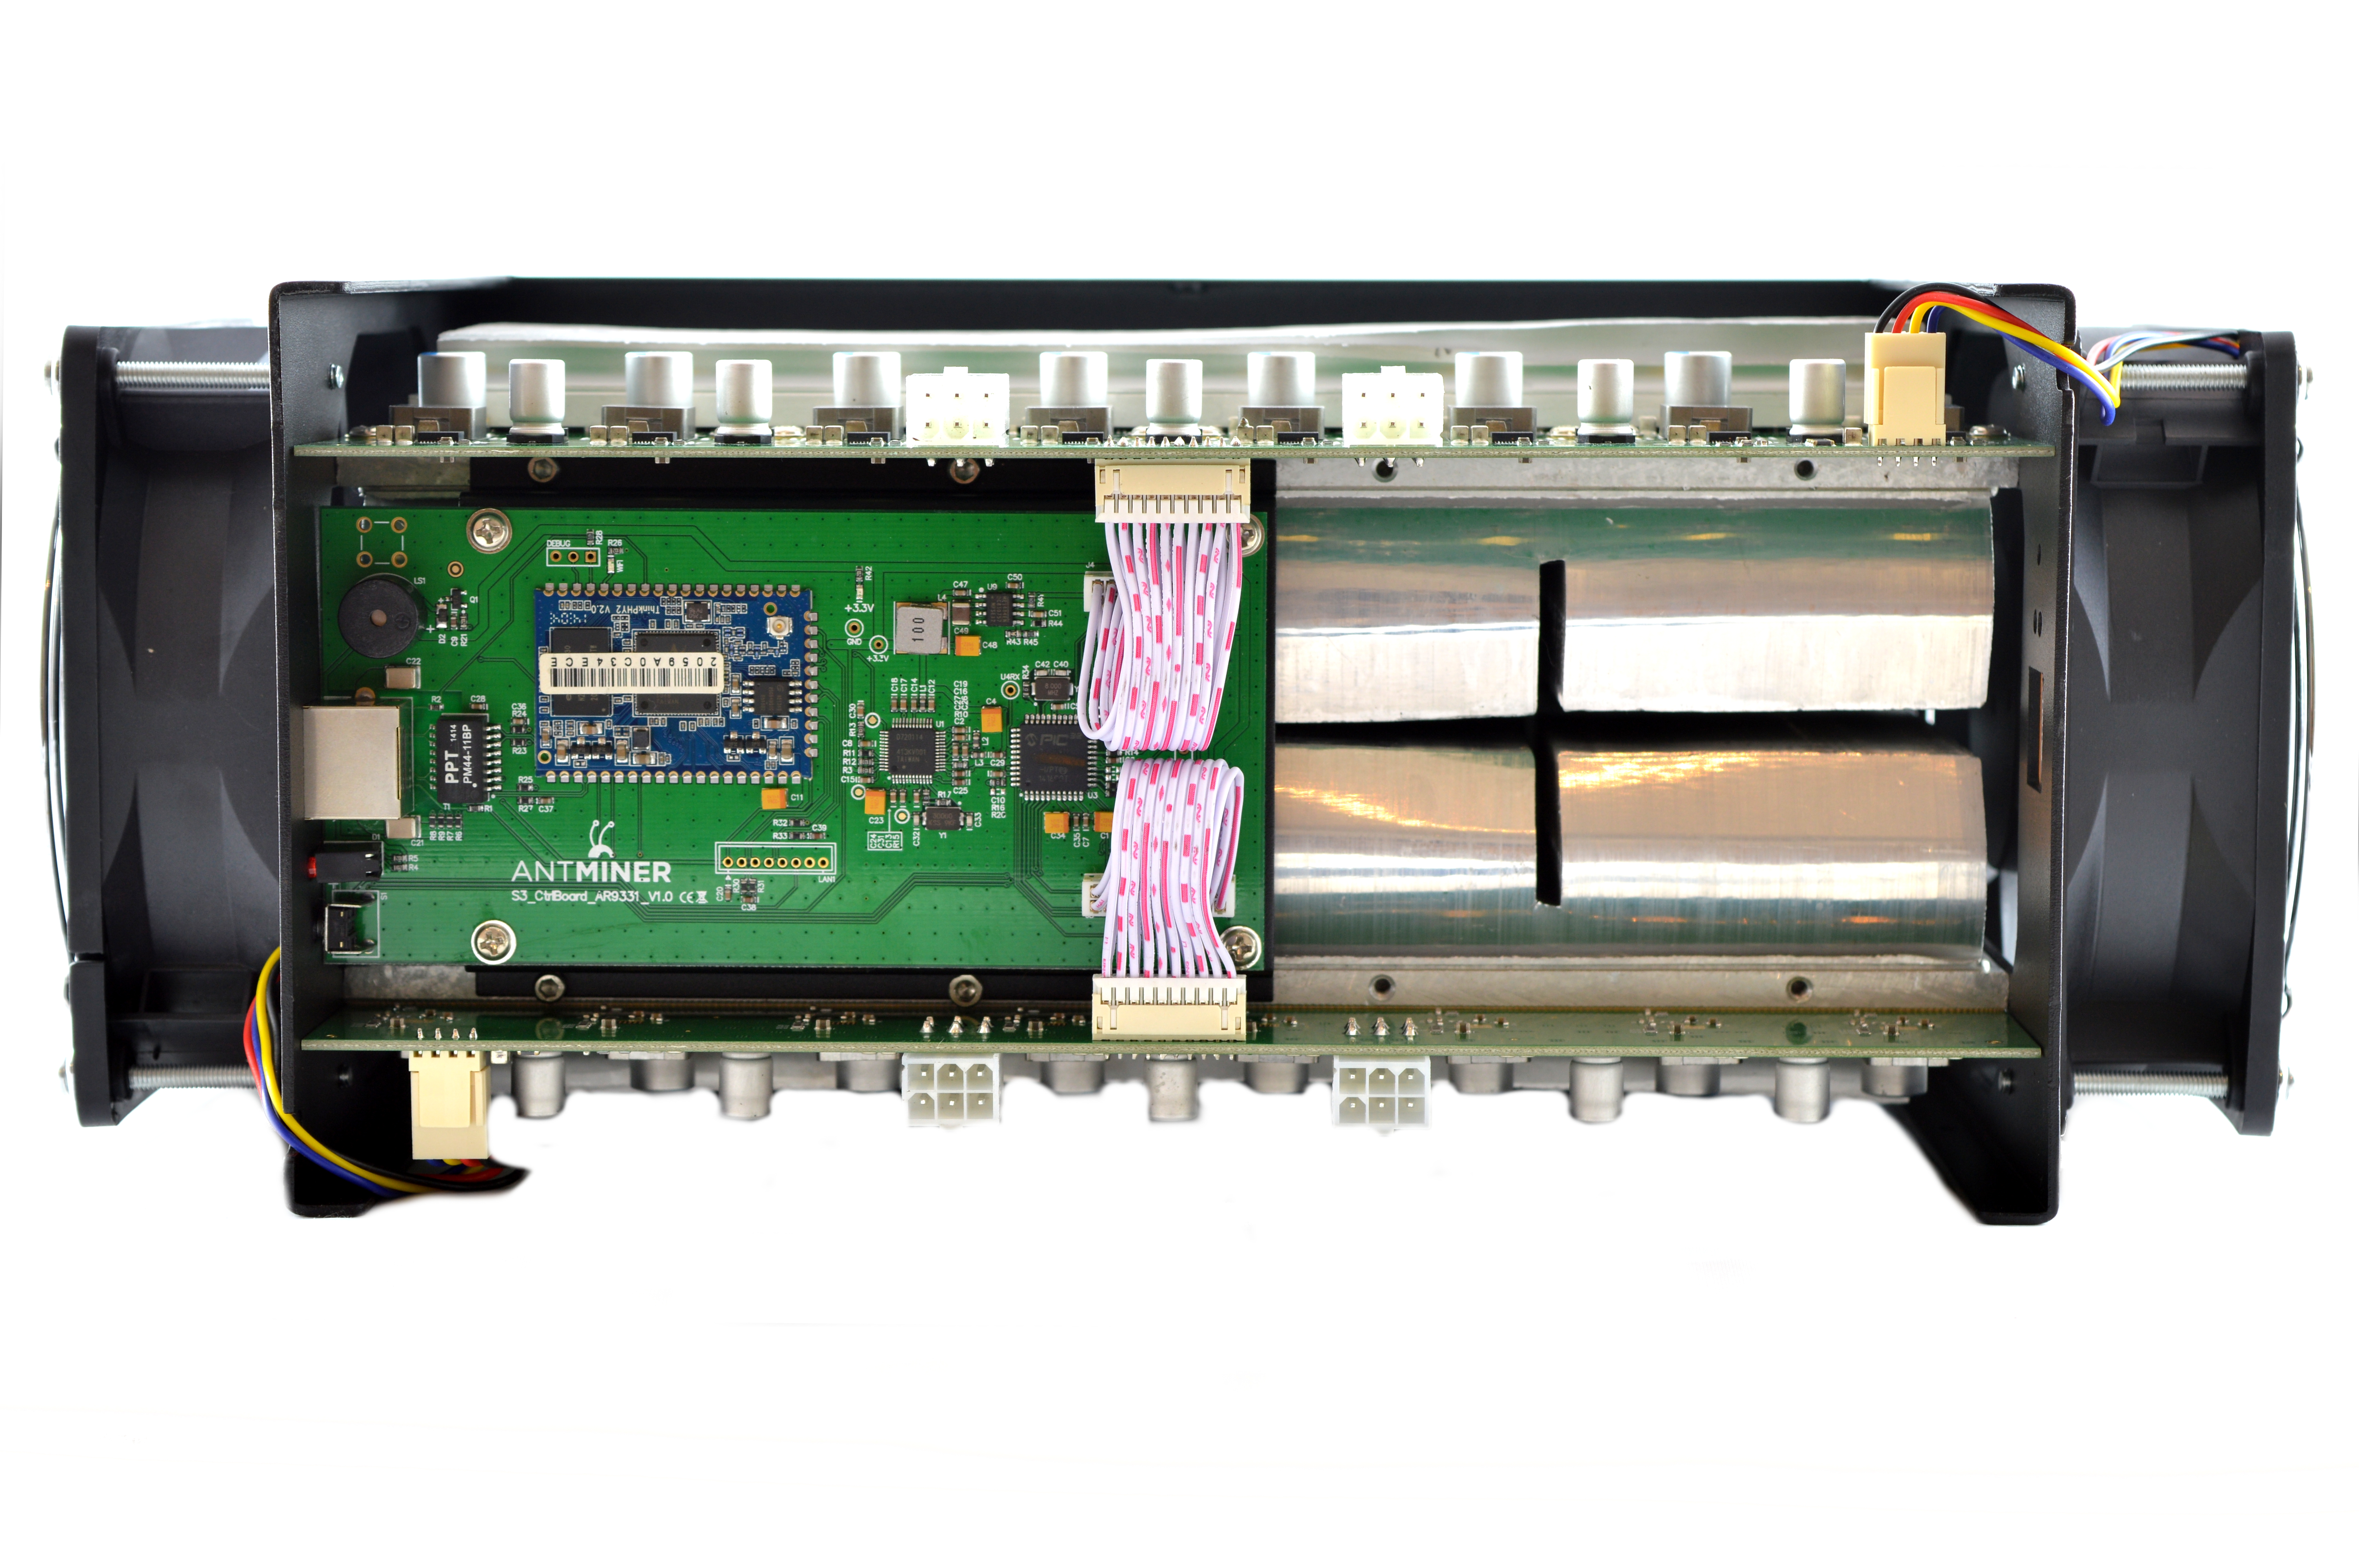
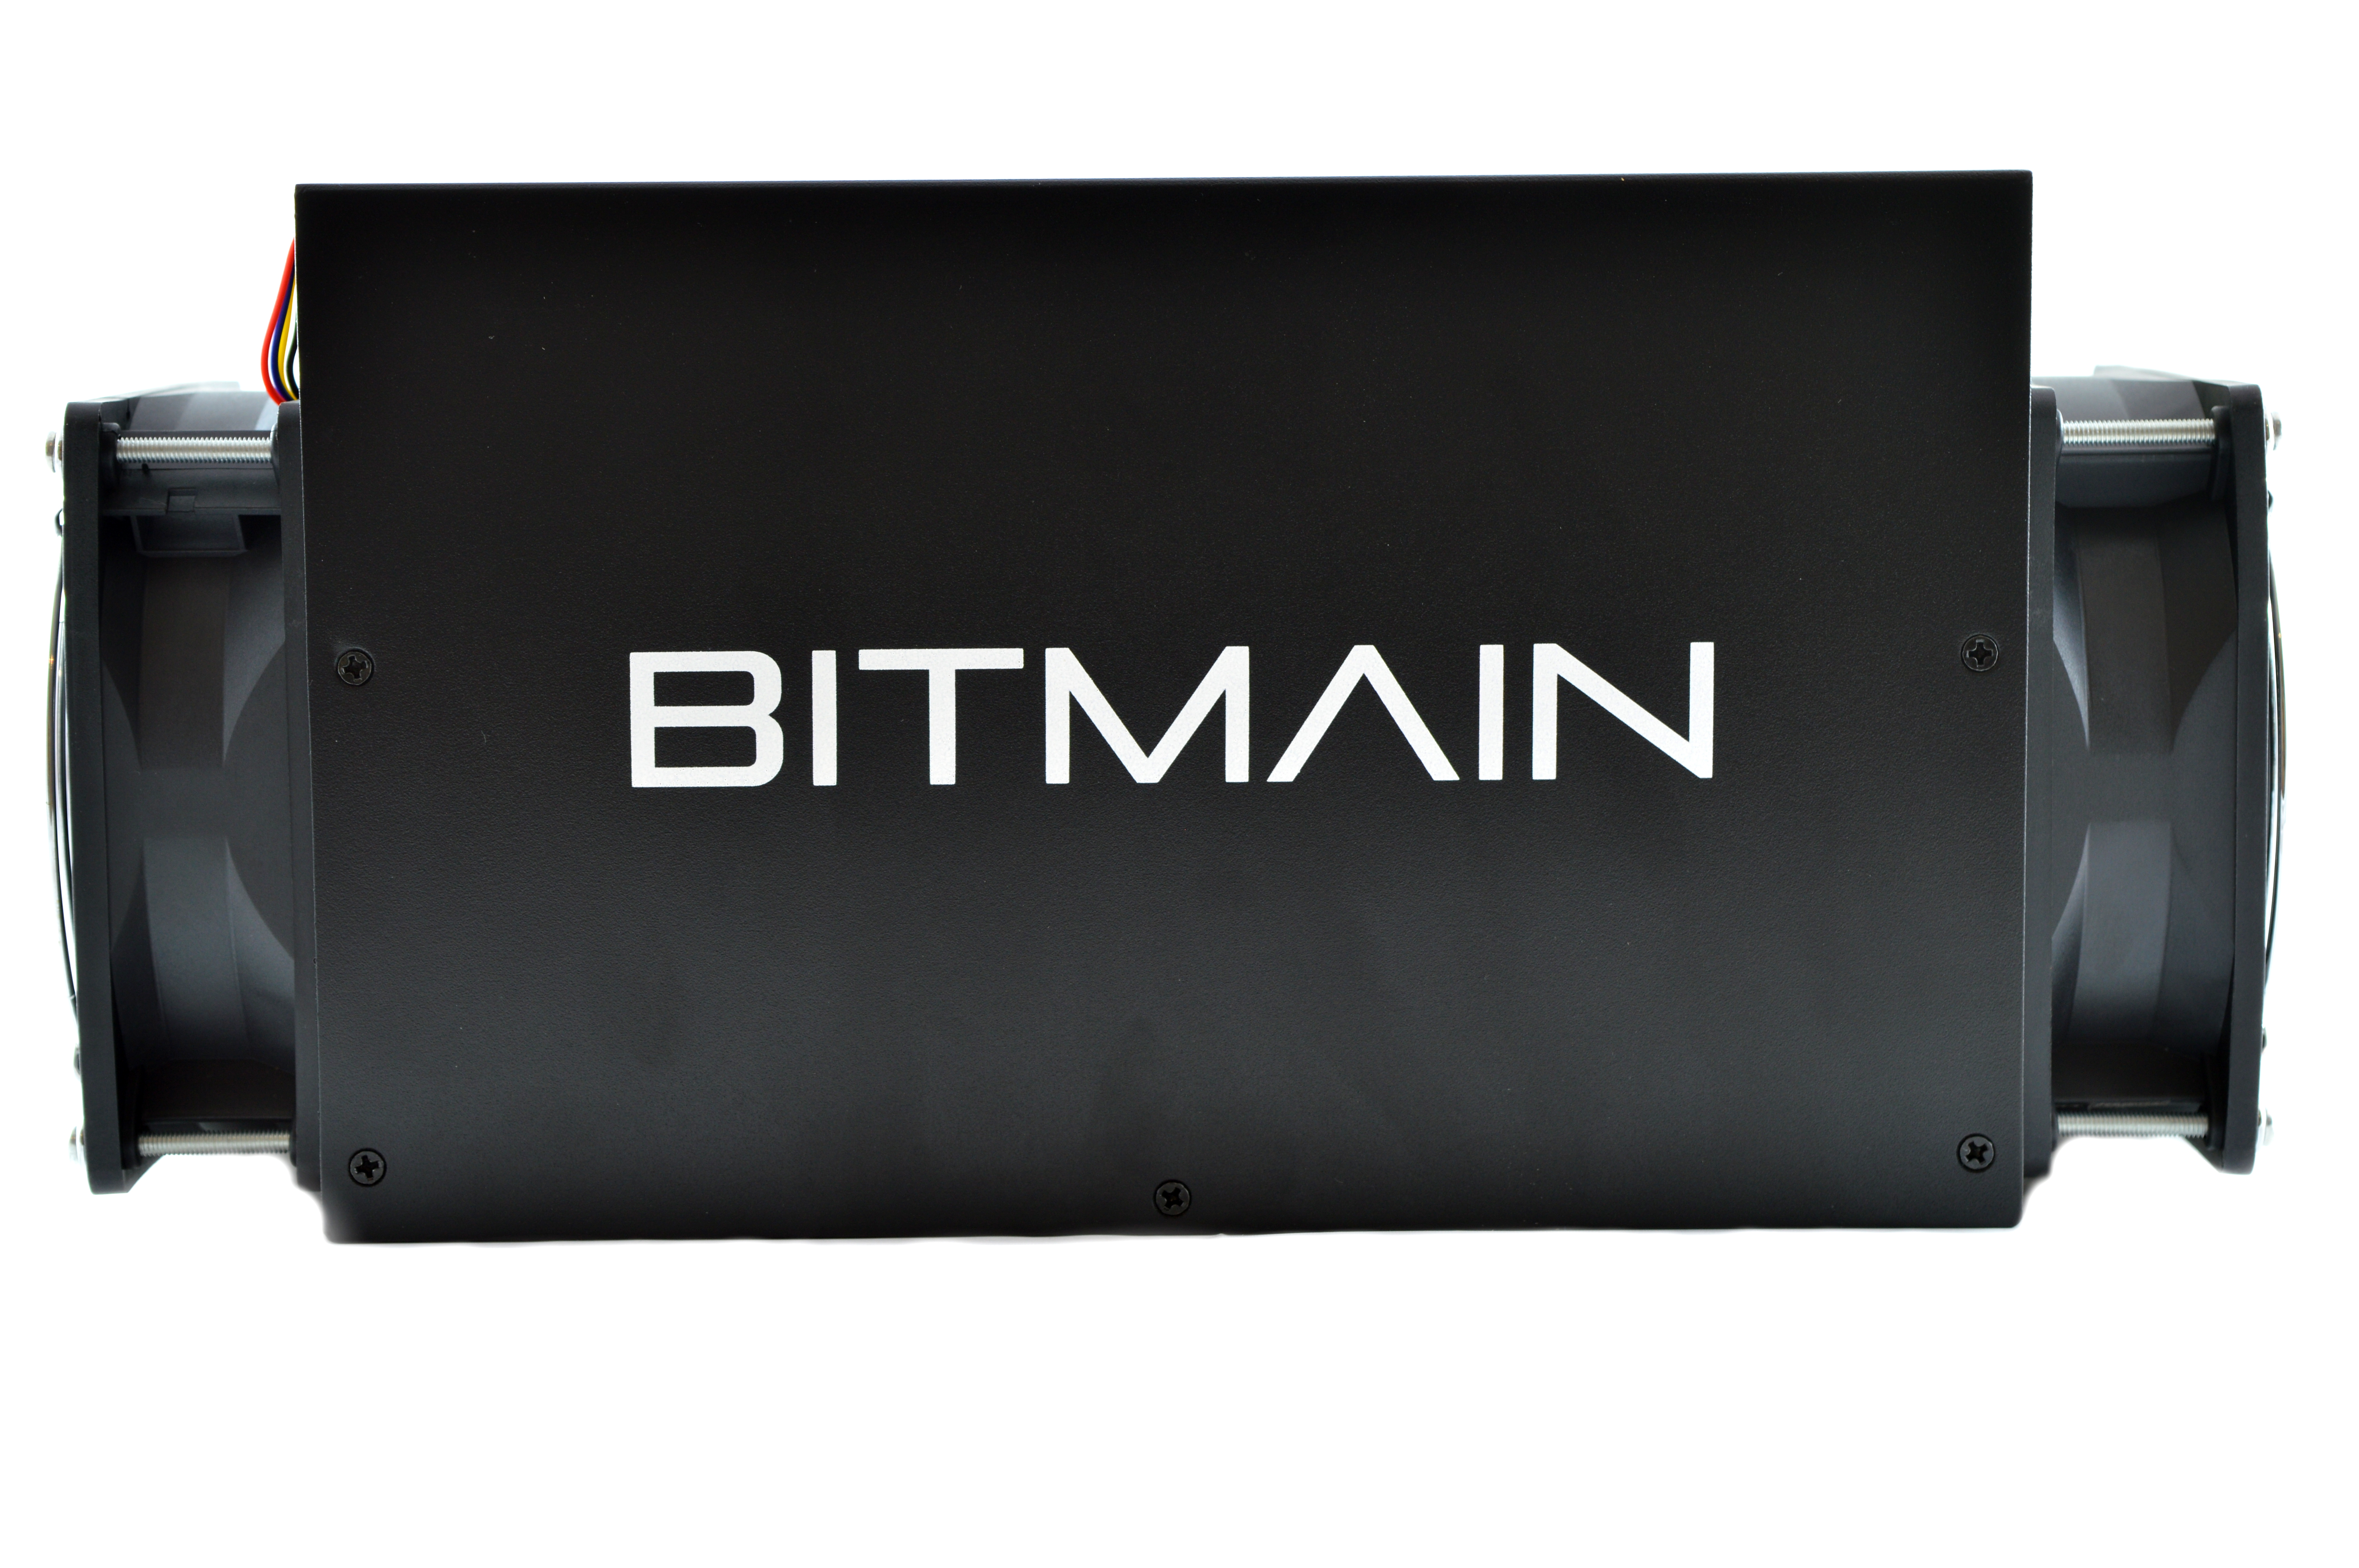
3) Case (top)
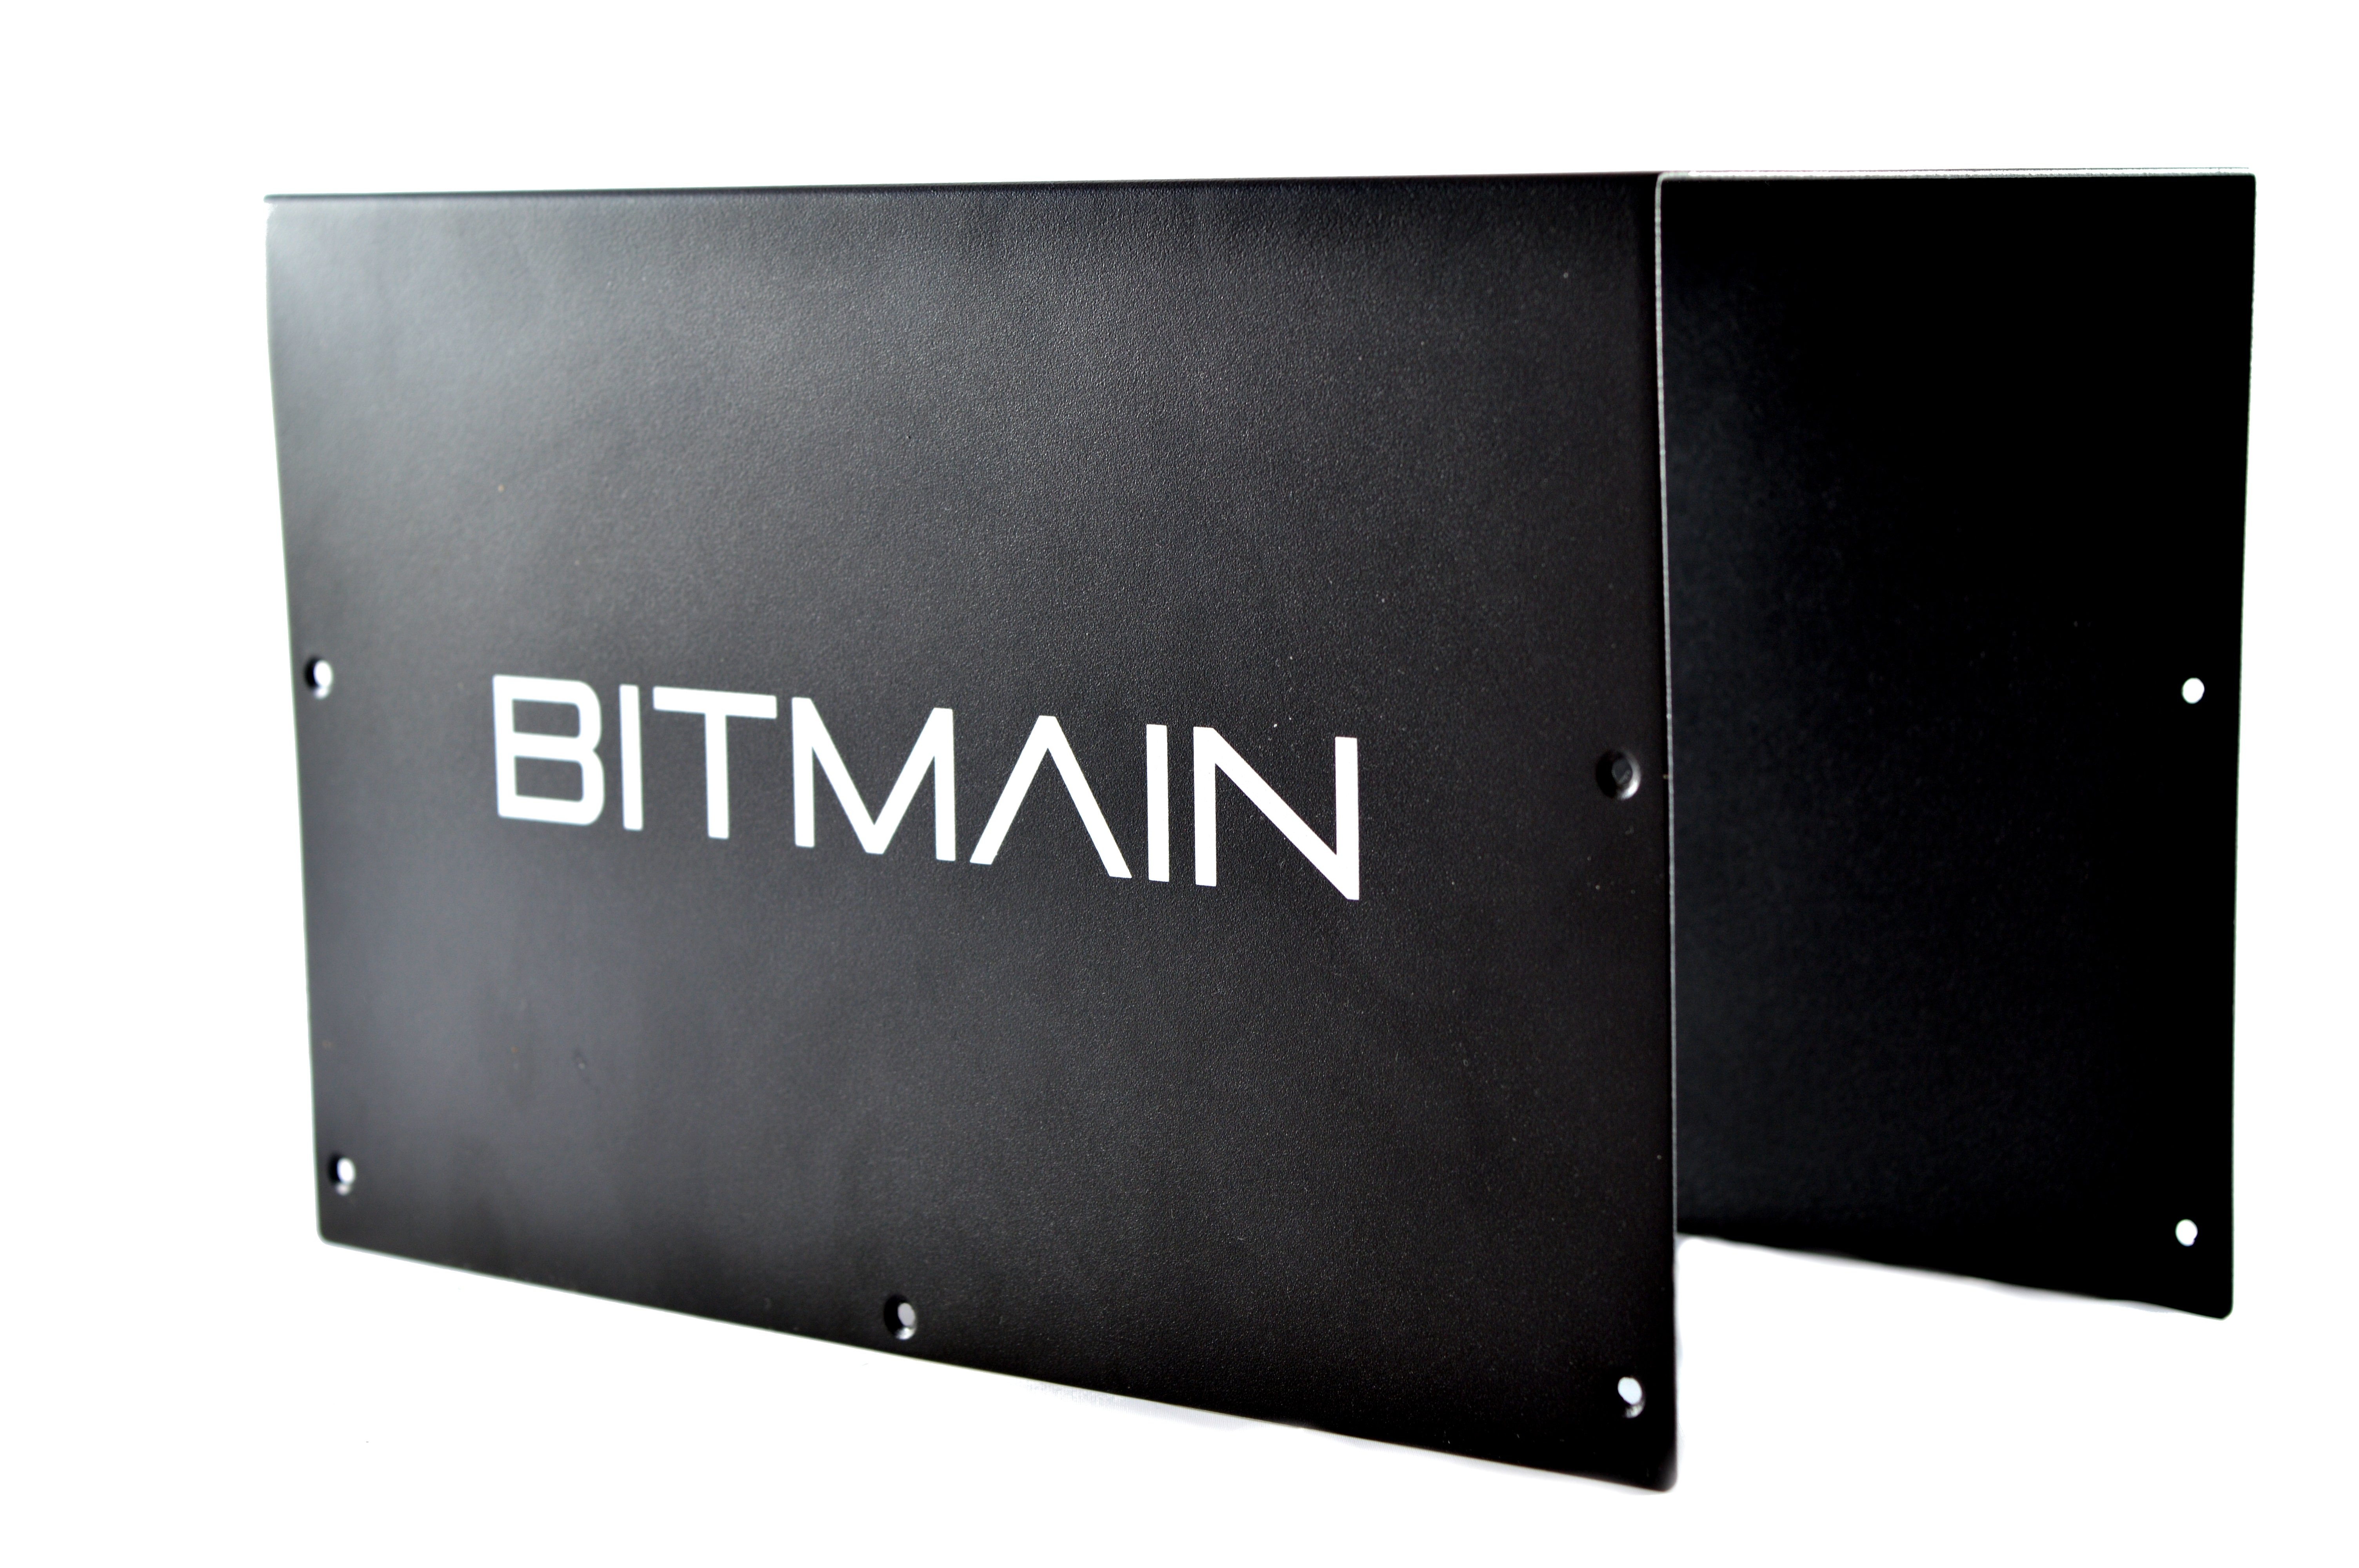
The S3 is entirely enclosed in an extremely strong shroud that is not going to be damaged at all. The internal frame is minimal but solid and well designed.
Both fans have grills to complete what is possibly the most child and pet friendly miner on the market. S3's are stackable when placed on their side due to the
top access required for the PCI-E cables.
A shipped S3 weighs 6kg and the unit measures 331mm x 137mm x 160mm.
4) Configuration (top)
The S3 is standalone and does not require an external controller.
Wiring:
- Prepare the paper clip for the PSU's 24 pin connector.
- Plug in the four PCI-E cables to the miner.
- Plug in an ethernet cable from the AntMiner to you router.
Configuration:
- Power on the power supply using its switch at the back.
- Make sure that your router's subnet is 1, ie 192.168.1.x. If not then change it to 1, this is just temporary. ***If this is not possible, see below***
- Using a browser, navigate to 192.168.1.99 - this goes to the S3's configuration page.
- Login using "root" as both the username and password.
- Navigate to Network -> Interfaces -> WAN -> Edit.
- Change protocol to DHCP and click "Save & Apply".
- Using a browser, navigate to your router and find the IP it has assigned the S3 and navigate to that IP.
- Navigate to the page Status -> Miner Configuration. Enter your pool information in the below format.
- Select "Beeper ringing" to "false" and click "Save & Apply".
- Navigate to the page "Miner Status" to check mining has started.
- You can then change your router subnet back to whatever you are used to using.
Alternative Subnet Change:
- Unplug your computer from all internet sources.
- Plug in an ethernet cable from the AntMiner to your computer.
- Navigate to Control Panel -> Network and Sharing Centre -> Change Adapter Settings.
- Right click on your ethernet adapter -> Properties.
- Click on "Internet Protocol Version 4" and click properties.
- Select "Use the following IP address" and enter the following:
- IP Address: 192.168.1.1, Subnet Mask: 255.255.255.0, Default Gateway: 192.168.1.99.
- Plug in an ethernet cable from the AntMiner to you router.
- Restart the configuration instructions as above.
Antpool Register!
Code:
Servers : stratum+tcp://stratum.antpool.com:3333
User    : username.worker or username_worker - auto creates workers!
Password: anypassword
Code:
Servers : stratum+tcp://stratum.btcguild.com:3333
User    : username_worker
Password: anypassword
Code:
Servers : stratum+tcp://us1.ghash.io:3333
User    : username.worker  - auto creates workers!
Password: anypassword
5) Troubleshooting (top)
| Problem | Solution |
| "x".in.a.row.on.miner.configuration.page | - There is a faulty chip - nothing we can do. Hash rate will be affected by ~3%. |
| Almost all "x" on one row of "Chips" | - A hashing board may be mispowered or faulty. Recheck your cabling and PSU. |
| How do I change the login password? | - Navigate to System -> Administration. Enter the current password and enter your new one twice. |
| What is the SSH login? | - Username is "root", password is "root". |
| Can I turn the beeping off when the miner stops mining? | - No, but you can reduce how often it beeps. Navigate to Miner configuration and turn "Beeper Ringing" to false. |
| I can connect to the AntMiner but its not hashing? | - Set the protocol to DHCP via Navigate to Network -> Interfaces -> WAN -> Edit. If you don't want to use DHCP, navigate to Network -> Settings and make sure "Gateway" is set to the IP of your router. |
| What temperatures should I aim for? | - Try and achieve <50 for best hash rates, and <60 for long lifetimes. Temperatures should not be let to rise above 70C. |
| Where can I get the latest firmware? | - Download from Bitmain's site. |
| How can I tell what firmware version I have now? | - Navigate to System -> Overview and look at "File System Version". |
| How do I install the latest firmware? | - Download firmware as above. Navigate to System -> Upgrade and click "browse". Select the downloaded file and click "Flash image". Do NOT interrupt this process or you will brick the unit. |
| How do I reset settings to default? | - Use a paper clip to press the reset button - located next to the ethernet connector - down for 5-10 seconds. The miner will then reset with stock settings. |
| My.power.supply's.cables.are.braided.or.aren't.color.coded | - See below diagram for pin-outs. |


Legal disclaimer: This information is for general guidance and does not constitute expert advice. We are not responsible if you, your property or a third
party is injured or damaged as a result of any interaction with this information, and no warranty is provided. All text and images are covered by copyright.
6) Where to buy (top)